Ever found yourself staring into the abyss of an empty fridge, knowing you *need* something sweet, but the thought of actual cooking makes you want to nap? Yeah, me too. But what if I told you there’s a ridiculously simple, shockingly delicious dessert that basically makes itself? And it’s healthy-ish? Mind blown, right?
Why This Recipe is Awesome
Okay, so this isn’t just *any* banana ice cream. This is the ‘I-can’t-believe-I-made-this-and-it-only-took-five-minutes’ kind of awesome. It’s **vegan, dairy-free, and sugar-free** (unless you add a dash of something sweet, no judgment here!). Plus, it’s basically a magic trick: turn frozen bananas into creamy, dreamy ice cream. It’s so foolproof, my cat could probably make it if she had opposable thumbs. Seriously, if you mess this up, you might want to check if you’re holding the blender upside down.
Ingredients You’ll Need
- **Ripe Bananas (3-4, extra points for spotty ones):** The riper, the sweeter. Don’t be shy; aim for ‘leopard print’ status. These are the unsung heroes of your dessert dreams.
- **A splash of Milk (any kind, oat/almond/dairy – your call, about 1-2 tbsp):** Just enough to get things moving. Think of it as the smoothie whisperer.
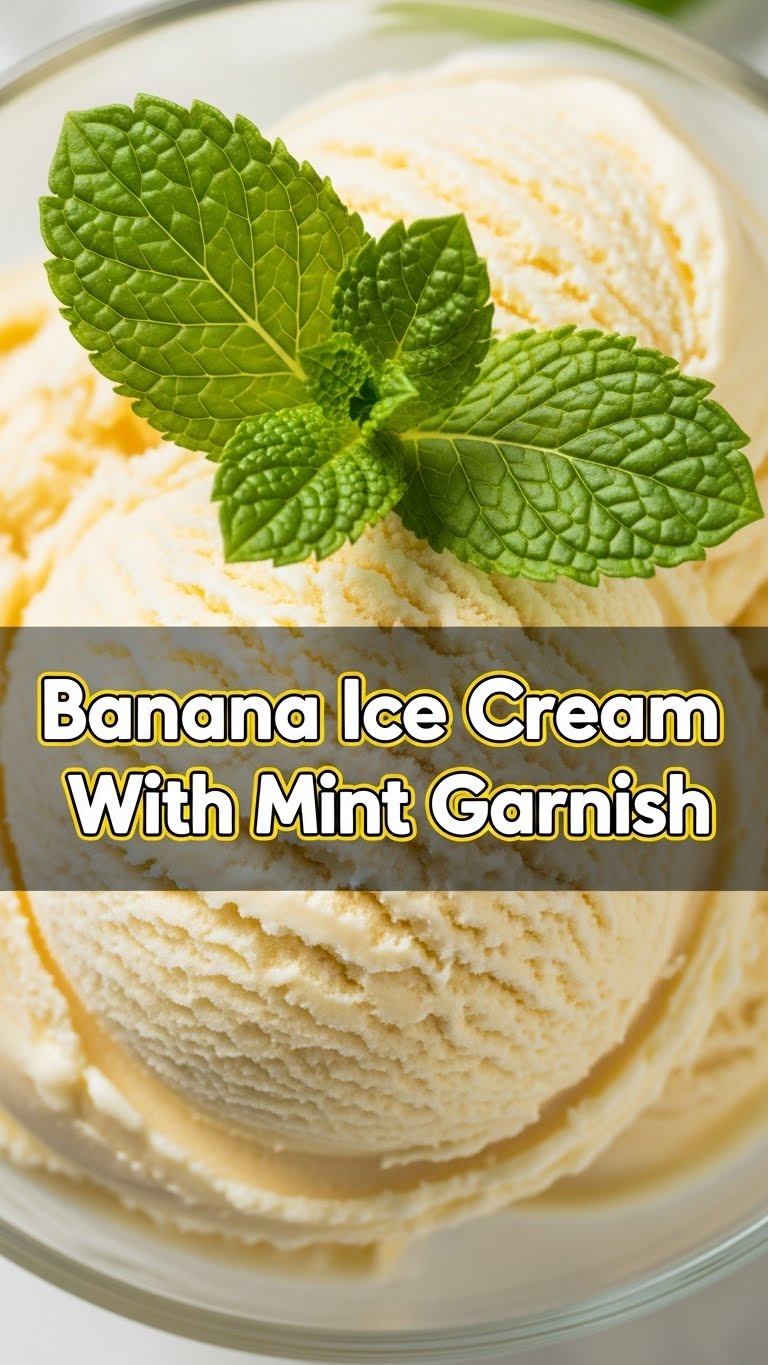
- **Fresh Mint Leaves (a small handful, roughly chopped):** For that “fancy restaurant, but I made it at home” vibe. Plus, it’s just so *fresh*.
- **Optional: Vanilla Extract (1/2 tsp):** Because vanilla makes everything better, doesn’t it? A little hug for your taste buds.
- **Optional: A drizzle of Honey or Maple Syrup (if your bananas aren’t quite sweet enough for your sweet tooth):** No shame in a little extra sweetness!
Step-by-Step Instructions
- **Prep Your Bananas:** First things first, peel those ripe bananas and slice them into 1-inch thick rounds. Lay them on a baking sheet lined with parchment paper. Don’t let them touch much, or they’ll freeze into a banana-shaped brick.
- **Freeze ‘Em Solid:** Pop that baking sheet into the freezer for **at least 2-3 hours**, or until they’re rock-hard. This is the most important step, seriously. Patience is a virtue, my friend.
- **Blend Time!** Once frozen, dump your banana slices into a high-speed blender or food processor. Add the splash of milk and the vanilla extract (if using).
- **Process It Out:** Start blending. It’ll look chunky and crumbly at first – don’t panic! Scrape down the sides as needed. Keep blending, and it’ll eventually transform into a creamy, soft-serve consistency. This might take a few minutes, so be persistent!
- **Minty Fresh:** Once it’s smooth and creamy, add most of your chopped mint leaves to the blender. Pulse a few times until the mint is just incorporated. You want specks of green, not a green smoothie.
- **Serve & Garnish:** Spoon your glorious banana ice cream into bowls. Garnish with the remaining fresh mint leaves. Or, if you’re feeling fancy, a tiny chocolate shaving. Live a little!
Common Mistakes to Avoid
- **Using unfrozen or not-frozen-enough bananas:** This isn’t banana *smoothie*. This is banana *ice cream*. You’ll end up with a sad, soupy mess. **Commit to the freeze!**
- **Not having a powerful enough blender/food processor:** If your blender sounds like it’s about to stage a protest, you might need to add a *tiny* bit more milk (like, 1/2 tsp at a time) or just be really patient with scraping down the sides.
- **Over-blending the mint:** We want a fresh minty *garnish*, not a mint-flavored banana milkshake. Pulse gently!
- **Eating it all in one sitting:** Well, technically not a *mistake*, but maybe save some for later? Or don’t. Who am I to judge?
Alternatives & Substitutions
- **Chocolate Lover?** Add a tablespoon of cocoa powder while blending for a chocolate-banana dream. Or fold in some mini chocolate chips at the end. Because, chocolate. Duh.
- **Nut Butter Obsessed?** A spoonful of peanut butter or almond butter will give it a nutty, creamy twist. IMO, peanut butter + banana is a match made in heaven.
- **Spice It Up!** A pinch of cinnamon or a tiny dash of nutmeg can add some warmth. Great for those ‘I’m pretending it’s autumn’ vibes.
- **Different Herbs?** While mint is divine, a tiny bit of basil could be an interesting, sophisticated twist if you’re feeling adventurous. Don’t knock it ’til you try it!
FAQ (Frequently Asked Questions)
- **”Can I use overripe, almost black bananas?”** Absolutely! In fact, those are the BEST. They’re super sweet and will give you the richest flavor. Don’t waste ’em!
- **”My blender is struggling, what gives?”** Is it a cheap blender? No offense, but sometimes you get what you pay for. Try adding a little more liquid (1/2 tsp at a time) and let the blender rest for a minute between pulses. Also, make sure your banana pieces aren’t too big.
- **”Can I make a big batch and store it?”** You can, but it’s best eaten fresh. If you do store it in the freezer, it’ll get quite hard. You’ll need to let it thaw on the counter for 10-15 minutes before serving again, or give it another quick blend to bring back the creamy texture.
- **”What if I hate mint?”** Gasp! Just kidding. Feel free to skip it entirely or swap it for a different flavor profile like a sprinkle of sea salt or a swirl of caramel. It’s *your* ice cream!
- **”Is this actually healthy, or are you just saying that?”** Compared to store-bought ice cream loaded with sugar and additives? Yes, this is definitely the healthier cousin. It’s essentially just fruit (and a little liquid). So go ahead, feel virtuous!
Final Thoughts
So there you have it, folks! A dessert so simple, so satisfying, you’ll wonder why you ever bothered with those complicated recipes. You just transformed some humble bananas into a gourmet-ish treat with a little help from some mint. Pretty cool, huh? Now go impress someone – or, let’s be real, just yourself – with your new culinary superpowers. You’ve earned it!


