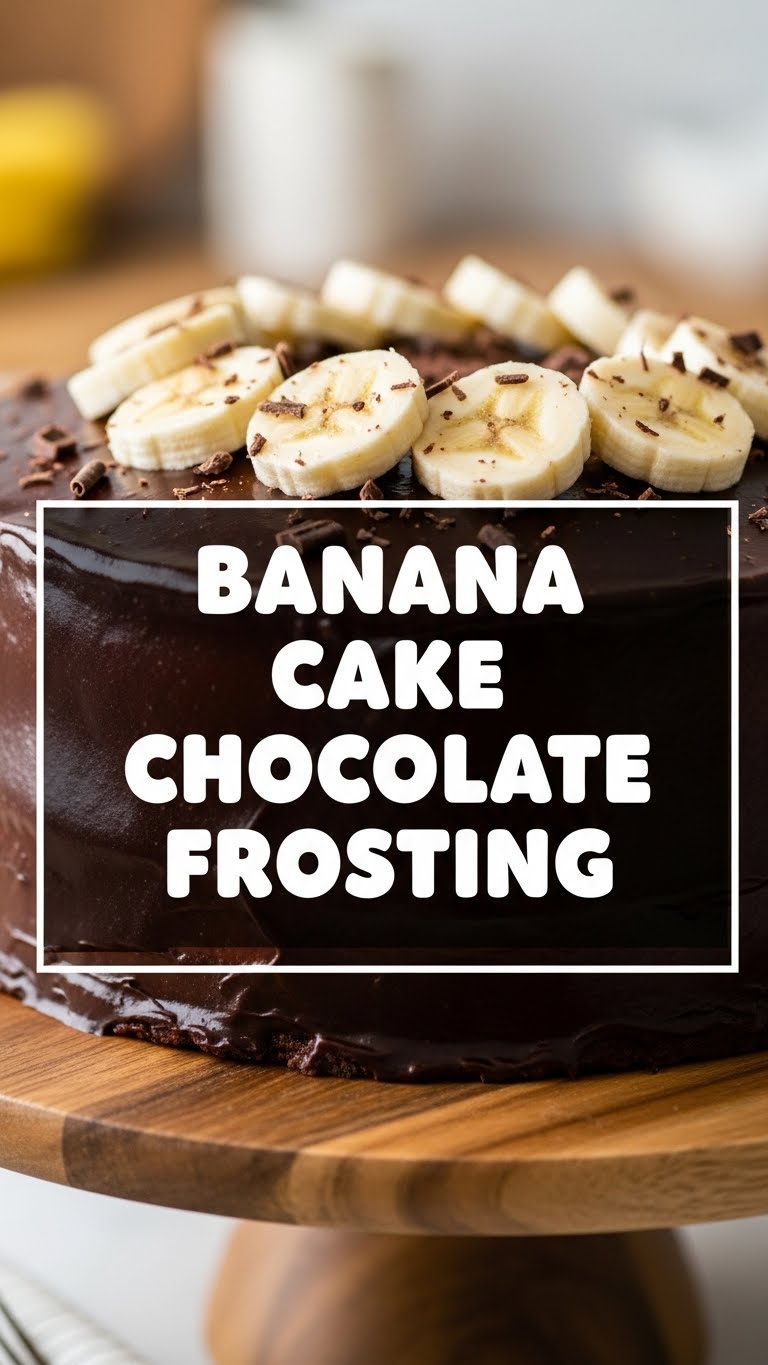
So, you’ve got those sad, spotty bananas sitting on your counter, practically begging for a glorious purpose, and your sweet tooth is doing a little tap dance, huh? Yeah, me too. Every single time. Instead of letting them become a science experiment, let’s turn those brown beauties into the most ridiculously moist Banana Cake with a dreamy Chocolate Frosting. Seriously, it’s a game-changer. And no, you don’t need a culinary degree for this one. Just enthusiasm and maybe a fork ready for taste-testing.
Why This Recipe is Awesome
Okay, first things first, this isn’t just *another* banana cake. This is THE banana cake. Why? Because it’s moist enough to make you question every dry cake you’ve ever eaten. Plus, it pairs bananas (nature’s candy, kinda) with chocolate (actual candy, no question) in a way that just *works*. It’s comforting, it’s decadent, and frankly, it’s an absolute mood lifter. It’s also **ridiculously forgiving**. Even if you’re a baking novice, or, like me, occasionally forget where you put your car keys mid-sentence, you’ll nail this. It’s that simple, I swear. No fancy techniques, just pure, unadulterated deliciousness.
Ingredients You’ll Need
Get your grocery list ready, buttercup. Most of this stuff you probably already have lurking in your pantry, or your fridge just waiting for its moment to shine.
- For the Banana Cake:
- All-purpose flour: The backbone of our cakey dreams.
- Baking soda: The magic dust that makes it all fluffy. Don’t skip it!
- Salt: Just a pinch to balance all that sweetness.
- Cinnamon: Adds that cozy, “I’m a baking genius” aroma.
- Unsalted butter: Softened, please. Cold butter is an enemy of smooth batter.
- Granulated sugar: Because sugar makes everything better.
- Eggs: Room temperature, if you’re feeling fancy. Helps with emulsification, blah blah blah, just trust me.
- Vanilla extract: A splash of pure joy. Don’t cheap out here.
- Sour cream: Shh! This is our secret weapon for *ultimate* moistness. Or plain yogurt if sour cream gives you the heebie-jeebies.
- Ripe bananas: THE star of the show. The spottier, the better. Don’t even *think* about using green ones.
- For the Chocolate Frosting:
- Unsalted butter: Again, softened. We’re going for creamy, not clumpy.
- Powdered sugar: Also known as confectioners’ sugar. Sift it if you’re feeling ambitious and hate lumps.
- Unsweetened cocoa powder: The chocolatey goodness. The darker, the better for that deep chocolate flavor.
- Vanilla extract: A dash for depth.
- Milk (or cream): Just a tablespoon or two to get that perfect spreadable consistency.
- A pinch of salt: Balances the sweetness and makes the chocolate taste even more chocolatey. Seriously.
Step-by-Step Instructions
Alright, apron on, game face ready! Let’s get baking this masterpiece.
- Prep Your Stage: Preheat your oven to 350°F (175°C). Seriously, **preheat your oven**. Line a 9×13 inch baking pan with parchment paper or grease and flour it generously. Nobody likes a sticky situation.
- Whisk the Dry Stuff: In a medium bowl, whisk together your flour, baking soda, salt, and cinnamon. Set it aside for a moment. This is our dry team.
- Cream the Wet Stuff (Part 1): In a large bowl, using an electric mixer (or a strong arm!), cream together the softened butter and granulated sugar until it’s light and fluffy. This usually takes a good 2-3 minutes. Don’t rush it!
- Add Eggs & Vanilla: Beat in the eggs one at a time, mixing well after each addition. Then stir in that lovely vanilla extract.
- Alternate & Combine: Now, add about a third of your dry ingredients to the wet mixture and mix until just combined. Follow with half of the sour cream (or yogurt), mix. Repeat with another third of the dry, then the rest of the sour cream, and finally the last of the dry ingredients. **Don’t overmix!** A few lumps are totally fine.
- Mash and Fold: In a separate bowl, mash those ripe bananas with a fork. They should look like lumpy baby food, not a smoothie. Gently fold the mashed bananas into your cake batter.
- Bake It Baby: Pour the batter into your prepared pan and smooth the top. Bake for 25-30 minutes, or until a wooden skewer inserted into the center comes out clean.
- Cool Down: Let the cake cool in the pan for about 10-15 minutes, then transfer it to a wire rack to cool completely. **Do not frost a warm cake.** Seriously, it will melt into a sad, sugary puddle.
- Whip Up the Frosting: While the cake cools, grab a clean bowl. Beat the softened butter until creamy. Gradually add the powdered sugar, cocoa powder, vanilla, and salt. Start slow, or you’ll have a cocoa cloud explosion! Add milk or cream, one tablespoon at a time, until you reach your desired fluffy, spreadable consistency.
- Frost & Devour: Once the cake is completely cool, spread that glorious chocolate frosting all over it. Slice, serve, and bask in the glory of your creation!
Common Mistakes to Avoid
Listen up, buttercup. We’re here to make delicious cake, not tragic baking memories. Avoid these pitfalls:
- Ignoring the “Ripe” Banana Memo: Using yellow or green bananas. Rookie move! They won’t give you that intense banana flavor or the moist texture we’re aiming for. Wait for those glorious brown spots. Patience, young padawan.
- Overmixing the Batter: Once you add flour, treat your mixer like it’s fragile. Overmixing develops gluten, which leads to a tough, dense cake. We want tender and fluffy, remember?
- Frosting a Warm Cake: I know, I know, the smell is intoxicating. But applying frosting to a warm cake is like trying to ice skate on soup. It just melts into a hot mess. **Be patient!**
- Not Measuring Accurately: Baking is a science, not like cooking where you can wing it. Too much flour, too little baking soda… it all matters. **Use proper measuring cups and spoons!**
Alternatives & Substitutions
Feeling adventurous? Or just missing an ingredient? No stress, we got options!
- No Sour Cream? Plain Greek yogurt or buttermilk works wonders for that extra moisture. IMO, sour cream gives the best tang, but yogurt is a close second.
- Butter Dilemma: Margarine *can* work, but let’s be real, butter just tastes better. For a dairy-free option, use a good quality plant-based butter substitute.
- Chocolate Chip Craving? Feel free to fold in a cup of chocolate chips into the cake batter before baking. Because more chocolate is always a good idea.
- Nutty About Nuts? Add 1/2 cup of chopped walnuts or pecans to the batter for some delightful crunch.
- Cocoa Powder Swap: If you only have Dutch-processed cocoa, that’s fine for the frosting. For the cake itself, stick to natural unsweetened cocoa powder if you can, as it reacts differently with baking soda.
FAQ (Frequently Asked Questions)
Got questions? I’ve got answers (and probably a joke or two).
- Can I make this dairy-free? Absolutely! Use plant-based butter, a dairy-free sour cream alternative (like full-fat coconut cream), and plant-based milk for the frosting. Easy peasy!
- My bananas aren’t ripe enough! Help! Pop them on a baking sheet in a 300°F (150°C) oven for 15-20 minutes until their skins turn black and shiny. Let them cool, then mash. Insta-ripe bananas!
- Can I bake this as cupcakes? You betcha! Reduce baking time to 18-22 minutes. You’ll get about 24 delicious cupcakes. Perfect for sharing (or not!).
- How long does this cake last? Covered at room temperature, it’s good for 3-4 days. In the fridge, it’ll last up to a week. If it makes it that long, you have more willpower than I do.
- Why is my cake dry? Likely culprits: overmixing, too much flour (measure accurately!), or overbaking. Keep an eye on that oven and don’t bake past when the skewer comes out clean.
- Can I make the frosting less sweet? You can slightly reduce the powdered sugar, but don’t go too crazy, or it might affect the texture. A pinch more salt can also help cut the sweetness perception without changing the sugar amount.
Final Thoughts
And there you have it! Your ticket to banana cake bliss with a chocolatey hug. This recipe is seriously foolproof and guaranteed to bring smiles (and probably requests for the recipe, FYI). So go ahead, get in that kitchen, whip up this magic, and treat yourself. You’ve earned it! Now go impress someone—or just yourself—with your new culinary skills. Enjoy every single glorious bite!


