So you’re craving something tasty but too lazy to spend forever in the kitchen, huh? Same. We’ve all been there: staring at those sad, spotty bananas on the counter, knowing their destiny is a glorious banana bread… but then you remember you’re out of baking soda. Panic sets in. Do you really have to put on actual pants and go to the store? Absolutely not, my friend. Because today, we’re making banana bread that defies expectations, scoffs at leavening agents, and still tastes like a warm hug. Get ready for banana bread without the fuss (or the baking soda!).
Why This Recipe is Awesome
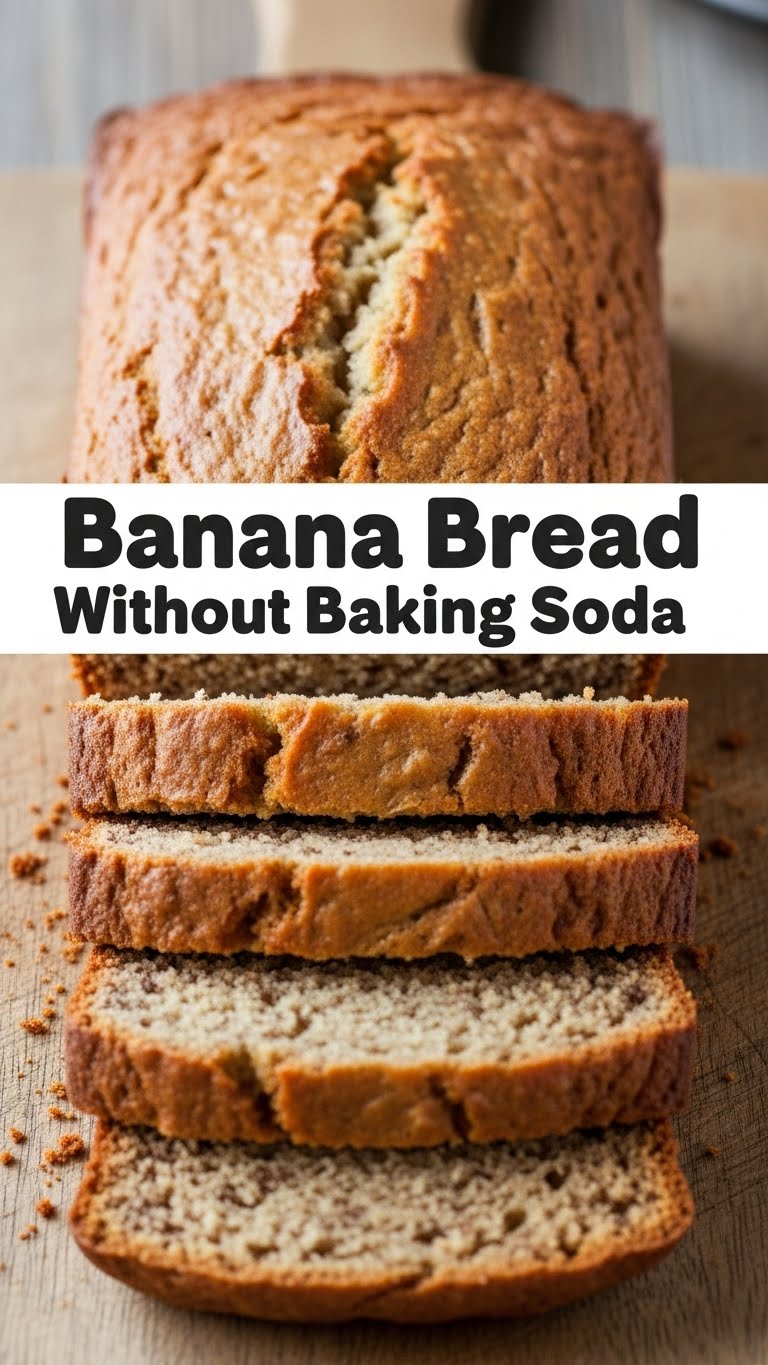
Okay, first things first: this isn’t your grandma’s super-fluffy, sky-high banana bread. And that’s a good thing! This recipe gives you a dense, moist, almost fudgy loaf that’s bursting with banana flavor. It’s less “bread” and more “OMG-I-need-another-slice” banana cake. Why is it awesome?
- It’s **idiot-proof**. Seriously, even if you usually burn water, you’ll nail this. I didn’t mess it up, and my track record is… colorful.
- **No baking soda? No problem!** We’re leaning into the rich, dense texture, and honestly, it’s a revelation. Think pound cake, but banana-y.
- **Uses up those super-ripe bananas.** The browner, the better. We’re talking full-on leopard print. Don’t let those beauties go to waste!
- Minimal ingredients, maximum flavor. Because who needs complicated?
Ingredients You’ll Need
Gather your troops! Here’s what you need to whip up this magical, no-soda-needed banana goodness:
- **3-4 Very Ripe Bananas:** The darker the spots, the sweeter the bread. Don’t be shy; aim for practically liquid gold.
- **1 ½ cups All-Purpose Flour:** Just your standard stuff. No need for fancy flours here.
- **½ cup (1 stick) Unsalted Butter:** Softened to room temperature. If it’s rock-hard, microwave it for 10 seconds. Don’t melt it completely, though!
- **¾ cup Granulated Sugar:** The sweet stuff. Adjust if your bananas are exceptionally sweet (or if you just like less sugar, you rebel).
- **2 Large Eggs:** Room temperature is best. They help bind and give a little lift (our secret weapon since we’re skipping the soda!).
- **1 teaspoon Vanilla Extract:** Because vanilla makes everything taste like a dream. Don’t skip it!
- **½ teaspoon Salt:** Balances all that sweetness and brings out the banana flavor. Essential, trust me.
Step-by-Step Instructions
Alright, apron on (or just wear that stained t-shirt, no judgment here!). Let’s do this:
- **Preheat Power:** Get that oven heated up to **350°F (175°C)**. And don’t forget to grease and flour (or line with parchment) a 9×5 inch loaf pan. Rookie mistake alert: not prepping your pan!
- **Mash Those Bananas:** In a medium bowl, mash your super-ripe bananas with a fork until they’re mostly smooth but still have a few chunky bits. Character, you know? Set aside.
- **Cream Dream:** In a large bowl, using an electric mixer (or a strong arm and a whisk, you overachiever), **cream together the softened butter and granulated sugar** until it’s light and fluffy. This is where we incorporate air for a bit of natural lift!
- **Eggcellent Addition:** Beat in the eggs, one at a time, until fully incorporated. Scrape down the sides of the bowl. Then stir in the vanilla extract.
- **Dry Mix:** In a separate bowl, whisk together the flour and salt. This ensures even distribution.
- **Combine Gently:** Gradually add the dry ingredients to the wet ingredients, mixing on low speed **just until combined**. A few streaks of flour are okay; we want to avoid overmixing at all costs!
- **Fold in Bananas:** Gently fold in your mashed bananas. Don’t go crazy here; a few turns with a spatula are all you need.
- **Pour & Bake:** Pour the batter into your prepared loaf pan and smooth the top. Bake for **50-60 minutes**, or until a toothpick inserted into the center comes out clean. If the top starts browning too quickly, loosely tent it with foil.
- **Cool Down:** Let your beautiful banana bread cool in the pan for about 10 minutes before carefully transferring it to a wire rack to cool completely. Patience is a virtue, especially when warm banana bread is involved.
Common Mistakes to Avoid
We’ve all made them. Learn from my (numerous) past blunders:
- **Underripe Bananas:** This is the cardinal sin. Seriously, **use very ripe, spotty bananas**. They’re sweeter and easier to mash, and they give your bread that amazing intense banana flavor. Green bananas = sad bread.
- **Overmixing:** Once you add the flour, mix **just until combined**. Overmixing develops the gluten too much, leading to a tough, rubbery loaf. We want tender and moist, not bouncy!
- **Not Preheating the Oven:** Thinking you don’t need to preheat the oven—rookie mistake. A cold oven messes with baking times and the texture of your bread. Give it time to get to temperature.
- **Opening the Oven Door Too Early:** Resist the urge! Every time you open the door, you let out heat, which can cause your bread to sink. Wait until at least the 40-minute mark to peek.
Alternatives & Substitutions
Feeling creative? This recipe is super forgiving! Here are some ideas:
- **Chocolate Chip Heaven:** Add ½ to ¾ cup of chocolate chips (dark, milk, or white!) when you fold in the bananas. Because chocolate makes everything better, IMO.
- **Nutty Professor:** Toss in ½ cup of chopped walnuts or pecans for some delightful crunch. Toast them first for extra flavor!
- **Spice it Up:** A teaspoon of cinnamon or a pinch of nutmeg can add a cozy warmth.
- **Brown Butter:** For next-level flavor, brown your butter before letting it cool and soften. It adds a nutty, caramel-y depth that is *chef’s kiss*.
- **Swap Sugar:** You can use brown sugar for half or all of the granulated sugar for a deeper, more molasses-like flavor.
FAQ (Frequently Asked Questions)
- **”No baking soda? Really? Will it even rise?”** Yes, really! It won’t rise *as much* as a traditional banana bread with leavening, but the creaming of butter and sugar, plus the eggs, gives it enough lift to be a delightfully dense, cake-like loaf. Embrace the fudginess!
- **”Can I use less ripe bananas if I’m impatient?”** Well, technically yes, but why hurt your soul like that? Underripe bananas mean less natural sweetness and flavor. If you’re truly desperate, you can ripen them faster by baking them unpeeled at 300°F (150°C) for 15-20 minutes until they’re soft and black.
- **”My butter isn’t at room temperature. What do I do?”** Cut it into small pieces and let it sit for 10-15 minutes, or zap it in the microwave on 50% power for 5-10 second bursts until just softened, not melted. Patience, young grasshopper.
- **”How should I store this amazing banana bread?”** Cover it tightly with plastic wrap or foil, or keep it in an airtight container at room temperature for up to 3 days. For longer storage, slice it and freeze individual slices for up to 3 months. Just thaw and enjoy!
- **”Can I make muffins instead of a loaf?”** Absolutely! Pour the batter into a greased muffin tin (filling about two-thirds full). Bake for 20-25 minutes, or until a toothpick comes out clean.
Final Thoughts
See? You didn’t even need that pesky baking soda. You just made an incredibly delicious, moist, and wonderfully dense banana bread that’s perfect for breakfast, a snack, or a midnight treat. It’s proof that sometimes, less is truly more. So go ahead, pat yourself on the back, grab a slice, and maybe even share (if you feel like it, no pressure). Now go impress someone—or yourself—with your new culinary skills. You’ve earned it!

