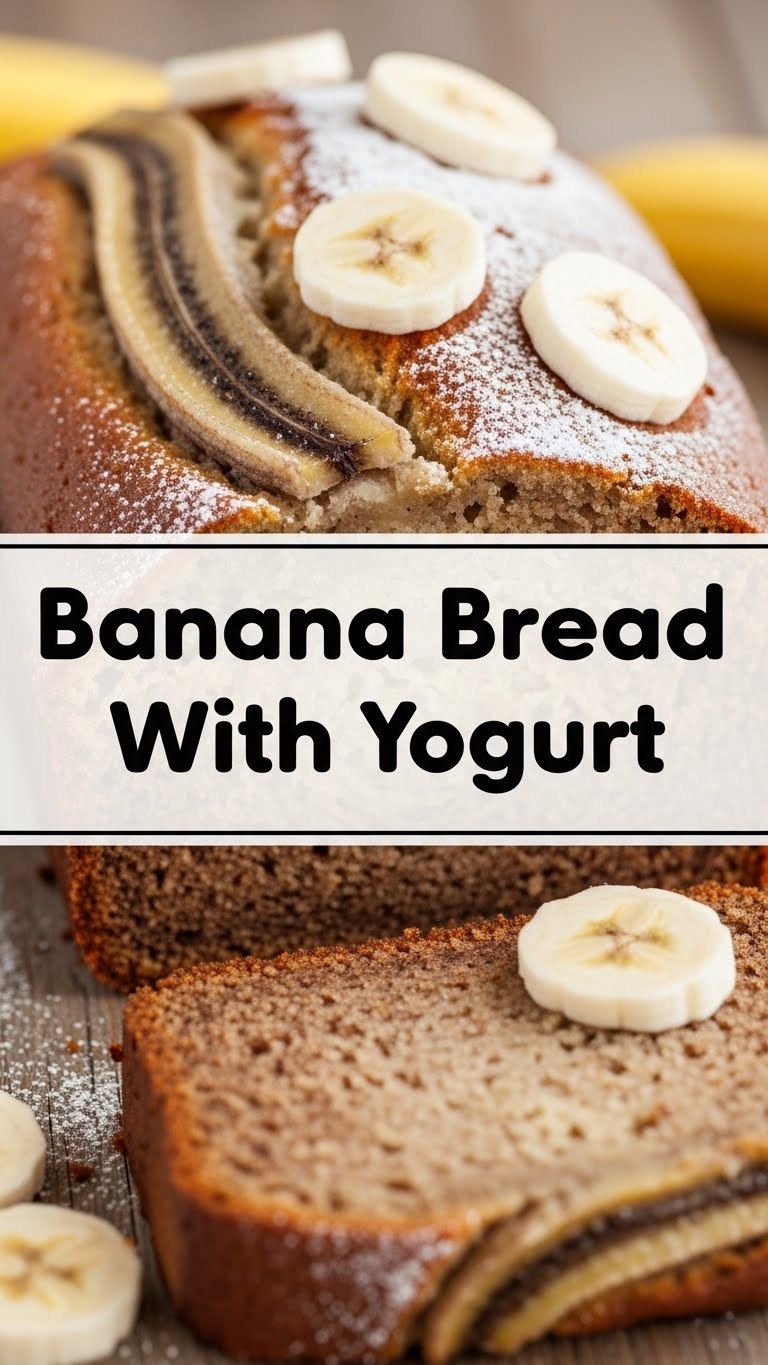
Banana Bread Bliss: The Yogurt Edition!
So, you’re staring into the abyss of your fruit bowl and all you see are some seriously sad, browning bananas. Don’t you dare throw them out! Those aren’t past their prime; they’re *pre-loved* and ready to become the star of the most ridiculously easy and ridiculously delicious banana bread you’ve ever made. And guess what? We’re adding yogurt. Why yogurt, you ask? Because we’re fancy like that and it makes this bread oh-so-moist and fluffy. Let’s do this!
Why This Recipe is Awesome
Honestly, this recipe is a lifesaver. It’s the “I woke up late but still want to look like I adulted” kind of recipe. It’s practically idiot-proof, and even if your bananas are basically liquid at this point, they’ll still work. Plus, the yogurt? It’s like a secret superpower that makes this bread so tender, you’ll question reality. No dry, crumbly disasters here, folks. This is the good stuff.
Ingredients You’ll Need
Here’s the lowdown on what you’ll be rummaging for:
- 3 Ripe Bananas: The browner, the better. Think of them as nature’s sprinkles.
- 1/2 Cup (1 stick) Unsalted Butter: Melted, please. No one likes chunky butter bread.
- 1/2 Cup Yogurt: Plain, Greek, vanilla – surprise me! Your call.
- 3/4 Cup Granulated Sugar: Or a little less if your bananas are super sweet.
- 1 Large Egg: Just one. We’re not making a meringue here.
- 1 Teaspoon Vanilla Extract: The secret weapon of deliciousness.
- 1 1/2 Cups All-Purpose Flour: The trusty workhorse.
- 1 Teaspoon Baking Soda: For that beautiful rise.
- 1/2 Teaspoon Salt: Don’t skip this, it makes everything taste better.
- Optional: Chocolate Chips, Nuts, or Berries: Because why not live a little?
Step-by-Step Instructions
Let’s get this bread party started!
- Preheat & Prep: First things first, crank your oven to 350°F (175°C). Grab a loaf pan and **grease and flour it**, or line it with parchment paper. Nobody wants their masterpiece stuck.
- Mash & Mix Wet Stuff: In a big bowl, mash those sad bananas until they’re practically goo. Add the melted butter, yogurt, sugar, egg, and vanilla. Whisk it all together until it’s a happy, homogeneous mixture.
- Dry Stuff Unite: In a separate, slightly less exciting bowl, whisk together your flour, baking soda, and salt. This is where you can add your optional goodies like chocolate chips.
- Combine Gently: Pour the dry ingredients into the wet ingredients. Now, this is crucial: **mix *just* until combined**. Overmixing is the enemy of tender banana bread. Seriously, don’t go nuts here. A few streaks of flour are fine.
- Bake It ‘Til It’s Delicious: Pour that glorious batter into your prepared loaf pan. Pop it into the preheated oven and bake for **50-65 minutes**. How do you know it’s done? Stick a toothpick in the center – if it comes out clean, you’ve done it!
- Cool Down: Let it cool in the pan for about 10-15 minutes before turning it out onto a wire rack to cool completely. Patience, grasshopper!
Common Mistakes to Avoid
Don’t let your dreams of delicious banana bread crumble! Here are some pitfalls:
- Using Under-Ripe Bananas: They won’t mash well and won’t give you that sweet, banana-y goodness. We’re talking brown spots, people!
- Overmixing the Batter: Seriously, I can’t stress this enough. Overmixing develops the gluten and leads to a tough, rubbery bread. Keep it gentle!
- Not Measuring Your Flour Correctly: Scooping directly from the bag can pack too much flour in. **Spoon and level** for accuracy.
- Opening the Oven Door Too Early: Resist the urge! This can cause your loaf to sink like a poorly made soufflé.
- Serving it Warm: It’s tempting, I know. But let it cool properly so the flavors can meld and it doesn’t fall apart when you slice it.
Alternatives & Substitutions
Feeling adventurous? Or just ran out of something? No worries!
- Yogurt: If you’re out of yogurt, sour cream is a pretty decent substitute. Or even applesauce! It’ll change the texture a bit, but it’ll still be yummy.
- Butter: Melted coconut oil or even a neutral vegetable oil can work in a pinch.
- Sugar: Brown sugar can add a lovely caramel note. Honey or maple syrup can also be used, but you might need to adjust the liquid slightly.
- Add-ins: Don’t limit yourself! Dried cranberries, chopped dates, or even a sprinkle of cinnamon can elevate this bread.
FAQ (Frequently Asked Questions)
Got questions? I’ve got (mostly) sane answers!
- Can I make this recipe gluten-free? Sure can! Use a good quality gluten-free all-purpose flour blend. Results can vary, so use one you trust.
- My bananas are *way* too ripe, like black. Is that okay? YES! The blacker, the better. That’s where all the flavor and sweetness hides.
- How long will this bread last? In an airtight container at room temp, it should be good for about 3-4 days. If it lasts that long, you’re a stronger person than I am.
- Can I freeze banana bread? Absolutely! Wrap it tightly in plastic wrap and then foil. It’ll be good for a couple of months. Just let it thaw on the counter.
- What kind of yogurt is best? IMO, Greek yogurt gives it a great richness and tang, but any plain yogurt will do the trick. Vanilla is also a fun twist!
- Can I add protein powder? Ummm, technically yes, but it might make it a bit dense. Probably not my first choice, but if you’re feeling experimental… go for it?
Final Thoughts
See? That wasn’t so scary, was it? You’ve just whipped up a batch of seriously fantastic banana bread with minimal fuss and maximum deliciousness. Give yourself a pat on the back! Now, go enjoy a slice (or three) with your favorite hot beverage. And remember, the best part of making banana bread is eating it. Go forth and bake something amazing!

