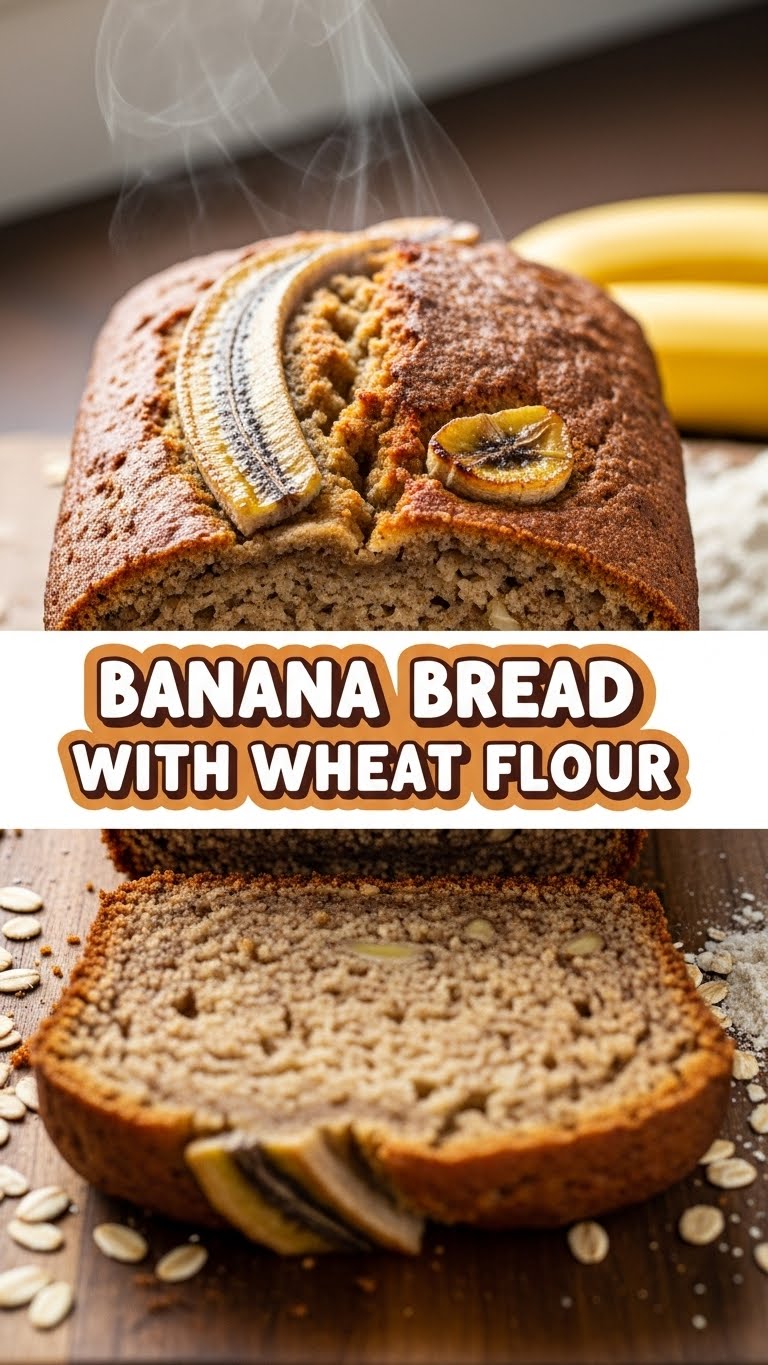
So you’re staring into the abyss of your fruit bowl and have a sudden, overwhelming urge to bake, but also a deep-seated aversion to anything complicated? My friend, you’ve come to the right place. We’re talking banana bread, but not just any banana bread. This is the one that’s easy, uses that wholesome wheat flour you’ve been meaning to try, and tastes so darn good, you’ll want to hide it from yourself. You know, for later. Or for now. No judgment here!
Why This Recipe is Awesome (Seriously)
Okay, let’s be real. Banana bread is already a culinary superhero. But this version? It’s like the superhero got a sensible business suit and still kicks butt. We’re swapping out some (or all, depending on your bravery) of the refined white stuff for whole wheat flour. This means you can tell yourself it’s practically a health food. We’re talking a slightly heartier texture, a nutty undertone, and bragging rights for being all virtuous. Plus, it’s still ridiculously easy. Like, “I-can-watch-Netflix-while-I-do-this” easy. It’s forgiving, too. My cat once knocked a bag of flour onto the counter, and I swear I just scooped it back in. Bread still came out edible. That’s the magic!
Ingredients You’ll Need (The Usual Suspects, Plus One)
- 3-4 Ripe Bananas: The browner, the better. If they’re still yellow, they ain’t sweet enough, boo.
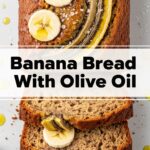
- 1/3 Cup Melted Butter (or Coconut Oil): Because nothing good happens without fat.
- 1/2 Cup Sugar: Brown sugar is my jam here, but white is fine. It’s a free country (and kitchen).
- 1 Large Egg: The binder. Don’t skip it, unless you enjoy banana soup.
- 1 Teaspoon Vanilla Extract: For that “fancy” aroma.
- 1 Cup All-Purpose Flour: The standard bearer.
- 1 Cup Whole Wheat Flour: This is our secret weapon! Feel free to adjust the ratio if you’re feeling wild.
- 1 Teaspoon Baking Soda: The magic poof-maker.
- 1/2 Teaspoon Salt: Balances all that sweetness.
- Optional Goodies: A handful of chocolate chips (duh), chopped nuts (walnuts are classic), or a sprinkle of cinnamon.
Step-by-Step Instructions (Let’s Get This Bread!)
- Preheat your oven to 350°F (175°C). Grease and flour a loaf pan. You can also use parchment paper for extra ease.
- In a large bowl, mash those sad, overripe bananas with a fork until they’re mostly smooth but still have a few lumps. It’s rustic, people!
- Stir in the melted butter (or oil), sugar, egg, and vanilla extract. Mix until it’s all cozy and combined.
- In a separate, smaller bowl, whisk together your all-purpose flour, whole wheat flour, baking soda, and salt. This is where you can add your optional cinnamon if you’re feeling spicy.
- Now, dump the dry ingredients into the wet ingredients. Fold them together gently until *just* combined. **Seriously, don’t overmix!** Overmixing leads to tough bread, and nobody wants that. A few streaks of flour are totally fine.
- If you’re adding chocolate chips or nuts, now’s their time to shine. Fold them in like you’re tucking them into bed.
- Pour the batter into your prepared loaf pan and spread it out evenly.
- Bake for 50-65 minutes, or until a toothpick inserted into the center comes out clean. Ovens are quirky, so start checking around the 50-minute mark.
- Let it cool in the pan for about 10 minutes before turning it out onto a wire rack to cool completely. Patience, grasshopper!
Common Mistakes to Avoid (Don’t Be That Guy)
- Using Underripe Bananas: Seriously, don’t. They’re basically just starchy lumps. Wait for the black spots!
- Overmixing the Batter: I said it once, I’ll say it again. Overmixing is the enemy of tender banana bread. Mix until *just* combined.
- Not Preheating Your Oven: This is a cardinal sin in baking. Your bread will come out sad and undercooked.
- Opening the Oven Door Too Often: Resist the urge to peek every two minutes. Let the oven do its thing.
- Cutting It Too Soon: It’s tempting, I know. But letting it cool allows the structure to set, resulting in cleaner slices.
Alternatives & Substitutions (Because We’re All About Options)
This recipe is pretty flexible, which is why I love it. You can play with the flour ratio. Maybe you have 1.5 cups of whole wheat and only 0.5 cups of all-purpose? Go for it! Or even 100% whole wheat if you’re feeling brave and want maximum fiber. If you’re out of eggs, a flax egg (1 tbsp flaxseed meal + 3 tbsp water, let sit for 5 mins) can work in a pinch, but the texture might be slightly denser. And if butter isn’t your jam, coconut oil or even applesauce can work, though they’ll change the flavor and moisture a bit.
FAQ (Your Burning Questions, Answered Casually)
- Can I use frozen bananas? Absolutely! Just thaw them completely and squeeze out as much liquid as you can. They’re often even sweeter than fresh ones.
- My bananas aren’t *that* brown. Can I still make this? If they’re just starting to get a few spots, they’ll likely be okay. But the truly mushy, spotty ones are where the real magic happens.
- What’s the deal with whole wheat flour? Is it going to taste like cardboard? Nah, not in this recipe! The bananas and sugar do a great job of masking any “healthy” flavor. It just adds a nice depth and a slightly chewier texture. FYI, whole wheat pastry flour is even lighter if you’re nervous.
- Can I make muffins instead? You betcha! Pour the batter into muffin tins and bake for about 20-25 minutes. Keep an eye on them!
- How long will this last? In an airtight container at room temperature, it should be good for about 2-3 days. But let’s be honest, it rarely makes it that long.
- Can I freeze it? Yes! Wrap it well in plastic wrap and then foil. It should freeze beautifully for a couple of months. Just thaw it on the counter when the craving strikes.
Final Thoughts
And there you have it! A delightful, wholesome-ish banana bread that’s begging to be made. It’s the perfect snack, breakfast, or “I-just-need-something-yummy-right-now” solution. So go forth, mash those bananas, and bake something amazing. Now go impress someone—or yourself—with your new culinary skills. You’ve earned it!

