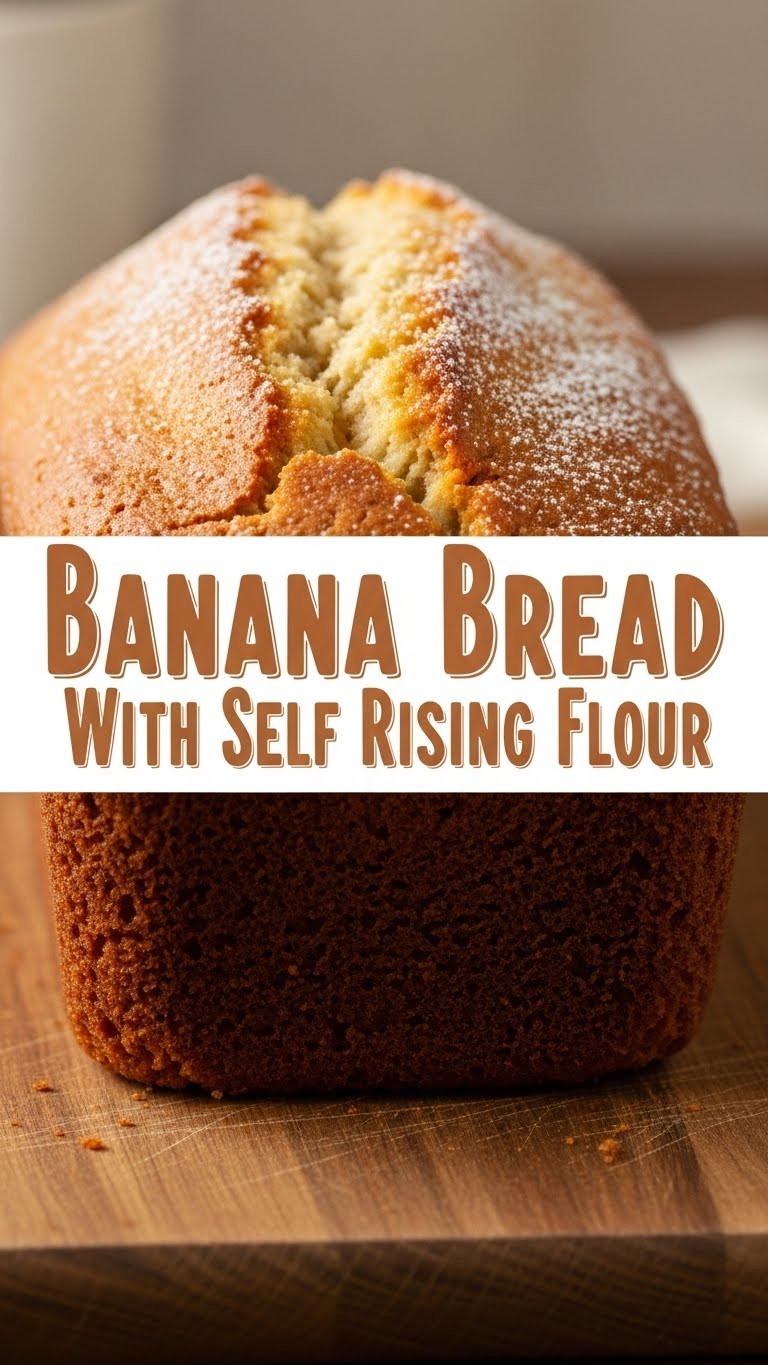
Banana Bread Bliss: Because Sometimes You Just Need Cake (and Bananas!)
So you’re staring at those sad, freckled bananas on your counter, the ones that have officially passed “snackable” status and are screaming “Bake me!”? And you’re thinking, “Ugh, baking is *so* much effort.” Well, my friend, I hear you. But what if I told you you could whip up some seriously delicious, ridiculously moist banana bread with minimal fuss and maximum flavor? And the secret weapon? Self-rising flour. Yep, it’s like a superhero in your pantry, making baking way less intimidating. Let’s get this bread!
Why This Recipe is Awesome (Seriously, It’s Pretty Great)
Okay, let’s be real. Most banana bread recipes feel like a chemistry experiment. But this one? It’s practically foolproof. We’re using self-rising flour, which means you can ditch the baking powder and baking soda drama. It’s already got its leavening agents built-in. Think of it as a pre-packaged shortcut to deliciousness. It’s so easy, even your cat could probably supervise and make it turn out okay. Plus, it’s super forgiving. Over-mashed bananas? Slightly too much flour? No sweat! This recipe is more about happy accidents than precise measurements (though we’ll still give you those, don’t worry).
Ingredients You’ll Need (Don’t Panic, It’s Not That Scary)
* Overripe Bananas (the mushier, the better): These are your flavor bombs! Aim for 3-4. The spottier, the sweeter.
* Self-Rising Flour: The star of the show! About 1.5 cups.
* Butter (softened, not melted, please!): Half a cup. It makes it rich and delicious.
* Sugar: 3/4 cup. You can adjust this if you like it sweeter or less sweet.
* Eggs: 2 large ones. They bind everything together.
* Vanilla Extract: 1 teaspoon. Because everything’s better with a splash of vanilla.
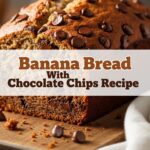
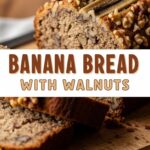
* Optional Fun Stuff: Chocolate chips (duh!), chopped nuts, a sprinkle of cinnamon. Go wild!
Step-by-Step Instructions (You Got This!)
- Preheat and Prep: Crank your oven to 350°F (175°C). Grease and flour a loaf pan. This is crucial to avoid that heartbreaking stuck-bread situation.
- Mash Those Bananas: In a big bowl, go to town mashing those bananas. A fork works perfectly. Some lumps are totally fine – they add character!
- Wet Ingredients Unite: Add the softened butter, sugar, eggs, and vanilla extract to the mashed bananas. Mix it all up until it’s nicely combined. Don’t overmix, just get it friendly.
- Dry Ingredients Join the Party: Now, add the self-rising flour to the wet ingredients. **Gently fold it in** until just combined. We’re not making a meringue here, so no need to go crazy with the mixing. A few streaks of flour are okay.
- Add Your Flair: If you’re adding chocolate chips or nuts, now’s the time! Fold them in gently.
- Bake It ‘Til You Make It: Pour the batter into your prepared loaf pan and smooth the top. Bake for 50-65 minutes, or until a toothpick inserted into the center comes out clean.
- Cool Down: Let it cool in the pan for about 10 minutes before turning it out onto a wire rack to cool completely. Patience, young grasshopper!
Common Mistakes to Avoid (Don’t Be That Guy/Gal)
- Using Hard Bananas: Seriously, your bread will taste…meh. Go for the brown, spotty ones. They’re your friends.
- Overmixing the Flour: This is a biggie! Overmixing develops gluten, which can lead to tough, chewy banana bread. Fold it in gently, like you’re tucking in a baby.
- Skipping the Preheat: Your oven needs to be hot and ready! Putting batter into a cold oven is a recipe for disappointment and a sad, flat loaf.
- Not Testing for Doneness: That toothpick test is your best friend. Don’t guess! Underbaked banana bread is… well, let’s just say it’s not ideal.
Alternatives & Substitutions (Because Life Happens)
- No Butter? You can use **margarine or a neutral oil** (like vegetable or canola) in place of butter. It might change the texture a tad, but it’ll still be tasty.
- Want to Go Dairy-Free? Use a dairy-free butter substitute or oil, and swap the eggs for a flax egg (1 tbsp flaxseed meal + 3 tbsp water, let it sit for 5 mins).
- Sugar Levels: If you’re watching your sugar, you can reduce it slightly, but don’t go overboard, as sugar contributes to moisture and browning. You could also try a bit of honey or maple syrup, but adjust the liquid accordingly.
- Add-ins: Blueberries, dried cranberries, chopped dates, a swirl of peanut butter… the possibilities are endless!
FAQ (The Burning Questions You Might Have)
Q: My bananas aren’t very ripe, can I still use them?
A: Uh, technically yes, but **I highly recommend waiting** for those beauties to get spotty. They’ll give you way more sweetness and banana flavor. Patience is a virtue, my friend, especially when it comes to banana bread.
Q: Can I use all-purpose flour instead of self-rising?
A: You *can*, but then you’ll have to add your own leavening agents. For every 1.5 cups of all-purpose flour, you’d need about 2 teaspoons of baking powder and 1/2 teaspoon of salt. Honestly, just grab the self-rising stuff; it’s easier!
Q: My banana bread is too dense. What did I do wrong?
A: Most likely, you overmixed the batter after adding the flour. Remember: **gentle folding is key!** Also, ensure your bananas are truly mashed and not just chopped.
Q: Can I freeze banana bread?
A: Absolutely! Let it cool completely, wrap it tightly in plastic wrap, then in foil or a freezer bag. It’ll keep for a few months. Thaw it on the counter or zap it gently in the microwave.
Q: How do I know when it’s *really* done baking?
A: The toothpick test is your best friend. Insert it into the center of the loaf. If it comes out clean with just a few moist crumbs, it’s ready. If there’s wet batter, give it a few more minutes.
Q: My loaf looks a little pale on top. Help!
A: No worries! If it’s cooked through (check with the toothpick!), you can pop it back in the oven for a few more minutes. Or, if you’re feeling fancy, you can tent it loosely with foil during the last 15-20 minutes of baking to prevent the top from browning too quickly.
Final Thoughts (Go Forth and Bake!)
And there you have it! Delicious, fuss-free banana bread that tastes like a warm hug. It’s the perfect treat for breakfast, an afternoon snack, or just because you deserve something sweet. So next time those bananas are looking a bit… over the hill, don’t toss them! Whip up this glorious creation. Now go impress someone—or yourself—with your new culinary skills. You’ve earned it!
