So you’re craving something tasty but too lazy to spend forever in the kitchen, huh? Same. We’ve all been there, staring at those suspiciously brown bananas on the counter, wondering if they’re still edible or if they’ve started plotting world domination. Well, good news, buttercup! Those overripe troopers are about to become your new favorite obsession: Banana Bread with Greek Yogurt. And trust me, this isn’t your grandma’s dry, crumbly banana bread. (No offense, Grandma!)
Why This Recipe is Awesome
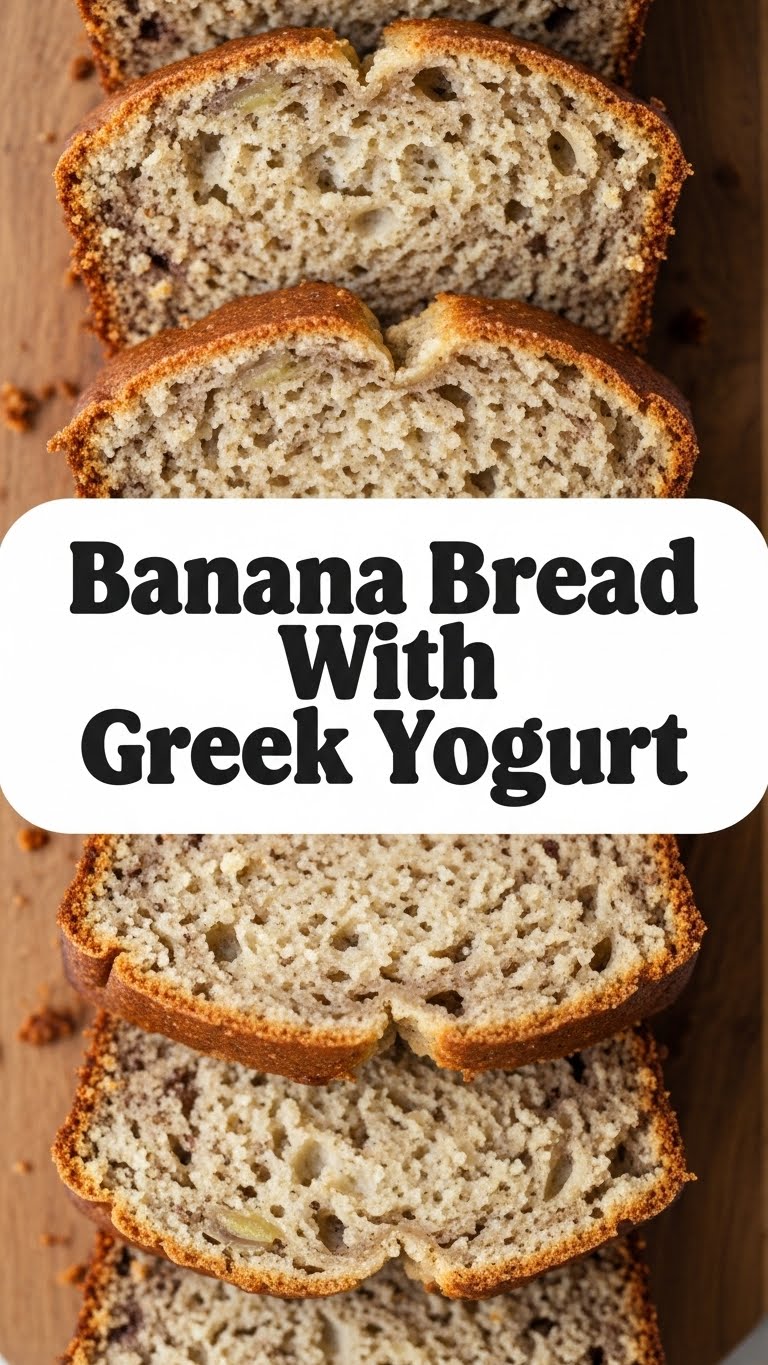
This isn’t just *any* banana bread, friend. This is next-level, hug-in-a-loaf-pan banana bread. Why? Because we’re bringing in the big guns: Greek yogurt! It’s like a secret agent for moisture and tenderness, making your banana bread ridiculously soft without adding a ton of extra fat. Plus, it gives it this subtle tang that just *works*. It’s idiot-proof, even I didn’t mess it up, and my culinary skills usually peak at boiling water. Your kitchen will smell like a dream, and you’ll feel like a domestic goddess (or god) with minimal effort. Win-win, right?
Ingredients You’ll Need
Gather your troops! Here’s what you’ll need to make this magic happen:
- Bananas: 3-4 medium, super-duper ripe. We’re talking brown spots, black spots, looking-like-they’ve-seen-things ripe. The uglier, the sweeter, trust me!
- All-Purpose Flour: 1 ½ cups. The basic stuff. No fancy ancient grains required unless you’re feeling extra.
- Granulated Sugar: ¾ cup. Just enough sweetness to balance those bananas.
- Greek Yogurt: ½ cup plain, full-fat or 2%. This is our secret weapon! Don’t skimp.
- Unsalted Butter: ½ cup (1 stick), melted. Because everything’s better with butter, duh.
- Egg: 1 large. The binder that holds our dreams together.
- Baking Soda: 1 teaspoon. Our leavening buddy, ready to make things fluffy.
- Salt: ½ teaspoon. Essential for balancing flavors, like a tiny culinary referee.
- Vanilla Extract: 1 teaspoon. Because vanilla makes everything smell and taste like happiness.
- Optional Add-ins: ½ cup chocolate chips, chopped walnuts, or pecans. Live a little!
Step-by-Step Instructions
Alright, apron on (or not, we don’t judge), let’s get baking!
- Preheat & Prep: First things first, get your oven to 350°F (175°C). Then, grease and flour a standard 9×5-inch loaf pan, or line it with parchment paper for easy removal. Trust me, you don’t want your masterpiece stuck.
- Mash ‘Em Up: In a large bowl, mash those ripe bananas with a fork until they’re mostly smooth but still have a few small lumps. We like character!
- Wet Ingredients Party: To your mashed bananas, add the melted butter, Greek yogurt, egg, and vanilla extract. Whisk ’em all together until they’re just combined. Don’t go crazy; we’re not making meringue here.
- Dry Ingredients Huddle: In a separate medium bowl, whisk together the flour, granulated sugar, baking soda, and salt. Make sure everything’s mixed well so you don’t get a surprise pocket of salt later.
- Combine & Conquer: Now for the magic! Pour the dry ingredients into the wet ingredients. Mix gently with a spatula until just combined. Stop mixing as soon as you don’t see any dry streaks! Overmixing is the enemy of tender banana bread. If you’re using optional add-ins, fold them in now.
- Into the Pan: Pour your glorious batter into the prepared loaf pan. Give it a gentle tap on the counter to settle any air bubbles.
- Bake It Till You Make It: Pop that pan into your preheated oven and bake for 50-65 minutes. How do you know when it’s done? A toothpick inserted into the center should come out clean, or with just a few moist crumbs.
- Cool Down: Once baked, let it cool in the pan for about 10 minutes. Then, carefully remove it from the pan and let it cool completely on a wire rack. Or, if you’re like me and have zero patience, slice into it while it’s still warm. Just try not to burn your tongue!
Common Mistakes to Avoid
Even the pros make blunders, but with these tips, you won’t be one of them!
- Under-ripe Bananas: Using yellow, firm bananas. Rookie mistake! You want those spotted, almost black bananas. They’re sweeter and mash better.
- Skipping the Preheat: Thinking you don’t need to preheat the oven—another rookie mistake. A cold oven equals uneven baking and a sad loaf.
- Overmixing: Once you add the dry to the wet, mix *just* until combined. Lumps are fine, gluten development is not (for this recipe, anyway!). Overmixing makes your bread tough.
- Opening the Oven Door: Constantly peeking during the first 30-40 minutes of baking. You’re letting all the heat out, causing your bread to potentially collapse. Patience, grasshopper.
- Not Greasing Your Pan: Unless you enjoy chiseling baked goods out of metal, grease that pan! Or use parchment. Just do it.
Alternatives & Substitutions
Feeling adventurous? Or just realized you’re missing an ingredient? I got you.
- Flour Power: You can swap out a quarter of the all-purpose flour for whole wheat flour if you’re feeling ~healthy~. Or use a 1:1 gluten-free baking blend, but results might vary.
- Sugar Rush: Brown sugar can be used instead of granulated for a deeper, molasses-y flavor. Maple syrup or honey could work for some of the sugar, but adjust liquid ingredients slightly.
- Yogurt Swap: No Greek yogurt? Regular plain yogurt works, but it might be a bit thinner. Sour cream is also a fantastic substitute for that tender crumb!
- Butter Substitute: Melted coconut oil can stand in for butter in a pinch. It might add a subtle coconut flavor, which, IMO, isn’t a bad thing!
- Add-in Extravaganza: Besides chocolate chips and nuts, try dried cranberries, shredded coconut, or a sprinkle of cinnamon and nutmeg for a spiced version. Get creative!
FAQ (Frequently Asked Questions)
Got questions? I’ve got answers (mostly).
Q: Can I use margarine instead of butter?
A: Well, technically yes, but why hurt your soul like that? Butter just tastes better, let’s be real. If you must, use it, but don’t say I didn’t warn you.
Q: My bananas aren’t super ripe. Can I still use them?
A: You *can*, but your banana bread won’t be as sweet or flavorful. To speed up ripening, bake them on a baking sheet at 300°F (150°C) for 15-30 minutes until the peels are black. Easy hack!
Q: How long does banana bread last?
A: If it even lasts that long in your house, it’ll keep at room temperature, tightly wrapped, for about 3-4 days. In the fridge, it might last a week. But honestly, it’s best eaten fresh!
Q: Can I freeze banana bread?
A: Absolutely! This bread freezes beautifully. Let it cool completely, then wrap it tightly in plastic wrap and then foil. It’ll last in the freezer for up to 3 months. Just thaw at room temperature when you’re ready for a banana bread fix.
Q: Can I make this into muffins?
A: Heck yes! Divide the batter into a greased muffin tin. Bake for about 20-25 minutes, or until a toothpick comes out clean. Perfect for grab-and-go breakfasts!
Q: What if I don’t have Greek yogurt, but I have regular yogurt?
A: You can totally use regular plain yogurt! Just be aware that it has a higher water content than Greek yogurt, so your batter might be a tiny bit thinner. It won’t significantly impact the taste or texture, though.
Final Thoughts
And there you have it, folks! A simple, ridiculously delicious, and utterly moist banana bread that’ll make you feel like a culinary genius without breaking a sweat. So go forth, embrace those spotty bananas, and whip up some magic. Now go impress someone—or yourself—with your new culinary skills. You’ve earned it! Seriously, go make some. Your taste buds will thank you.


