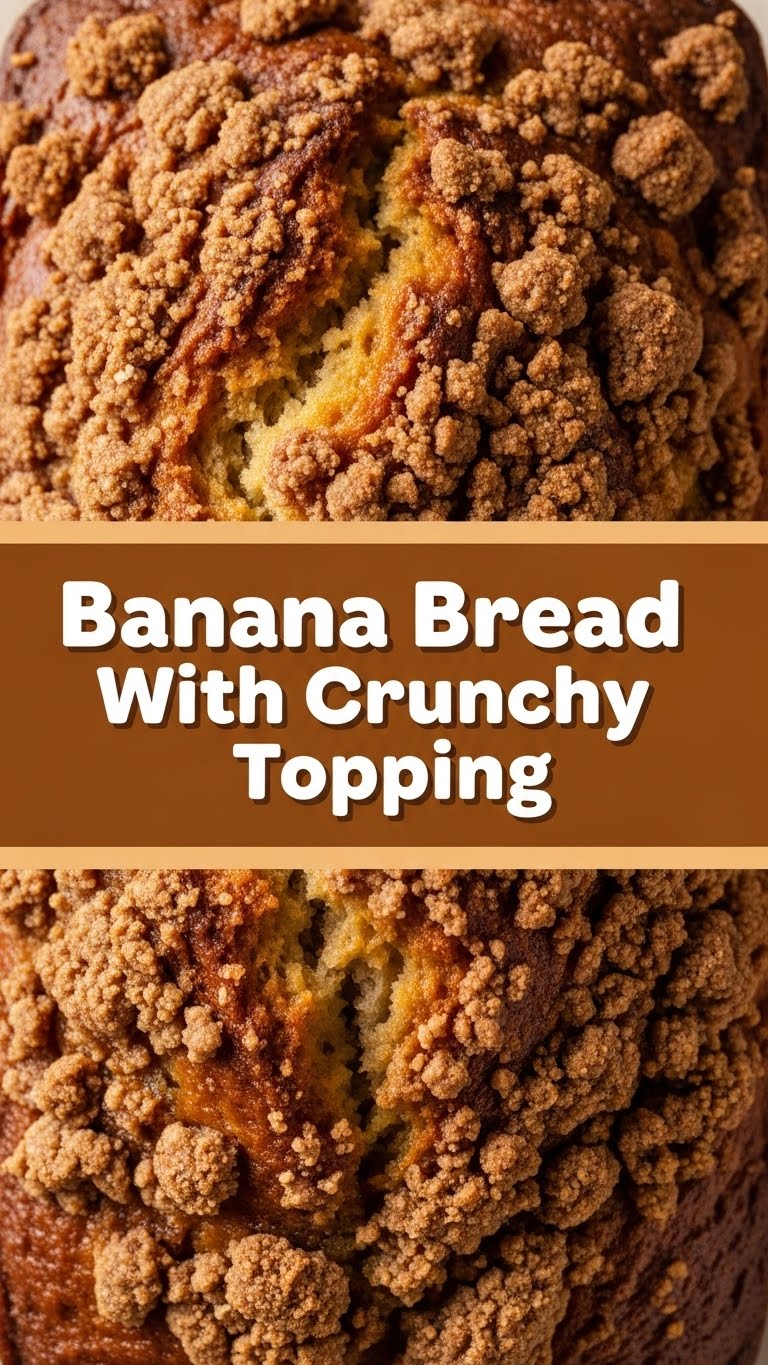
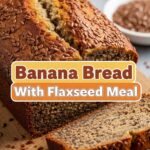
Banana Bread With Crunchy Topping: Because Life Needs More Awesome.
So you’re craving something tasty but too lazy to spend forever in the kitchen, huh? Same. Or maybe you just found a stash of overripe bananas staring at you, judging your life choices. Either way, you’ve landed in the right place! This isn’t just any banana bread; it’s the kind that makes your neighbors jealous and your significant other question your commitment (because you’re hoarding it all). Get ready for a slice of pure happiness with a delightful crunch.
Why This Recipe is Awesome (Seriously, It’s Foolproof)
Let’s be real, sometimes baking feels like advanced chemistry. But this recipe? It’s practically idiot-proof. I’m talking “I-can-burn-water-and-still-nail-this” foolproof. The banana flavor is *chef’s kiss*, the texture is perfect (moist but not gummy, a fine line, I know), and that crunchy topping? Oh, it’s the cherry on top, the sprinkles on the cupcake, the… well, you get it. It adds that extra oomph that elevates basic banana bread to “OMG, who made this?!” status. Plus, it uses up those sad, spotted bananas that are begging for a delicious redemption.
Ingredients You’ll Need (No Fancy Stuff Required)
* For the Banana Bread Base:
- 3 ripe to VERY ripe bananas, mashed like they owe you money. The spottier, the better!
- 1/2 cup (1 stick) unsalted butter, softened. Make sure it’s nice and mushy, like your heart after watching a sad movie.
- 3/4 cup granulated sugar. Or brown sugar if you’re feeling fancy.
- 2 large eggs. Room temperature is cool, but honestly, just crack ’em in.
- 1 teaspoon vanilla extract. The essence of deliciousness.
- 1 1/2 cups all-purpose flour. The backbone of our bready masterpiece.
- 1 teaspoon baking soda. For that crucial lift. Don’t skip this, or your bread will be as flat as my singing voice.
- 1/4 teaspoon salt. Just a pinch to make everything pop.
- Optional, but highly recommended: A pinch of cinnamon or nutmeg. Because, why not?
* For the Crunchy Topping:
- 1/4 cup all-purpose flour
- 1/4 cup packed brown sugar
- 2 tablespoons unsalted butter, cold and diced. Think tiny butter cubes.
- Optional: 1/4 cup chopped nuts (walnuts or pecans are divine!).
Step-by-Step Instructions (Let’s Get This Bread!)
1. Preheat & Prep: Crank your oven to 350°F (175°C). Grease and flour a loaf pan. You know the drill – no one likes sticky situations.
2. Cream It Up: In a big bowl, cream together the softened butter and sugar until light and fluffy. It should look like a sweet, buttery cloud.
3. Egg-cellent Addition: Beat in the eggs one at a time, then stir in the vanilla extract.
4. Banana Mash Mania: Fold in those mashed bananas. Get those lumps out as much as you can, but don’t stress too much if a few remain. They add character!
5. Dry Stuff: In a separate bowl, whisk together the flour, baking soda, and salt. Add any spices here too!
6. Combine Gently: Gradually add the dry ingredients to the wet ingredients, mixing *just* until combined. **Overmixing is the enemy of tender banana bread**, so be gentle, like you’re petting a fluffy kitten.
7. Pour & Spread: Pour the batter into your prepared loaf pan and spread it out evenly.
8. Crunch Time Prep: Now, for the best part! In a small bowl, combine the flour and brown sugar for the topping. Cut in the cold diced butter with your fingers (or a pastry blender if you’re feeling professional) until it resembles coarse crumbs. If using nuts, toss them in!
9. Top It Off: Sprinkle this glorious crumbly mixture evenly over the top of the banana bread batter.
10. Bake Your Heart Out: Pop it into the preheated oven and bake for 50-65 minutes, or until a toothpick inserted into the center comes out clean. **Keep an eye on that topping**; you want it golden brown and delicious, not burnt to a crisp.
11. Cool Down: Let it cool in the pan for about 10-15 minutes before turning it out onto a wire rack to cool completely. Patience, grasshopper!
Common Mistakes to Avoid (Don’t Say I Didn’t Warn You)
* **Using not-ripe-enough bananas:** Greenish bananas are basically cardboard in banana form. They won’t be sweet or flavorful enough. Embrace the brown spots!
* **Overmixing the batter:** Seriously, I can’t stress this enough. Overmixing develops gluten, which leads to tough, rubbery bread. Just mix until you don’t see any more dry flour.
* **Thinking you don’t need to preheat the oven:** Rookie mistake! An oven that isn’t hot enough won’t give your bread the proper lift and can result in a dense, unevenly baked loaf.
* **Opening the oven door too much:** Every time you peek, you let out precious heat. Try to resist the urge until the last 20 minutes or so. Your bread will thank you.
* **Skipping the crunchy topping:** I mean, you *can*, but why would you deny yourself such joy? It’s the MVP of this recipe!
Alternatives & Substitutions (Because Life is Too Short for Rules)
* **Butter? Margarine? Butter-flavored oil?** Look, butter is king here for flavor and texture. But if you absolutely *must* use margarine, go for a good quality one. Oil is a no-go for the topping, it’ll make it greasy.
* **Nuts in the topping?** Totally optional! If you’re not a nut person or have allergies, just skip ’em. The crunch from the crumbs is still divine.
* **No brown sugar for the topping?** Use granulated sugar, but pack it in tightly to mimic the moisture of brown sugar. It won’t be *exactly* the same, but it’ll still be good.
* **Spices:** Cinnamon, nutmeg, cloves, allspice – play around! A little goes a long way.
* **Want chocolate chips?** Stir about 1/2 cup of chocolate chips into the batter before baking. Because chocolate makes everything better, obviously.
FAQ (Your Burning Questions, Answered Casually)
* **Can I use margarine instead of butter for the bread itself?** Well, technically yes, but why hurt your soul like that? Butter gives it that rich, comforting flavor. Margarine can sometimes result in a slightly different texture.
* **My bananas aren’t *that* ripe. Can I still make this?** You *can*, but I wouldn’t recommend it. The flavor won’t be as intense, and they won’t mash as easily. **Wait for those black spots to appear!**
* **How long does this last?** In an airtight container at room temperature, it’s good for about 2-3 days. Though, let’s be honest, it usually disappears much faster.
* **Can I freeze banana bread?** Absolutely! Wrap it tightly in plastic wrap, then foil. It should keep well for a couple of months. Thaw it at room temperature.
* **My topping is getting too dark! What do I do?** If the topping is browning too quickly but the inside isn’t cooked, tent the loaf loosely with aluminum foil. This protects the topping from burning while the rest bakes.
* **Is it okay if my banana bread is a little “wet” inside?** If it’s truly *wet* and gummy, it’s likely underbaked. If it’s just very moist and tender, that’s a good thing! Trust the toothpick test.
Final Thoughts (Go Forth and Bake!)
There you have it! A ridiculously easy, incredibly delicious banana bread that will make you a hero in your own kitchen. It’s the perfect pick-me-up, a delightful breakfast treat, or a decadent dessert. Don’t be afraid to get a little messy, have some fun, and enjoy the process. Now go impress someone—or yourself—with your new culinary skills. You’ve earned it! Happy baking!

