So, you’ve got those sad, spotty bananas sitting on your counter, practically begging for a glow-up, right? And you’re craving something warm, comforting, and just a little bit fancy, but without, you know, *effort*? My friend, you’ve come to the right place. We’re about to make the easiest, most ridiculously delicious banana bread that sneaks in some healthy-ish chia seeds, so you can feel like a culinary genius and a health guru all at once. Win-win!
Why This Recipe is Awesome
Okay, let’s be real. There are a million banana bread recipes out there. So what makes *this* one special? Well, for starters, it’s pretty much **idiot-proof**. Seriously, if I can nail it after a long Tuesday, you definitely can. It’s also:
- A disguise for overripe bananas: No more food waste guilt! Those blackened beauties are finally getting their moment to shine.
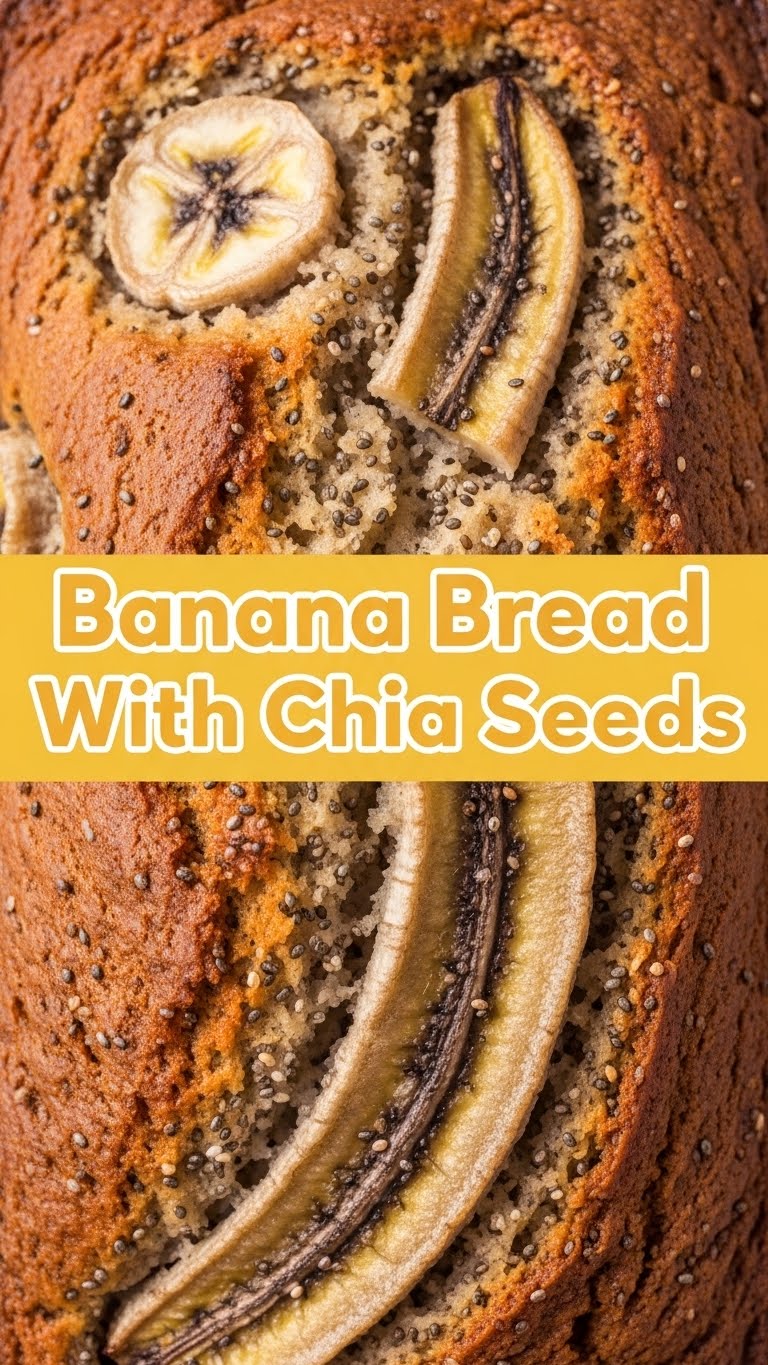
- Sneaky healthy: Chia seeds! They’re like tiny little superheroes boosting your fiber and omega-3s, all while adding a fun texture. You can tell your friends it’s “artisanal.”
- The ultimate comfort food: Warm, moist, fragrant… it basically hugs your soul.
- Surprisingly quick: Mix, bake, devour. Your kitchen won’t look like a tornado hit it, promise.
Basically, it’s a low-stress, high-reward situation. Get ready to impress yourself!
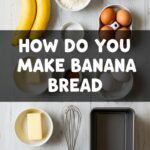
Ingredients You’ll Need
Gather your troops, folks! Here’s what we’re wrangling for this epic loaf:
- 3-4 Ripe Bananas: The spottier, the better! Seriously, embrace the black. This is where all the banana-y goodness lives.
- 1 large Egg: Just one. Don’t overthink it.
- 1/2 cup (113g) Unsalted Butter: Melted and slightly cooled. Or, you know, mostly melted. We’re not scientists here.
- 1/2 cup (100g) Granulated Sugar: Or brown sugar if you prefer a deeper, caramel-y vibe. Your call, rockstar.
- 1 teaspoon Vanilla Extract: The secret ingredient that makes everything smell and taste amazing. Don’t skip it!
- 1 1/2 cups (180g) All-Purpose Flour: The trusty base.
- 1 teaspoon Baking Soda: For that perfect rise and fluffy texture.
- 1/2 teaspoon Salt: Balances out the sweetness. It’s important, trust me.
- 2 tablespoons Chia Seeds: Our little nutritional powerhouses! They add a delightful subtle crunch.
- Optional Fun Stuff (because why not?): 1/2 cup chocolate chips, chopped walnuts, pecans, or even a sprinkle of cinnamon!
Step-by-Step Instructions
Alright, apron on (or not, we don’t judge), let’s get baking!
Preheat & Prep: Set your oven to **350°F (175°C)**. Grease a 9×5 inch loaf pan. A little non-stick spray or butter and a flour dusting works wonders. You want that loaf to slide out like it’s on vacation.
Mash ‘Em Up: In a medium bowl, mash your ripe bananas with a fork until they’re mostly smooth, but a few lumps are totally fine. Adds character, right?
Wet Ingredients Unite: To the mashed bananas, add the melted butter, egg, granulated sugar, and vanilla extract. Stir it all together until it’s just combined. Don’t go crazy, we’re not whipping meringue here.
Dry Team Assemble: In a separate, larger bowl, whisk together the flour, baking soda, and salt. Make sure everything’s evenly distributed so you don’t get a random pocket of salt later. Ew.
Merge & Mingle: Pour your wet banana mixture into the dry ingredients. Stir gently with a spoon or spatula **just until combined**. A few streaks of flour are okay! **Overmixing is the enemy of tender banana bread.** Consider this your key tip for tenderness!
Chia Time!: Fold in your chia seeds and any other optional goodies (chocolate chips, nuts – you do you!). Give it a final gentle mix to distribute them evenly.
Into the Pan: Pour the batter into your prepared loaf pan. Give the pan a gentle tap on the counter to settle the batter and release any air bubbles. Pretty, right?
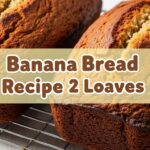
Bake It ‘Til Golden: Bake for **55-65 minutes**, or until a wooden skewer or toothpick inserted into the center comes out clean (maybe with a few moist crumbs, but no wet batter!). If the top starts to brown too quickly, you can loosely tent it with foil.
Cool Down, Buttercup: Let the banana bread cool in the pan for about 10-15 minutes before carefully inverting it onto a wire rack to cool completely. Patience is a virtue, especially when warm banana bread is involved.
Common Mistakes to Avoid
We’ve all been there, staring at a slightly sad loaf. Here’s how to dodge those common banana bread blunders:
- Under-ripe Bananas: Using yellow or even slightly green bananas is like trying to make lemonade with unripe lemons. You just won’t get that sweet, deep banana flavor. **Wait until they’re spotty brown or black!**
- Overmixing the Batter: This is probably the biggest culprit for tough, dense banana bread. Remember step 5? **Mix just until combined.** Embrace the lumps!
- Forgetting to Preheat: Thinking you don’t need to preheat the oven? Rookie mistake! A hot oven ensures an even rise and proper baking from the start.
- Opening the Oven Too Soon: Resist the urge to peek during the first 40 minutes of baking. That sudden drop in temperature can make your loaf collapse.
- Not Letting it Cool: Slicing into a piping hot loaf is tempting, but it can be crumbly and won’t set properly. Give it time to cool and firm up. It’ll be worth the wait, promise.
Alternatives & Substitutions
Feeling adventurous or just ran out of something? No worries, we’ve got options:
- Flour Power: You can totally swap out half or all of the all-purpose flour for **whole wheat flour** for an extra fiber boost, though it might be a bit denser. For a gluten-free version, use your favorite **gluten-free all-purpose blend** (one with xanthan gum works best!).
- Butter Begone: Ran out of butter? **Vegetable oil or melted coconut oil** can be a 1:1 substitute. It might change the texture slightly, making it a touch more cake-like, but still delicious.
- Sweet Swaps: If you want to cut down on refined sugar, you could try **maple syrup or honey** for some of the granulated sugar, just be aware it might add a bit more liquid, so you might need a tiny bit more flour. Or, reduce the sugar by 1/4 cup without much fuss.
- Add-In Bonanza: Beyond chocolate chips and nuts, try shredded coconut, dried cranberries, or even a sprinkle of ginger or nutmeg for a different spice profile.
- Egg-cellent Substitute: For an egg-free version, a “flax egg” (1 tbsp ground flaxseed mixed with 3 tbsp water, let sit for 5 mins) can work, but the texture might be a little different.
FAQ (Frequently Asked Questions)
Got questions? I’ve got (casual) answers!
- “Can I use less sugar?” Well, technically yes, you can usually reduce it by about 1/4 cup without a huge impact on structure. But if you go too low, you might lose some of that moistness and golden crust. Live a little, it’s banana bread!
- “What if my bananas aren’t super ripe?” Sigh. You *can* still make it, but the banana flavor won’t be as intense and sweet. For a quick ripen, bake them on a sheet pan at 300°F (150°C) for 15-30 minutes until soft and black. **IMO, this is a lifesaver!**
- “Can I add more chia seeds?” You certainly can! Just be mindful that too many might make the bread a bit gummy or change the texture significantly. I wouldn’t go beyond 3-4 tablespoons without some experimentation.
- “How long does this glorious loaf last?” On the counter, wrapped tightly, it’s usually good for 3-4 days. In the fridge, it can last up to a week. But let’s be honest, it probably won’t make it past day two.
- “Can I freeze banana bread?” Absolutely! Wrap the cooled loaf (or slices) tightly in plastic wrap, then foil. It’ll keep in the freezer for up to 3 months. Thaw at room temperature for a delicious treat later.
- “Is this actually healthy with all the sugar?” “Healthy-ish” is the vibe we’re going for! It’s got fruit, fiber from the chia seeds, and no weird additives. It’s a treat, not a health supplement. Enjoy it!
- “Can I make these into muffins instead?” Heck yes! Divide the batter into a greased muffin tin, fill about two-thirds full, and bake for 20-25 minutes. So easy, **FYI**!
Final Thoughts
And there you have it, folks! Your very own, incredibly delicious, chia-seed-infused banana bread. You just transformed some sad, forgotten fruit into a masterpiece. Pat yourself on the back, grab a slice (or two, I’m not looking), and bask in the glory of your baking prowess. Now go impress someone—or yourself—with your new culinary skills. You’ve earned it!
