So, you’ve got those sad-looking bananas on the counter, staring at you, judging your life choices? And you’re thinking, “Is it too much effort to make something delicious?” Chill, my friend. I’ve got your back. Let’s make banana bread, but, like, the *cooler*, easier, square version. Because who has time for fussy loaf slices when you can just grab a glorious square of goodness?
Why This Recipe is Awesome
Okay, full disclosure: I’m not a Michelin star chef, and frankly, my kitchen sometimes looks like a war zone after I attempt anything remotely ‘fancy.’ But this recipe? This recipe is practically magic. It’s so foolproof, even my cat (who mainly supervises from a high shelf) could probably manage it. Seriously, if you can stir, you can bake this. Plus, squares! No messing with slices, just grab-and-go goodness. It’s the ultimate ‘I tried, but not too hard’ treat. You get all the comfort of classic banana bread, but in a format that says, “I’m organized, I’m efficient, and I have delicious treats on demand.”
Ingredients You’ll Need
Get ready to gather your culinary squad. Here’s what’s on the roster:
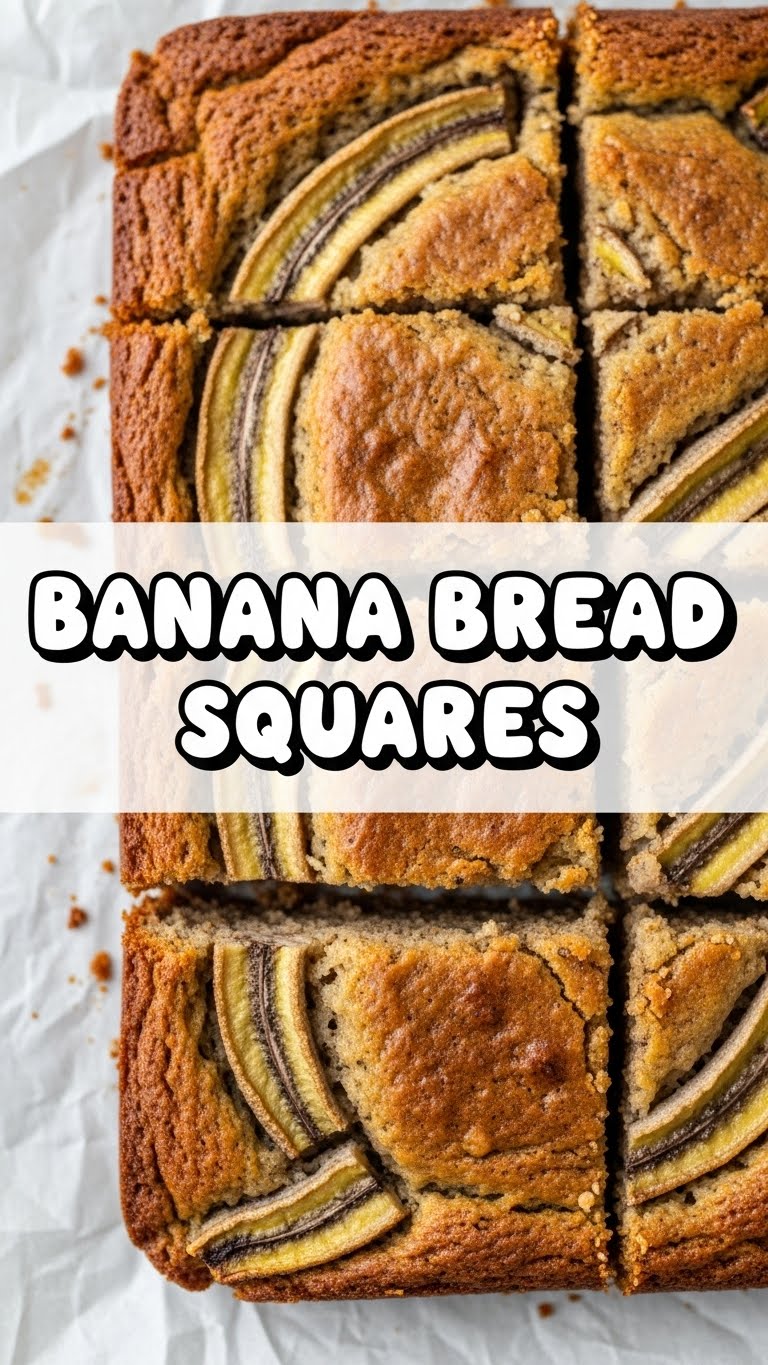
- Ripe bananas: (3 medium, extra brown, almost offensively squishy) – The browner, the better. Don’t be shy; aim for ‘ready for the compost bin’ brown. That’s where the flavor lives, people!
- All-purpose flour: (1 ½ cups) – The basic building block of happiness.
- Granulated sugar: (¾ cup) – Sweetness, obviously. Feel free to eyeball if you’re feeling adventurous (or just really love sugar).
- Egg: (1 large) – Our binder, our unifier, our friend.
- Melted unsalted butter: (½ cup, 1 stick) – Because butter makes everything better. Period.
- Baking soda: (1 teaspoon) – For that delightful lift. Don’t skip it unless you want sad, dense bricks.
- Salt: (½ teaspoon) – Just a pinch to make all the other flavors sing.
- Vanilla extract: (1 teaspoon) – The secret sauce of ‘yum!’
- Optional add-ins: (½ cup) – Chocolate chips, walnuts, pecans… because life is short, and chocolate is delicious. Or nuts, if you’re into that crunch.
Step-by-Step Instructions
Alright, apron up (or don’t, I won’t tell). Let’s do this!
- Preheat & Prep: First things first, get that oven nice and toasty to 350°F (175°C). Grab an 8×8 inch square baking pan, grease it generously, and maybe line it with parchment paper for an easy lift-out situation. Trust me on the parchment; it’s a lifesaver.
- Mash ‘Em Up: In a medium bowl, take those gloriously ripe bananas and mash them up with a fork. Don’t overthink it; some chunks are totally okay. Adds character, right? We’re going for rustic chic here.
- Wet Ingredients Party: To your mashed bananas, add the melted butter, sugar, egg, and vanilla extract. Whisk it all together until it’s just combined. We’re not aiming for a perfectly smooth smoothie here, just a happy blend.
- Dry Ingredients Unite: In a separate, smaller bowl, whisk together the flour, baking soda, and salt. Make sure there are no lumpy bits. No one likes a surprise flour bomb in their squares.
- Combine & Conquer: Gently pour the dry ingredients into the wet ingredients. Mix until just combined. Seriously, stop mixing as soon as you don’t see any more dry flour. Overmixing is the enemy of tender banana bread. If you’re adding chocolate chips or nuts, fold them in now.
- Bake It Up: Pour the batter into your prepared pan and spread it evenly. Pop it into the preheated oven and bake for 30-35 minutes. You’ll know it’s done when a toothpick inserted into the center comes out clean or with just a few moist crumbs.
- Cool Down: Let your masterpiece cool in the pan for about 10-15 minutes before carefully transferring it to a wire rack to cool completely. Or, if you’re impatient like me, cut into squares while it’s still warm and risk a slightly messier but infinitely more satisfying bite. Your call!
Common Mistakes to Avoid
We all make ’em! Learn from my mishaps, so you don’t have to:
- Using under-ripe bananas: Honestly, why? You want flavor, not banana-flavored drywall. Wait for those brown spots! They’re not going bad; they’re just getting ready to be awesome.
- Overmixing the batter: Remember when I said ‘just combined’? I meant it. Overmixing develops gluten, leading to tough, chewy bread instead of light, fluffy squares. Don’t be that person.
- Not greasing your pan: Unless you enjoy a wrestling match with your baked goods and a pan that looks like it lost, grease it! Or use parchment paper. Better safe than sorry, especially when deliciousness is at stake.
- Baking at the wrong temperature/time: Your oven’s temperament can vary. Invest in an oven thermometer if yours is moody. And don’t open the oven door every five minutes! You’re letting all the hot air out, prolonging bake time, and probably annoying your banana bread into a sulk.
Alternatives & Substitutions
Feeling creative? Here are some ways to shake things up:
- Sweeteners: Out of granulated sugar? Brown sugar works wonders, adding a deeper, molasses-y note. Or a mix of both! Maple syrup? Sure, but you might need to slightly reduce other liquids to compensate.
- Fat: No butter? Vegetable oil or melted coconut oil are perfectly acceptable substitutes. The flavor might shift slightly, but it’s still going to be delicious. IMO, butter is king though. Just sayin’.
- Flour: Want to get fancy? A portion of whole wheat flour can add a nutty flavor, but don’t go 100% unless you like a denser square. Gluten-free flour blends usually work great too! Just make sure it’s a 1:1 baking blend.
- Add-ins: Feeling wild? Try a sprinkle of cinnamon or nutmeg in the batter. A dash of instant espresso powder will enhance the chocolate if you’re adding chips. Cream cheese frosting on top? Yes, please. Or skip the chocolate chips and go for a simple, classic banana bread experience. It’s your square, your rules!
FAQ (Frequently Asked Questions)
- Can I use frozen bananas? Absolutely! Just thaw them completely and drain any excess liquid before mashing. They actually get even sweeter when frozen and thawed, so it’s a win-win!
- My banana bread turned out dry. What went wrong? Probably overmixing or overbaking. Keep an eye on that toothpick test! And remember, less mixing is more when it comes to tender crumb.
- How long do these squares last? In an airtight container at room temp, about 2-3 days. In the fridge, up to a week. If they last that long, you’re a stronger person than I am.
- Can I freeze them? You betcha! Wrap individual squares tightly in plastic wrap, then pop them into a freezer-safe bag. They’ll keep for up to 3 months. Thaw at room temp or give ’em a quick zap in the microwave for a warm treat. FYI, they defrost beautifully.
- What if I don’t have an 8×8 pan? A 9×9 pan will work, but your squares will be a bit thinner, and the baking time might be slightly shorter. Keep an eye on it! A loaf pan works too, but then they’re not squares, are they? 😉
Final Thoughts
So there you have it, folks! Your new go-to recipe for when those bananas start looking a little too ‘experienced’ and your craving for something sweet hits. It’s simple, it’s delicious, and it’s practically impossible to mess up (unless you really, really try). **Go forth and bake!** And maybe save a square or two for yourself before they mysteriously disappear. You deserve it after all that ‘hard work.’ Happy baking!


