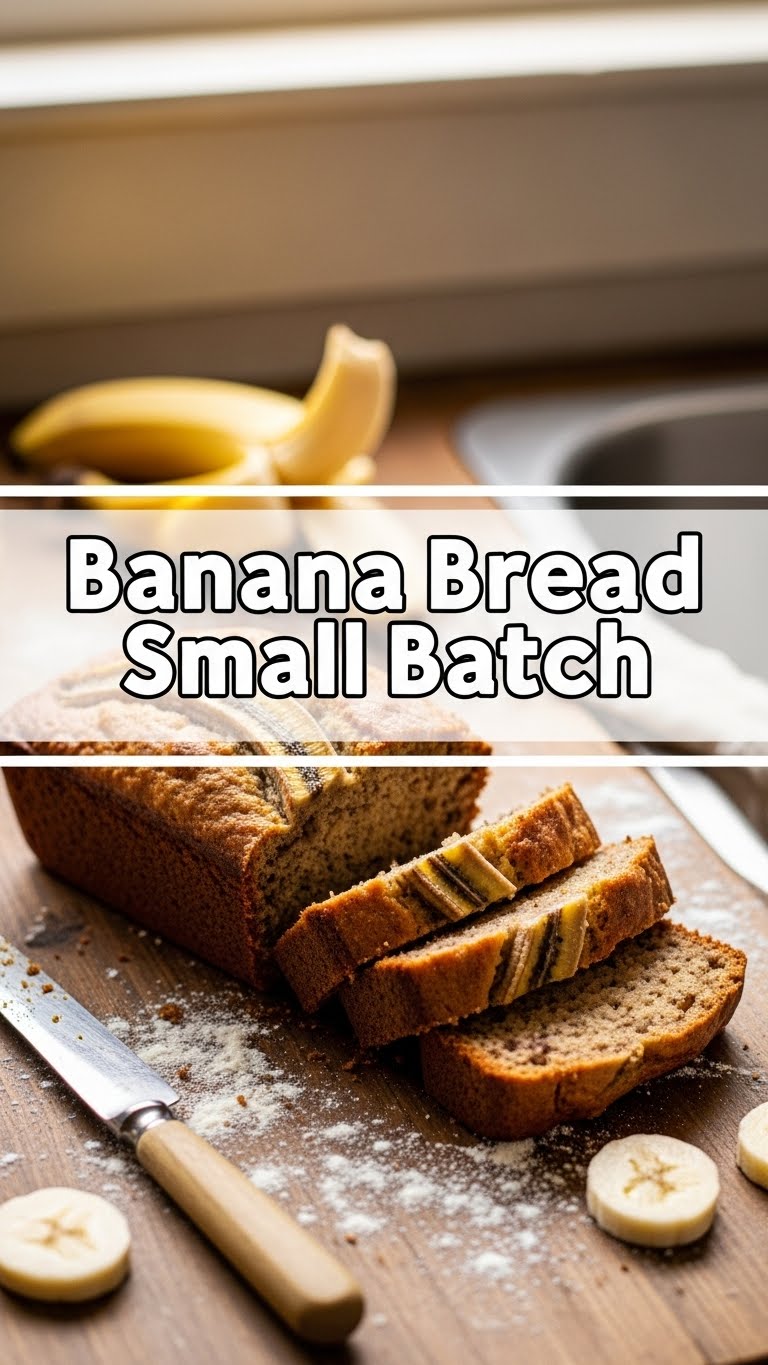
So you’re craving something warm, comforting, and banana-y, but the thought of baking a whole loaf the size of a small canoe just feels like too much commitment, huh? Been there, bought the T-shirt, ate the single-serving dessert. That’s why we’re making tiny, perfect banana bread today. Your future self (and your immediate cravings) will totally thank you.
Why This Recipe is Awesome
Okay, let’s be real. This isn’t just *another* banana bread recipe. This is *the* banana bread recipe for when you want instant gratification without the guilt of a week’s worth of leftovers staring at you. It’s so small, so quick, and so utterly foolproof, even your cat could probably manage it (if your cat had opposable thumbs and an interest in baking, which, honestly, would be pretty cool). **No fancy equipment, minimal cleanup, maximum deliciousness.** Plus, it’s a great way to use up those one or two sad, spotty bananas that are silently judging you from the fruit bowl. Win-win-win!
Ingredients You’ll Need
- 1 medium ripe banana: The spottier, the better! Think “passed its prime for eating raw but perfect for baking.”
- 2 tablespoons unsalted butter, melted: Or salted, if you’re feeling rebellious. Just skip a pinch of salt later.
- ¼ cup granulated sugar: You can adjust this a smidge if your bananas are super sweet or you’re watching your sugar.
- 1 large egg yolk: Just the yolk, folks! We’re going for richness without too much extra moisture.
- ½ teaspoon vanilla extract: Don’t skimp. This is where a lot of the magic happens.
- ½ cup all-purpose flour: The backbone of our bread.
- ½ teaspoon baking soda: Our leavening MVP, making it fluffy.
- Pinch of salt: Enhances all those lovely flavors.
- Optional add-ins: A sprinkle of chocolate chips (because, duh), chopped nuts (walnuts, pecans!), or a dash of cinnamon. Live a little!
Step-by-Step Instructions
- **Preheat & Prep:** First things first, get your oven to **350°F (175°C)**. Grease a mini loaf pan (about 5×3 inches) or a few muffin cups. If you don’t have a mini loaf pan, a sturdy ramekin works beautifully too!
- **Mash it Up:** In a small bowl, mash your ripe banana until it’s mostly smooth but still has a few charming lumps. We’re not making baby food here.
- **Wet Ingredients Party:** Add the melted butter, sugar, egg yolk, and vanilla extract to the mashed banana. Stir it all together until it’s well combined and looking like a glorious, sticky mess.
- **Dry Ingredients Join In:** In a separate, even smaller bowl (because we’re fancy like that), whisk together the flour, baking soda, and salt.
- **Combine Forces:** Gently fold the dry ingredients into the wet banana mixture. **Don’t overmix!** A few lumps of flour are totally fine; FYI, overmixing leads to tough banana bread, and nobody wants that.
- **Add-ins (If You’re Feeling Fancy):** Now’s the time for those chocolate chips or nuts! Fold them in gently.
- **Bake It Up:** Pour the batter into your prepared mini loaf pan or muffin cups.
- **Wait (The Hardest Part):** Bake for **20-25 minutes** for a mini loaf, or about **15-20 minutes** for muffins. A toothpick inserted into the center should come out clean (or with just a few moist crumbs).
- **Cool Down:** Let it cool in the pan for 5-10 minutes, then transfer to a wire rack to cool completely (or just eat it warm, no judgment here).
Common Mistakes to Avoid
- **Using unripe bananas:** This isn’t a suggestion, it’s a rule. Green bananas make bland bread. Brown and spotty is your friend.
- **Overmixing the batter:** Remember what we said? Tough bread. Be gentle, treat it like a fragile ego.
- **Not greasing your pan:** Unless you want to chisel your banana bread out in sad, broken pieces, grease that pan! Or use parchment. Just… don’t skip this.
- **Opening the oven door constantly:** Resist the urge! Every time you peek, you’re letting heat out and messing with the baking process. Trust the process, grasshopper.
- **Thinking you can eat just one slice:** Ha! Good one.
Alternatives & Substitutions
- **No butter? No problem!** You can totally use 2 tablespoons of a neutral oil (like vegetable or canola) instead. The texture might be slightly different, but it’ll still be delicious.
- **Egg-free?** You could try a “flax egg” (1 tbsp ground flaxseed meal + 3 tbsp water, let sit 5 mins) or skip the yolk altogether and add an extra tablespoon of mashed banana for moisture. It might change the texture a bit, but hey, experimentation is fun!
- **Gluten-free?** Swap the all-purpose flour for a 1:1 gluten-free baking blend. Easy peasy!
- **Sugar alternatives?** Honey or maple syrup can work, but reduce other liquids slightly, as they add more moisture. Or use a sugar substitute designed for baking.
- **Spice it up!** A pinch of cinnamon, nutmeg, or even a tiny bit of ginger can elevate your banana bread game. IMO, a touch of cinnamon is always a good idea. Don’t be shy!
FAQ (Frequently Asked Questions)
- **My bananas aren’t ripe enough! Can I speed it up?** Oh, the age-old dilemma! You *can* bake them on a parchment-lined baking sheet at 300°F (150°C) for 15-30 minutes until they’re black and soft. Or just wait. Patience is a virtue, especially for banana bread.
- **Can I make this into muffins?** Absolutely! Just divide the batter among 3-4 muffin cups and reduce the baking time to about 15-20 minutes. Keep an eye on them!
- **What if I only have salted butter?** No biggie! Just omit the “pinch of salt” from the dry ingredients. You’re basically a kitchen genius already.
- **How long does small-batch banana bread last?** Ha! Last? Good luck with that. Realistically, it’s best eaten within a day or two, stored in an airtight container at room temp. It’s so small, it rarely sees day two.
- **Can I add nuts AND chocolate chips?** Are you trying to live your best life? YES! Go wild. It’s your bread, your rules.
Final Thoughts
And there you have it! A tiny, perfect slice of banana bread heaven, made by *you*. See? I told you it was easy. Now you’ve got zero excuses not to whip this up whenever the craving strikes. Go forth, bake often, and maybe share a bite with someone you like (or don’t, it’s a small batch, you don’t *have* to). You’ve earned those bragging rights. Happy baking, friend!


