So you’re craving something warm, comforting, and sweet, but the thought of a complicated recipe makes you want to crawl back into bed? Been there, done that, bought the T-shirt. Good news, my friend: we’re about to make the easiest, most ridiculously delicious banana bread with self-rising flour. No fancy yeast, no weird rising agents, just pure, unadulterated banana-y joy. Get ready to impress yourself (and maybe your neighbors, if you’re feeling generous).
Why This Recipe is Awesome
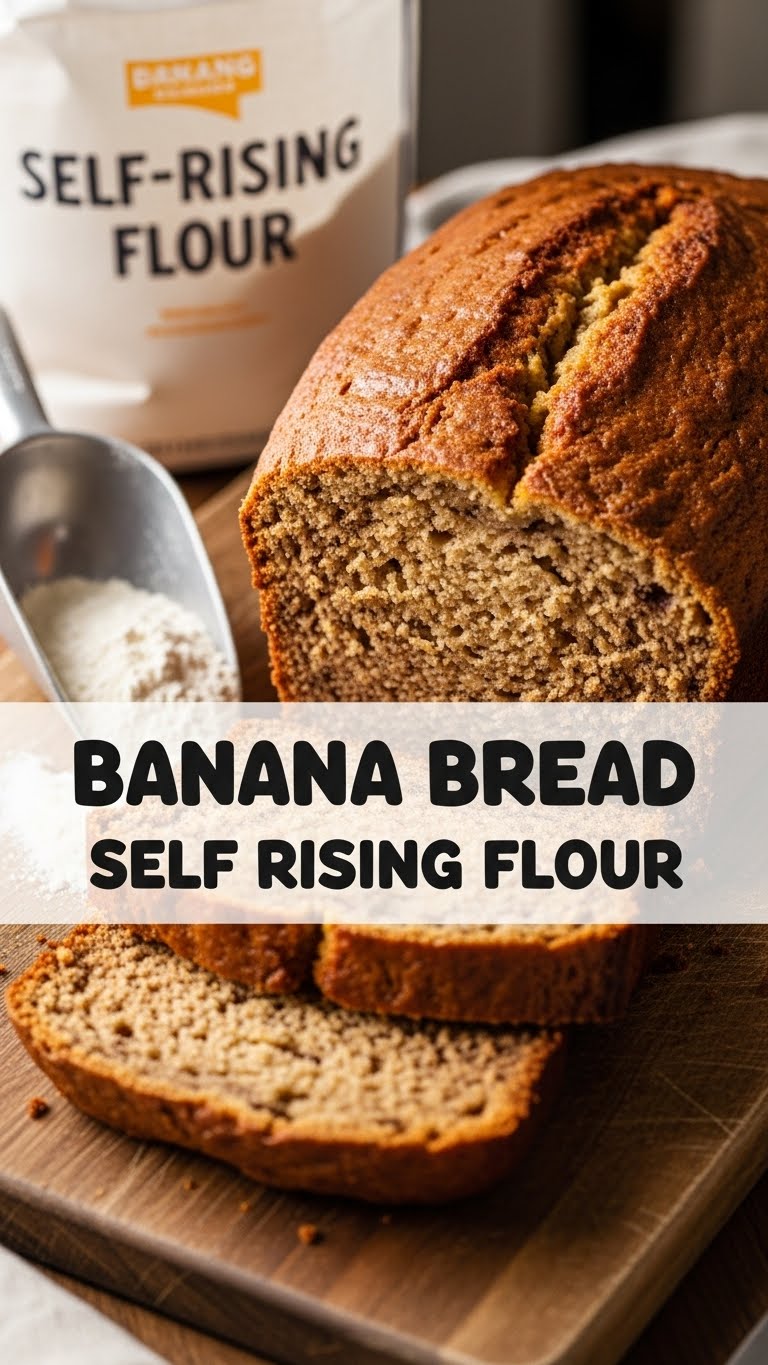
Seriously, this isn’t just *another* banana bread recipe. This is **THE** banana bread recipe for the culinary-challenged, the time-pressed, and the ‘I just want cake for breakfast’ crowd. We’re talking minimal effort, maximum payoff. Self-rising flour is basically magic in a bag, doing half the work for you. It’s so idiot-proof, even I haven’t managed to mess it up yet, and that’s saying something. Plus, it smells divine while baking, so you get aromatherapy *and* a snack. Two birds, one stone, right?
Ingredients You’ll Need
- **Ripe bananas** (3-4 medium, the blacker, the better! Seriously, embrace the spots.)
- Self-rising flour (2 cups, because we’re not overthinking this.)
- Granulated sugar (3/4 cup, or less if your bananas are basically candy already.)
- Melted unsalted butter (1/2 cup, because butter makes everything better, duh.)
- Egg (1 large, room temp if you’re feeling fancy, but straight from the fridge is usually fine, IMO.)
- Milk (1/4 cup, any kind works, even oat milk if you’re trying to be healthy-ish.)
- Vanilla extract (1 teaspoon, for that *chef’s kiss* flavor.)
- Pinch of salt (1/4 teaspoon, brings out all the other flavors. Don’t skip it!)
- Optional: Chocolate chips, walnuts, pecans (1/2 cup, if you’re feeling extra. Go wild!)
Step-by-Step Instructions
- **Preheat your oven, rebel!** Set it to 350°F (175°C). Seriously, don’t skip this. Grease and flour a 9×5 inch loaf pan, or line it with parchment paper for easy removal.
- Grab those gloriously overripe bananas. In a large bowl, **mash them up** with a fork until they’re mostly smooth, with a few charming lumps. Don’t be shy!
- Pour in the melted butter and stir it into the mashed bananas. Then crack in your egg, add the milk, vanilla extract, and that tiny pinch of salt. Mix it all until just combined. We’re not trying to win a beating competition here.
- Time for the dry stuff! Gradually add the self-rising flour and sugar to your wet mixture. **Mix *just* until everything comes together.** Overmixing is the enemy of fluffy banana bread, remember that! If you’re adding optional mix-ins, fold them in now.
- Pour that delicious batter into your prepared loaf pan. Give it a gentle tap on the counter to settle.
- Bake for about **50-60 minutes**. You’ll know it’s ready when a toothpick inserted into the center comes out clean, or with a few moist crumbs.
- Let your masterpiece cool in the pan for about 10 minutes (the hardest part, I know) before transferring it to a wire rack to cool completely. Or, you know, cut yourself a slice while it’s still warm and gooey. I won’t tell.
Common Mistakes to Avoid
- **Using underripe bananas:** This is like building a house without a foundation. No flavor, no sweetness, just sadness. **Wait for those brown spots!**
- **Overmixing the batter:** Seriously, I can’t stress this enough. Mix until *just* combined. Lumps are fine, gluten development isn’t (for this recipe, anyway). Overmixed batter = tough banana bread. Nobody wants tough banana bread.
- **Not preheating the oven:** Rookie mistake. Your oven needs to be hot and ready to go for an even bake. Don’t throw your precious batter into a cold oven. It’s just rude.
- **Forgetting the salt:** A tiny bit of salt enhances the sweetness. It’s a game-changer, trust me.
- **Cutting into it immediately:** I know, I know, it smells amazing. But giving it a few minutes to set up means it won’t crumble into a million delicious pieces. Patience, grasshopper!
Alternatives & Substitutions
- **No self-rising flour?** No problem! For every cup of all-purpose flour, add 1.5 teaspoons of baking powder and 1/4 teaspoon of salt. So, for this recipe, you’d use 2 cups all-purpose flour, 3 teaspoons baking powder, and 1/2 teaspoon salt. Easy peasy!
- **Butter vs. Oil?** If you’re out of butter, you can totally use an equal amount of vegetable oil or melted coconut oil. The texture will be a little different (oil makes it super moist, butter gives it more flavor), but still delicious.
- **Sugar levels:** If you prefer less sweet, cut down the sugar to 1/2 cup. If your bananas are super ripe, they’ll provide a lot of natural sweetness anyway.
- **Mix-ins:** Chocolate chips are a classic, but how about white chocolate, chopped nuts, shredded coconut, or even a swirl of cream cheese? Get creative!
FAQ (Frequently Asked Questions)
- **My banana bread isn’t rising! What happened?** Did you use old self-rising flour? The leavening agents can lose their oomph over time. Or did you open the oven door too early? **Keep that oven door shut for at least the first 30 minutes!**
- **Can I make muffins instead of a loaf?** Absolutely! Divide the batter into a greased muffin tin. They’ll bake faster, around 20-25 minutes. Keep an eye on them!
- **How do I store this deliciousness?** Once it’s completely cool (again, patience!), wrap it tightly in plastic wrap or foil. It’ll stay fresh at room temperature for 2-3 days, or in the fridge for up to a week. It also freezes beautifully for longer storage!
- **Can I use margarine instead of butter?** Well, technically yes, you *can*, but why hurt your soul like that? Butter just tastes better, IMO. But if it’s all you’ve got, go for it.
- **My banana bread is too dense/gummy. Help!** You probably overmixed the batter, friend. Or maybe you packed the flour too tightly. **Always spoon and level your flour** rather than scooping directly with your measuring cup.
- **What if my bananas aren’t *super* ripe?** You can try to ripen them faster! Bake them on a baking sheet at 300°F (150°C) for 15-30 minutes until the skins are black and shiny. Let them cool before mashing. Voila! Instant ripe bananas.
Final Thoughts
See? I told you it was easy! You just whipped up a batch of glorious, moist, banana-y goodness. Whether you devour it warm with a pat of butter, toast a slice for breakfast, or share it (if you must), you’ve earned bragging rights. Now go impress someone—or just yourself—with your new culinary skills. You’ve earned it! Seriously, go eat some banana bread. You deserve it.


