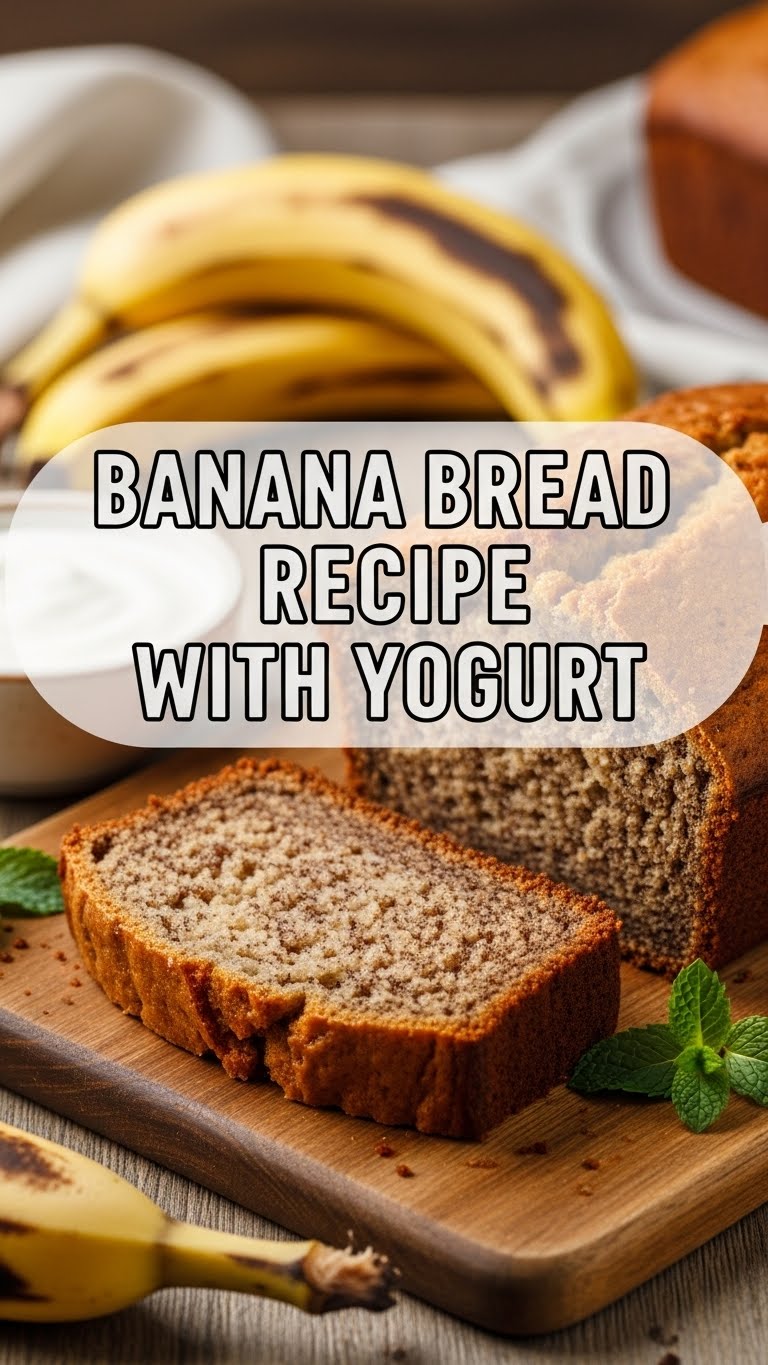
So, you’ve got a bunch of bananas that are starting to look like they’ve seen better days? You know, those sad, spotted guys who are too mushy for your cereal but too good to toss? Yeah, me too. And instead of letting them languish in the fruit bowl of despair, we’re gonna turn them into something utterly, ridiculously delicious. Enter: Banana Bread. But not just any banana bread. This is the *yogurt* kind. Because, apparently, a little creamy goodness makes everything better. And trust me, it does.
Why This Recipe is Awesome
Honestly? Because it’s practically foolproof. Seriously, if I can make this without setting off the smoke alarm, you totally can. This isn’t some fancy-pants, Michelin-star-wannabe recipe. It’s the good old-fashioned, comfort-food-in-a-loaf kind of awesome. Plus, adding yogurt makes it ridiculously moist and tender. Like, “I can’t believe I made this” moist. It’s the secret weapon your banana bread has been begging for. And best of all? It’s forgiving. So if you accidentally sneeze into the flour container (it happens), this recipe will likely still forgive you.
Ingredients You’ll Need
Here’s the lowdown on what you’ll be chucking into your bowl:
- 3-4 ripe bananas: The sadder and spottier, the better. These are your flavor stars!
- 1/3 cup melted butter: Because butter is life.
- 1/2 cup plain yogurt: Full-fat is preferred for maximum deliciousness, but use what you’ve got.
- 1 large egg: The binder of all things good.
- 1 teaspoon vanilla extract: Just a splash of magic.
- 1 teaspoon baking soda: Our little leavening buddy.
- 1/4 teaspoon salt: To balance out all the sweetness.
- 3/4 cup granulated sugar: Feel free to adjust this if you like it sweeter or less sweet.
- 1 1/2 cups all-purpose flour: The backbone of our loaf.
Step-by-Step Instructions
Alright, let’s get this bread party started!
- Preheat your oven to 350°F (175°C) and grease and flour a loaf pan. Don’t skip this. Trust me.
- In a big ol’ bowl, mash those sad bananas with a fork until they’re mostly smooth. A few lumps are totally fine, adds character!
- Stir in the melted butter, yogurt, egg, and vanilla extract. Mix it all up like you’re giving it a friendly hug.
- In a separate, smaller bowl, whisk together the baking soda, salt, sugar, and flour. Make sure there are no sneaky clumps of baking soda lurking.
- Now, dump the dry ingredients into the wet ingredients. Gently fold them together until *just combined*. Seriously, don’t overmix! Lumps are good; a tough loaf is not.
- Pour the batter into your prepared loaf pan. Spread it out evenly.
- Bake for 50-65 minutes, or until a toothpick inserted into the center comes out clean. Ovens can be divas, so keep an eye on it.
- Let it cool in the pan for about 10 minutes before turning it out onto a wire rack to cool completely. Patience, grasshopper!
Common Mistakes to Avoid
Let’s save you some tears and some potentially sad bread.
- Overmixing the batter: This is the number one sin. It develops the gluten too much, making your bread tough and chewy instead of tender and moist. Just mix until you don’t see dry flour.
- Using underripe bananas: They won’t be sweet enough, and you’ll end up with bland bread. Go for those brown-spotted beauties!
- Not preheating the oven: Your bread will bake unevenly and likely won’t rise properly. Give your oven time to get hot and bothered.
- Cutting into it too soon: It’s torture, I know. But letting it cool helps it set up and makes slicing way cleaner.
Alternatives & Substitutions
Feeling a little adventurous or just ran out of something? No worries!
- Dairy-Free?: You can totally use unsweetened non-dairy yogurt (like coconut or almond) or even applesauce. Applesauce will make it a *little* denser, but still tasty!
- Nuts and Chocolate Chips: Add a handful of chopped walnuts, pecans, or some chocolate chips to the batter for extra pizzazz. It’s like a party in your mouth.
- Spices: A pinch of cinnamon or nutmeg can elevate this to cozy town. Seriously good.
- Sugar Swap: Brown sugar can be used instead of granulated for a slightly richer, more caramel-y flavor.
FAQ (Frequently Asked Questions)
Can I use Greek yogurt instead of regular yogurt?
Heck yeah! Greek yogurt is a little thicker, so it might make your bread even more dense and moist. Winner, winner, banana bread dinner!
My bananas aren’t *that* ripe. Will it still work?
It’ll work, but it won’t be as gloriously sweet and banana-y. The riper, the better. That’s the golden rule of banana bread, IMO.
How long does this banana bread last?
Wrapped up tightly, it should be good at room temp for about 2-3 days. For longer storage, pop it in the fridge or freeze slices.
Why is my banana bread sinking in the middle?
This could be from overmixing, not baking it long enough, or opening the oven door too early. Those are the usual suspects.
Can I make muffins instead of a loaf?
Absolutely! Spoon the batter into a greased muffin tin, filling each cup about two-thirds full. Bake for around 20-25 minutes, or until a toothpick comes out clean.
Do I *really* need to add the egg?
Well, technically you *could* skip it, but the egg helps with structure and richness. It’s like the glue holding your delicious dreams together.
What if I only have sour cream?
Sour cream is a pretty good substitute for yogurt! It’ll give you a similar tang and moisture. Just use it in the same quantity.
Final Thoughts
See? That wasn’t so bad, was it? You’ve just whipped up a loaf of banana bread that’s moist, delicious, and probably smells amazing right now. Go ahead, slice yourself a piece (or two, no judgment here). Enjoy the fruits of your labor, literally. Now go impress someone—or yourself—with your new culinary skills. You’ve earned it!


