So, you’ve got some bananas that have seen better days? You know, the ones that are practically begging to be mashed into oblivion? And maybe, just maybe, you’ve got a carton of milk in the fridge that’s *slightly* past its prime, giving off that… adventurous aroma? Don’t you dare dump that milk! It’s about to become your new best friend in the kitchen.
Why This Recipe is Awesome
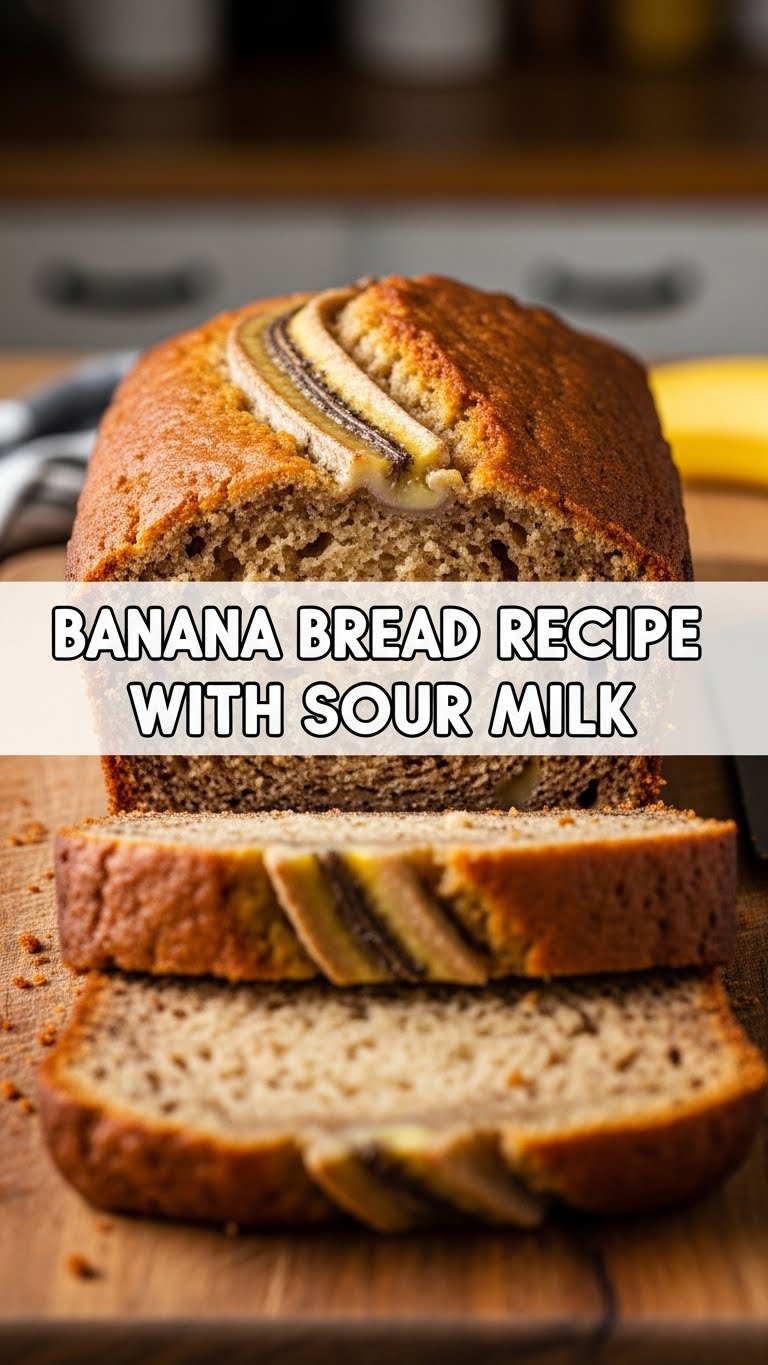
This isn’t your grandma’s fancy-pants banana bread. This is the lazy-person’s, “I-forgot-to-buy-buttermilk,” “I-just-want-something-tasty-ASAP” banana bread. And the secret weapon? That slightly sour milk. It’s like magic, but edible! It makes the bread unbelievably moist and gives it this tender crumb that’ll make you question your life choices (in the best way possible). Plus, it’s practically idiot-proof. Seriously, if I can make this without setting off the smoke alarm, you definitely can. It’s a testament to how forgiving baking can be when you embrace the slightly weird.
Ingredients You’ll Need
- 3 ripe bananas (the spottier, the better. If they’re not brown, you’re doing it wrong.)
- 1/3 cup melted butter (or whatever fat you have lying around. Olive oil works in a pinch, but don’t tell anyone I said that.)
- 1 teaspoon baking soda (the fizzy stuff. Don’t skip this, it’s what makes it rise like a proud little loaf.)
- A pinch of salt (to make all the flavors do a happy dance.)
- 1/2 cup sugar (or less if your bananas are super sweet. We’re not making candy here.)
- 1 large egg (or two tiny ones if that’s all you’ve got.)
- 1 teaspoon vanilla extract (the liquid hug for your baked goods.)
- 1 1/2 cups all-purpose flour (the backbone of our operation.)
- 1/2 cup sour milk (aka, your slightly expired milk. See the intro? We’re using it! If you’re feeling fancy, you can add 1/2 tablespoon of lemon juice or vinegar to regular milk and let it sit for 5 minutes. Same effect, less existential dread about milk spoilage.)
Step-by-Step Instructions
- First things first, preheat your oven to 350°F (175°C). Get that oven nice and toasty. Grab a loaf pan and grease it up like you’re preparing for a royal visit.
- In a big ol’ bowl, mash those sad bananas. Like, really mash ‘em. No lumps allowed!
- Now, dump in the melted butter, sugar, egg, and vanilla. Give it a good stir until everything looks like a beautiful, banana-y mess.
- In a separate, smaller bowl (because we’re fancy like that), whisk together the flour, baking soda, and salt.
- Pour the dry ingredients into the wet ingredients. Then, add that magical sour milk. Stir everything together until *just* combined. **Don’t overmix!** A few streaks of flour are totally fine. Overmixing = tough banana bread. Nobody wants that.
- Pour the batter into your prepared loaf pan. Smooth the top a little, if you’re feeling ambitious.
- Bake for 50-65 minutes, or until a toothpick inserted into the center comes out clean. The exact time will depend on your oven, so keep an eye on it!
- Let it cool in the pan for about 10 minutes before turning it out onto a wire rack to cool completely. Patience is a virtue, my friend.
Common Mistakes to Avoid
- Using underripe bananas. They just won’t have that intense banana flavor and sweetness. Go for the brown, mushy ones. They’re not spoiled, they’re just… mature.
- Overmixing the batter. I said it once, I’ll say it again. Overmixing = tough bread. We want tender, fluffy goodness, not a hockey puck.
- Opening the oven door too early. Seriously, resist the urge. Let the bread do its thing without you peeking every two minutes. You’ll just let all the precious heat escape.
- Not letting it cool enough. I know, I know, the smell is intoxicating. But slicing into it too early can result in a gooey, messy loaf. Patience, grasshopper!
Alternatives & Substitutions
So, what if your bananas are still a bit green, or you’re out of butter? No worries! For the bananas, you can roast them in their skins at 300°F (150°C) for about 15-20 minutes until they’re soft and fragrant. For fat, vegetable oil, canola oil, or even melted coconut oil will work in place of butter. If you absolutely hate the idea of “sour milk,” regular milk with a splash of lemon juice or white vinegar (let it sit for 5 mins) is your trusty sidekick. And if you’re feeling adventurous, toss in some chocolate chips, nuts, or even a swirl of jam. Because why not?
FAQ (Frequently Asked Questions)
Q: My milk smells a *little* funky. Is it still good for baking?
A: If it hasn’t *officially* gone bad (like, with mold or weird chunky bits), and it just has that slightly tangy scent, you’re probably in the clear! Baking neutralizes a lot of those off-notes. If it smells *truly* awful, maybe err on the side of caution and make regular milk sour. But for that subtle tang? Go for it!
Q: Can I use a different kind of flour?
A: Whole wheat flour can be used, but it might make your bread a bit denser. I’d stick with all-purpose for this recipe to ensure that light, fluffy texture. It’s the classic for a reason!
Q: My banana bread sunk in the middle. What did I do wrong?
A: Oh, the dreaded banana bread droop! This is usually caused by opening the oven door too early, not baking it long enough, or overmixing. Don’t beat yourself up; it happens to the best of us!
Q: Can I make this recipe gluten-free?
A: You *could* try with a good gluten-free flour blend, but I haven’t personally tested it. Results may vary, and it might affect the texture. Stick to the classic if you want guaranteed success!
Q: How do I store this deliciousness?
A: Once it’s completely cool, wrap it tightly in plastic wrap or store it in an airtight container at room temperature for up to 3 days. Or, you know, shove it in the freezer for future snack emergencies.
Final Thoughts
And there you have it! A ridiculously easy and delightfully moist banana bread that uses up those overripe bananas and that questionable milk. It’s the perfect recipe for when you need a little comfort food without all the fuss. So go forth and bake! Now go impress someone—or yourself—with your new culinary skills. You’ve earned it!


