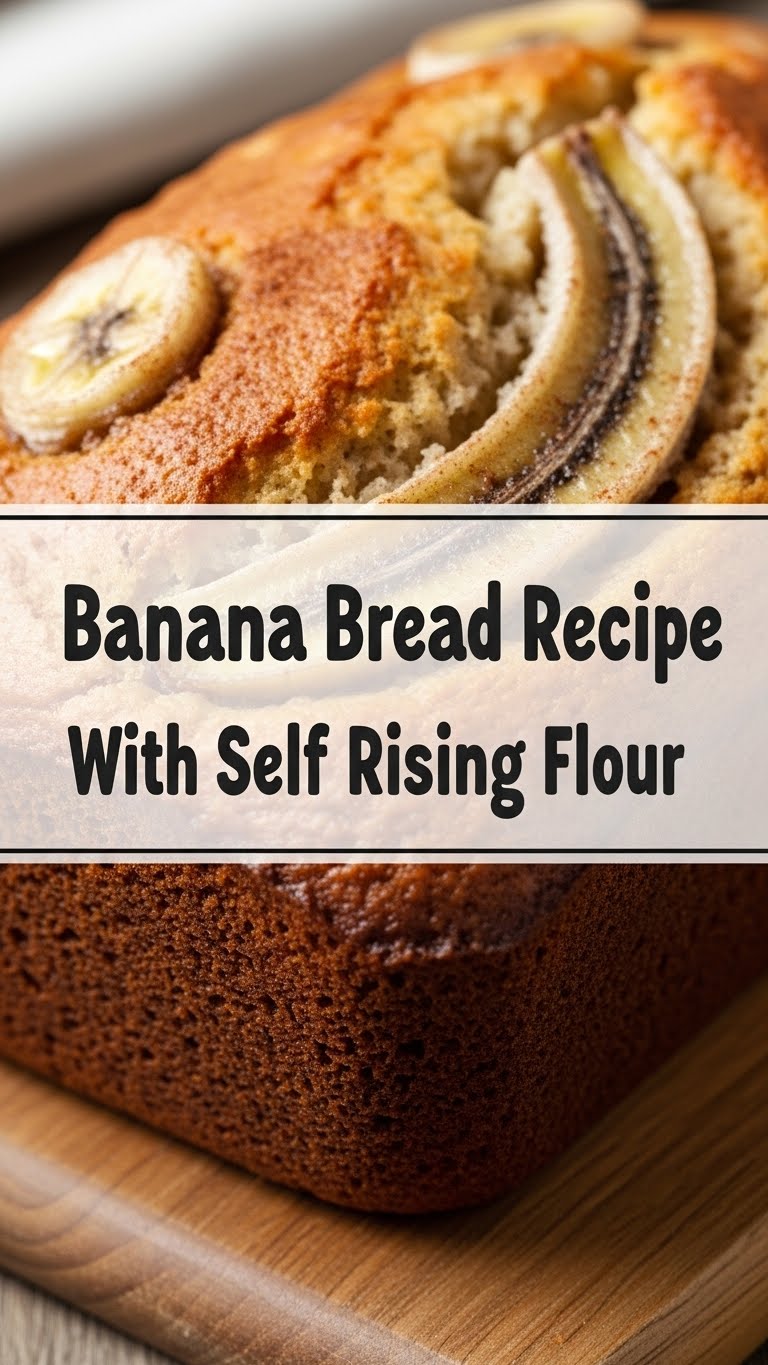
So you’re craving something tasty but too lazy to spend forever in the kitchen, huh? Same. 🙂 And what’s better than a warm, comforting slice of banana bread? Absolutely nothing. But here’s the kicker: you don’t need a fancy degree in baking to whip up a batch of pure deliciousness. We’re talking about the magical powers of self-rising flour here, folks. Get ready to impress yourself (and maybe a lucky human or two) with this ridiculously easy banana bread recipe.
Why This Recipe is Awesome
Honestly, it’s practically foolproof. Like, even if your kitchen resembles a minor natural disaster zone (guilty!), you can still nail this. The self-rising flour does most of the heavy lifting, meaning you get a wonderfully fluffy, moist banana bread without all the fuss of measuring leavening agents separately. It’s the culinary equivalent of a life hack. Plus, it’s the perfect way to use up those sad, spotted bananas that are practically begging to be turned into something amazing. No judgment here!
Ingredients You’ll Need
- 3 ripe bananas: The spottier, the better. They’re basically liquid gold at this point.
- 1/3 cup melted butter: Because butter makes everything better.
- 1 teaspoon vanilla extract: For that little je ne sais quoi.
- 1 teaspoon baking soda: Even with self-rising flour, a little extra insurance for fluffiness doesn’t hurt.
- 1 1/4 cups self-rising flour: The star of the show!
- 1/2 cup granulated sugar: Or a bit more if your bananas are less sweet. Live your best life.
- 1 egg: Whisked, like a tiny golden tornado.
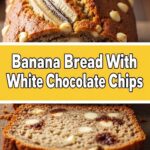
- Optional: A handful of chocolate chips or chopped nuts: Because why not go wild?
Step-by-Step Instructions
- Preheat your oven to 350°F (175°C). Grease and flour a loaf pan. We want happy bread, not sticky bread.
- Mash those sad bananas in a medium bowl until they’re mostly smooth with a few lumps – texture is good!
- Stir in the melted butter and vanilla extract. Give it a good mix.
- Add the sugar and the whisked egg to the banana mixture. Stir until everything is just combined. Don’t overmix, we’re not training for a marathon here.
- In a separate small bowl, whisk together the self-rising flour and baking soda. This ensures it’s evenly distributed – no sad, flat spots in your bread!
- Gently fold the dry ingredients into the wet ingredients. **Stop mixing as soon as you don’t see any dry streaks.** Seriously, under-mixing is better than over-mixing here.
- If you’re feeling fancy, fold in those chocolate chips or nuts now.
- Pour the batter into your prepared loaf pan and spread it out evenly.
- Bake for 50-60 minutes, or until a toothpick inserted into the center comes out clean. The smell will be heavenly, FYI.
- Let it cool in the pan for about 10 minutes before transferring it to a wire rack to cool completely. Patience is a virtue, but so is warm banana bread.
Common Mistakes to Avoid
- Over-mixing the batter: This is the quickest way to tough, dense banana bread. Treat it gently!
- Not mashing the bananas enough: Lumps are fine, but giant banana chunks aren’t ideal for an even texture.
- Opening the oven door too early: Let the bread do its thing. Constantly peeking can cause it to sink.
- Using green bananas: They just don’t have the sweetness or moisture we need. Go for those spotty troopers!
- Thinking you don’t need to preheat the oven: Rookie mistake. It needs to be at the right temperature from the get-go for proper rising.
Alternatives & Substitutions
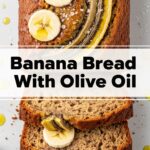
Want to switch things up? Go for it! You can totally swap out the chocolate chips for walnuts or pecans if that’s your jam. Some people even add a sprinkle of cinnamon or nutmeg for a bit of spice – I’m partial to a good pinch of cinnamon myself. If you don’t have butter, a neutral oil like vegetable or canola oil will work in a pinch, but IMO, butter adds superior flavor.
FAQ (Frequently Asked Questions)
Can I use regular all-purpose flour? Well, technically yes, but then you’d need to add baking powder and baking soda separately to make it rise. Why make life complicated when self-rising flour is right there? It’s like having a baking fairy godmother in a box.
How do I know if my bananas are ripe enough? If you’re looking at them and thinking, “Yikes, they’ve seen better days,” then you’re on the right track! They should be soft and heavily speckled, bordering on black. The smell should be sweet and strong.
Can I make this recipe into muffins? Absolutely! Pour the batter into muffin tins lined with paper cups, and bake for about 20-25 minutes, or until a toothpick comes out clean. They make great grab-and-go snacks.
My banana bread is too moist. What did I do wrong? This usually happens from over-mixing or not baking it long enough. Make sure you’re being gentle with the batter and that your oven is calibrated correctly. Sometimes, it’s just a really moist banana batch!
Can I freeze banana bread? Yep! Wrap it tightly in plastic wrap, then in foil, and it should last for a few months in the freezer. Thaw it at room temperature for the best texture.
What’s the best way to store leftover banana bread? Store it in an airtight container at room temperature for up to 3 days. If it gets a bit dry, a quick zap in the microwave can revive it.
Final Thoughts
See? I told you it was easy peasy! This banana bread recipe is a lifesaver for those days when you need a delicious treat without a whole lot of effort. It’s comforting, it’s delicious, and best of all, it’s *yours*. Now go impress someone—or yourself—with your new culinary skills. You’ve earned it!
