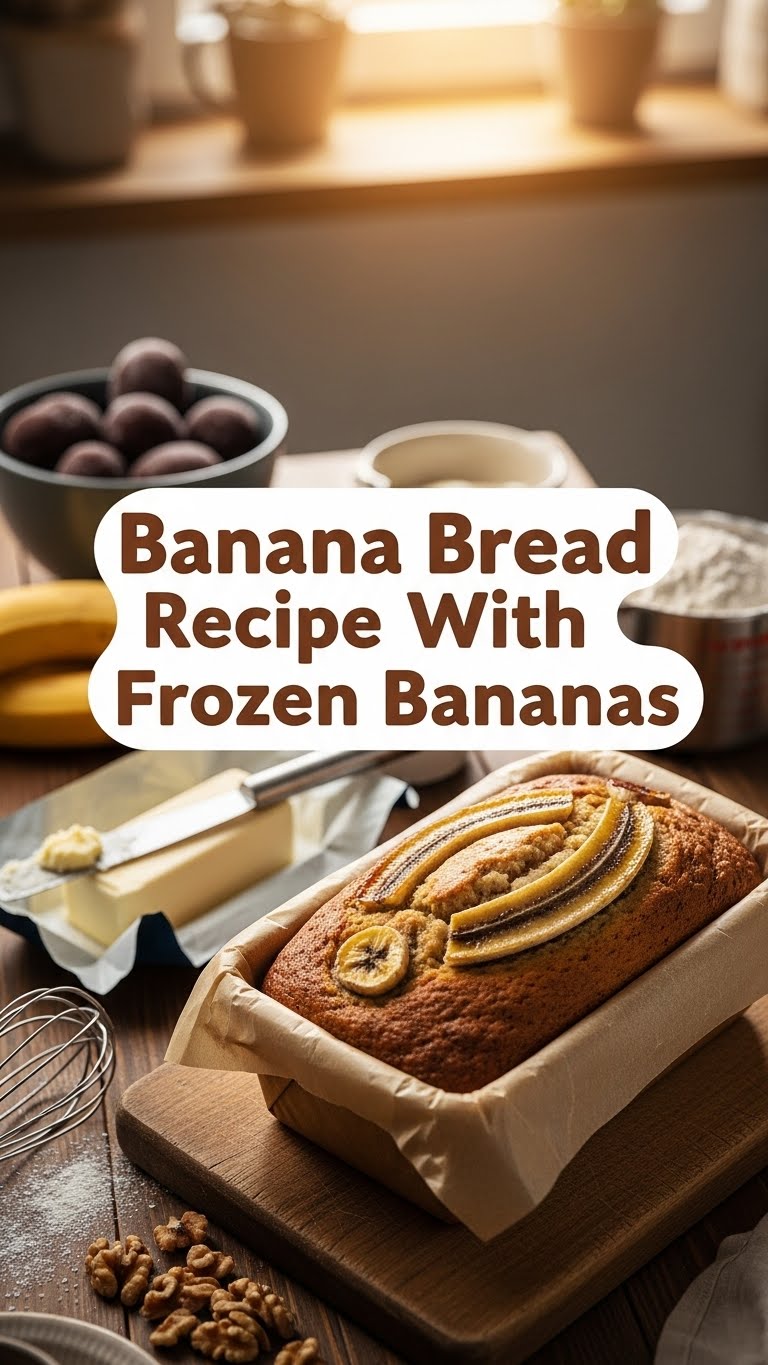
So you’ve got some sad, lonely frozen bananas hanging out in your freezer?
Let’s be honest, who hasn’t? They’ve seen better days, right? They’re a little *too* ripe, a little *too* brown, and frankly, a little embarrassing to look at. But fear not, my friend, because those frozen rejects are about to become the stars of the show! We’re talking about the undisputed king of comfort food: Banana Bread. And guess what? Using frozen bananas is actually the secret weapon you didn’t know you needed. No more sad, mushy fresh bananas that go bad before you can even think about banana pancakes. These guys are ready to party!
Why This Recipe is Awesome (Seriously, It’s Pretty Great)
Okay, let’s cut to the chase. Why should you bother with *this* banana bread recipe? For starters, it’s basically **foolproof**. I’m talking “I forgot to measure something and it still turned out amazing” foolproof. It requires minimal effort, maximum deliciousness, and uses those bananas you’d probably otherwise chuck. Plus, it smells like pure, unadulterated happiness when it’s baking. It’s like a warm hug in edible form. And who doesn’t need more of that?
Ingredients You’ll Need (No Fancy Stuff Required!)
- About 3-4 very ripe, frozen bananas. Peel ’em *before* you freeze them, duh. Unless you enjoy wrestling with a banana popsicle.
- 1/3 cup melted butter. Unsalted is preferred, but if you only have salted, just skip adding extra salt later. Easy peasy.
- 1/2 teaspoon baking soda. This little guy is crucial for lift. Don’t skimp!
- A pinch of salt. Just enough to make the flavors pop, not enough to make it taste like the ocean.
- 3/4 cup sugar. Feel free to adjust this based on how sweet you like your life.
- 1 large egg. Room temperature is ideal, but a cold one won’t ruin everything.
- 1 teaspoon vanilla extract. The magical elixir that makes everything taste better.
- 1 1/2 cups all-purpose flour. The foundation of our bready dreams.
- Optional: 1/2 cup chopped nuts (walnuts or pecans are classic) or chocolate chips. Because sometimes, you just gotta go for it.
Step-by-Step Instructions (Let’s Get Baking!)
- Preheat that oven! Seriously, don’t skip this. Aim for 350°F (175°C). Grease and flour a loaf pan. A little butter and flour goes a long way to preventing a sticky situation.
- Mash those bananas! Take your frozen bananas out of the freezer and let them thaw a bit. They’ll be super mushy and easy to mash with a fork. You want them mostly smooth, with a few small lumps for character.
- Mix the wet stuff. In a large bowl, combine the mashed bananas, melted butter, sugar, egg, and vanilla extract. Whisk it all together until it’s looking like a lovely, yellow concoction.
- Add the dry stuff. In a separate, smaller bowl, whisk together the flour, baking soda, and salt. Then, dump this into your wet mixture.
- Combine gently. Stir the dry ingredients into the wet ingredients until *just* combined. **Don’t overmix!** Seriously, this is key. A few streaks of flour are okay. Overmixing leads to tough banana bread, and nobody wants that. Fold in any nuts or chocolate chips now if you’re feeling adventurous.
- Bake it ’til it’s golden! Pour the batter into your prepared loaf pan and smooth the top. Bake for 50-65 minutes, or until a toothpick inserted into the center comes out clean. If the top is browning too quickly, you can loosely tent it with foil.
- Cool it down. Let the bread cool in the pan for about 10 minutes before carefully turning it out onto a wire rack to cool completely. Patience, grasshopper! It’s worth it.
Common Mistakes to Avoid (Don’t Be That Person!)
- Using *fresh*, non-frozen bananas: While possible, frozen ones are *so* much better for moisture and mashability. You’ll get a drier, less flavorful loaf.
- Overmixing the batter: I said it once, I’ll say it again. Overmixing = tough bread. Just stir until combined, and *stop*.
- Not preheating the oven: This is a classic for a reason. Cold oven, sad bread. Get it hot!
- Not greasing/flouring the pan: Unless you enjoy the artistic challenge of chiseling out your loaf, grease and flour your pan properly.
- Opening the oven door too much: Let the oven do its job. Peeking too often can cause your bread to sink.
Alternatives & Substitutions (Because We’re All About Options!)
Feeling a bit creative or just realized you’re missing something? No worries!
- Dairy-free? Swap the butter for coconut oil or vegan butter. Works like a charm!
- No egg? You can try a flax egg (1 tbsp flaxseed meal + 3 tbsp water, let sit for 5 mins) or a commercial egg replacer. It might alter the texture slightly, but it’ll still be yummy.
- Want to spice it up? Add a teaspoon of cinnamon or nutmeg to the dry ingredients. A little goes a long way!
- Extra moistness? Some people add 1/4 cup of plain yogurt or sour cream. Haven’t tried it myself, but I hear good things!
FAQ (Frequently Asked Questions – Or, “What If?”)
- Can I use margarine instead of butter? Well, technically yes, but why hurt your soul like that? Butter adds superior flavor and texture. But if you’re in a pinch, go for it.
- How do I know if my bananas are ripe enough to freeze? If they’re mostly brown and look like they’ve seen a ghost, they’re PERFECT. The browner, the better for banana bread.
- My banana bread looks dense. What went wrong? Most likely overmixing or not enough baking soda. Gently combine those ingredients, my friend!
- Can I add more bananas? You *can*, but it might make the bread too wet and gummy. Stick to the recipe for best results, IMO.
- How long does this banana bread last? In an airtight container at room temperature, it should be good for about 2-3 days. Though, let’s be real, it rarely lasts that long.
- Can I freeze the baked banana bread? Absolutely! Wrap it well in plastic wrap and then foil. It freezes beautifully for up to 3 months. Thaw at room temperature.
Final Thoughts (Go Forth and Bake!)
And there you have it! Your gateway to delicious, moist, and utterly satisfying banana bread, all thanks to those forgotten frozen bananas. It’s the perfect way to use up those overripe fruits and treat yourself (or someone else!). So go on, embrace the brown. Embrace the bake. Now go impress someone—or yourself—with your new culinary skills. You’ve earned it!
