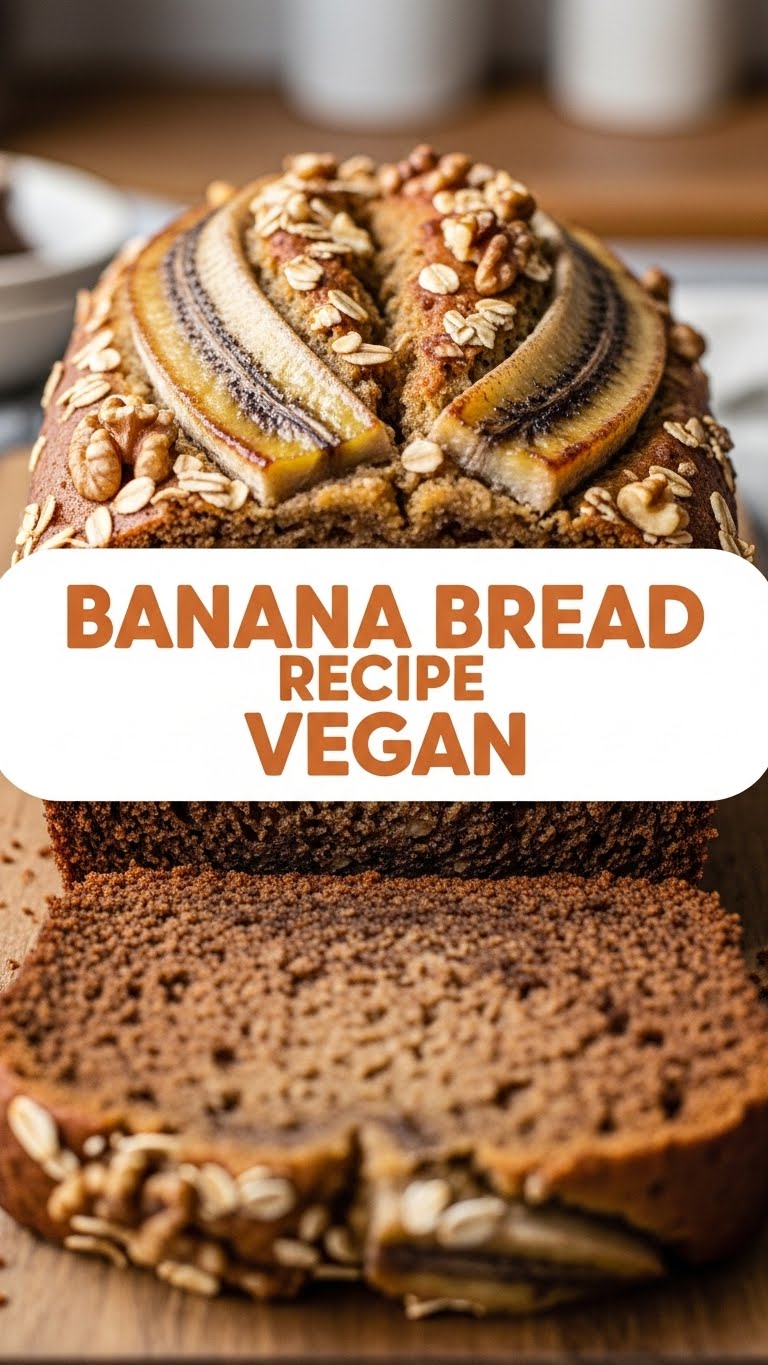
So you’re craving something warm, comforting, and absolutely delicious but also, like, kinda lazy and want to keep things plant-based? Same, my friend, *same*. Forget spending an entire afternoon in the kitchen; we’re here for maximum deliciousness with minimal fuss. Get ready to meet your new favorite, ridiculously easy, and utterly foolproof vegan banana bread recipe. Let’s do this!
Why This Recipe is Awesome
First off, it’s **vegan**. So if you’re trying to save the planet one delicious loaf at a time, or just ran out of eggs and milk, you’re golden. More importantly, it’s pretty much **idiot-proof**. Seriously, even if your culinary skills usually peak at instant noodles, you’ll nail this. It’s also the ultimate excuse to finally use up those sad, spotty bananas on your counter before they stage a full-blown rebellion. Plus, the smell alone? Worth it.
Ingredients You’ll Need
Gather your squad! Here’s what you’ll need to transform those sad bananas into pure joy:
- **3-4 Ripe Bananas:** The spottier, the better! Think “almost black” for maximum sweetness. These are the superstars, obvs.
- **1/3 cup Neutral Oil:** Think vegetable, canola, or melted coconut oil. It keeps things moist without a dairy fuss.
- **1/4 cup Non-Dairy Milk:** Almond, soy, oat… whatever sad carton is lingering in your fridge. It’s all good.
- **1 teaspoon Vanilla Extract:** Because everything is better with a splash of vanilla, IMO.
- **1 ½ cups All-Purpose Flour:** The trusty backbone of our bread. No fancy stuff needed.
- **½ cup Granulated Sugar:** Just enough sweetness to make those bananas sing.
- **1 teaspoon Baking Soda:** Our leavening MVP, making it light and fluffy. Don’t skip this, friend.
- **½ teaspoon Salt:** Balances everything out. Trust me, it makes a difference.
- **Optional Add-ins (because we like options!):**
- **½ cup Vegan Chocolate Chips:** Because, duh.
- **½ cup Chopped Walnuts/Pecans:** For a little crunch and sophistication.
- **1 teaspoon Cinnamon:** Adds a lovely warmth.
Step-by-Step Instructions
- **Preheat & Prep:** Get your oven to a cozy **350°F (175°C)**. Grease and flour a standard loaf pan (about 9×5 inches). You can also line it with parchment paper for easy removal.
- **Mash Those Bananas:** In a large bowl, take your ripe bananas and mash ’em up with a fork. You want some lumps, but mostly smooth. Think “chunky baby food” consistency.
- **Wet Ingredients Party:** To your mashed bananas, add the neutral oil, non-dairy milk, and vanilla extract. Give it a good stir until everything is happily combined.
- **Dry Ingredients Dance:** In a separate, medium-sized bowl, whisk together the flour, granulated sugar, baking soda, and salt. Make sure there are no clumpy bits.
- **Marry the Mixtures:** Pour the dry ingredients into the wet ingredients. **Mix gently** with a spatula or wooden spoon until *just* combined. A few streaks of flour are totally fine! **Overmixing is a rookie mistake** and leads to tough banana bread, and nobody wants that.
- **Fold in the Fun (Optional):** If you’re adding chocolate chips, nuts, or cinnamon, now’s the time! Gently fold them into the batter.
- **Into the Pan:** Pour the glorious batter into your prepared loaf pan. You can sprinkle a few extra chocolate chips or nuts on top for some visual flair, if you’re feeling fancy.
- **Bake Away!** Pop it into the preheated oven for **50-65 minutes**. You’ll know it’s done when a toothpick inserted into the center comes out clean or with just a few moist crumbs.
- **Cool Down, Buttercup:** Let it cool in the pan for about 10-15 minutes before carefully transferring it to a wire rack to cool completely. Patience is a virtue here, even though it smells heavenly!
- **Devour!** Slice it up and enjoy your masterpiece. You’ve earned it.
Common Mistakes to Avoid
- **Under-ripe Bananas:** No, seriously, don’t do it. Greenish bananas won’t give you the sweetness or the moist texture you crave. **Wait for those brown spots!**
- **Overmixing the Batter:** This is key! Mixing too much develops the gluten, making your bread tough and chewy instead of tender. Stir just until the flour disappears.
- **Impatience:** Pulling it out of the oven too early will leave you with a raw, gooey center. And trying to slice it while it’s still piping hot? It’ll crumble. Let it cool!
- **Forgetting Leavening:** Accidentally skipping the baking soda (or using old, inactive baking soda) means your bread won’t rise. It’ll be a sad, dense brick.
Alternatives & Substitutions
Feeling adventurous or just working with what you’ve got? No problem!
- **Flour Power:** Want to go a bit healthier? Swap half the all-purpose flour for whole wheat pastry flour. I wouldn’t go full whole wheat for this recipe unless you’re prepared for a denser loaf, but hey, you do you! For gluten-free, use a 1:1 gluten-free baking blend that contains xanthan gum.
- **Sugar Swaps:** Brown sugar can replace granulated sugar for a deeper, more molasses-y flavor. You can also use maple syrup or agave nectar, but you might need to slightly reduce the liquid (non-dairy milk) by a tablespoon or two.
- **Oil Alternatives:** Applesauce can be a great sub for part (or all) of the oil if you’re looking to cut down on fat. Just keep in mind the texture might be slightly different – often a bit denser and less rich.
- **Spice it Up:** A pinch of nutmeg or a dash of ginger would be lovely additions to the optional cinnamon.
FAQ (Frequently Asked Questions)
Got questions? I’ve got (casual) answers!
- **My bananas aren’t ripe enough! Help?** Oh, the horror! **Pro tip:** You can ripen them quickly! Place them on a baking sheet and bake at 300°F (150°C) for 15-30 minutes until their skins are shiny black. Let them cool, then mash! Crisis averted.
- **Can I use any non-dairy milk?** Yup! Almond, soy, oat, cashew, even rice milk will work. Just use what you have on hand. They all do the job of adding moisture.
- **How do I store this magical bread?** Keep it in an airtight container at room temperature for up to 3 days. If it lasts that long, you have more self-control than me! You can also pop it in the fridge for up to a week, or slice and freeze individual pieces for a quick future treat.
- **Can I make muffins instead of a loaf?** Absolutely! Divide the batter into a greased muffin tin (filling each cup about 2/3 full). Bake for 20-25 minutes, or until a toothpick comes out clean. Less waiting, more eating!
- **Is this *really* vegan? Like, 100%?** If you stick to the ingredients listed (neutral oil, non-dairy milk, vegan chocolate chips if using), then yes, it’s totally plant-based. No hidden animal bits here, FYI!
- **What if I don’t have baking soda? Can I use baking powder?** Baking soda and baking powder aren’t quite interchangeable in equal amounts. This recipe calls for baking soda because it reacts with the acidity in the bananas. If you only have baking powder, you’d need about 3-4 times the amount, and it might not give the same lift. **Best to stick to baking soda for this one!**
Final Thoughts
And there you have it! Your ticket to warm, cozy, vegan banana bread bliss. Whether you’re making it for a Sunday brunch, a Tuesday afternoon pick-me-up, or just because you can, this recipe is a winner. Now go impress someone—or yourself—with your new culinary skills. You’ve earned it!
