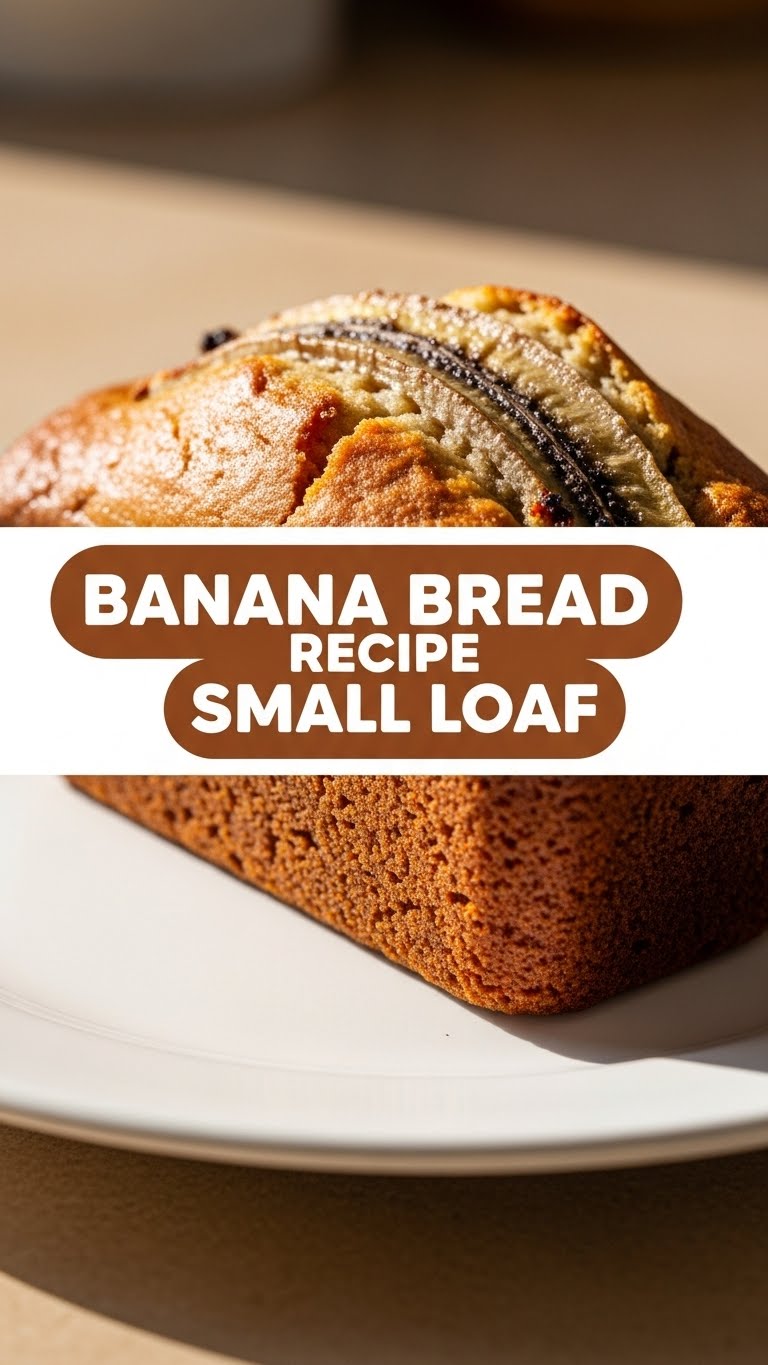
Ever found yourself staring at a couple of suspiciously brown bananas on the counter, feeling that mix of guilt and potential? Yeah, me too. And then the craving for banana bread hits like a delicious freight train, but who wants a *giant* loaf just for themselves? (Okay, maybe sometimes, but not today!) That’s where our small-batch banana bread recipe swoops in like a cozy superhero. Think all the comforting banana goodness, none of the commitment issues.
Why This Recipe is Awesome
Okay, so why bother with *this* particular recipe? Well, for starters, it’s tiny! Perfect for when you’ve got two lonely bananas, not seven. It’s practically impossible to mess up, even if your baking skills usually involve burning toast. Seriously, it’s idiot-proof, even I didn’t mess it up.
Plus, it’s quick. You’ll be inhaling warm banana goodness before you can even properly contemplate your life choices. No massive leftovers staring accusingly from the counter, just pure, unadulterated, single-serving (or maybe two-serving, if you’re feeling generous) bliss.
Ingredients You’ll Need
- 1 cup all-purpose flour: The backbone of our operation. Don’t be fancy, just regular stuff.
- 1/2 teaspoon baking soda: Our leavening pal. Makes things rise, like your spirits after eating this.
- 1/4 teaspoon salt: Just a pinch to balance the sweet and make everything pop.
- 1/4 cup unsalted butter, melted: Because everything is better with butter. FYI, melted is key here.
- 1/4 cup granulated sugar: Sweetness! Adjust if your bananas are basically candy already.
- 1 large egg: Our binder, our glue, our reason for being.
- 1 teaspoon vanilla extract: Don’t skip this, it’s like the secret handshake of deliciousness.
- 2 very ripe bananas, mashed: The stars of the show! The browner, the better. We’re talking almost-compost level brown.
- (Optional) 1/4 cup chocolate chips or chopped nuts: Because sometimes you just need that extra jazz.
Step-by-Step Instructions
- Prep Time: Go ahead and preheat your oven to 350°F (175°C). Grease up a small loaf pan (around 5.75 x 3.25 inches) like it’s going to a fancy party.
- Dry Mix Fun: In a medium bowl, whisk together your flour, baking soda, and salt. Set it aside for a sec.
- Wet Mix Magic: In another, slightly larger bowl, melt your butter. Stir in the sugar until it’s happy. Then beat in the egg and vanilla extract until everything looks smooth and unified.
- Banana Bash: Now, mash those super ripe bananas right into the wet ingredients. Don’t overthink it; a few lumps are totally fine and add character.
- Combine Forces: Gradually add your dry ingredients to the wet ingredients. Mix until *just* combined. Seriously, stop mixing the second the flour disappears. Overmixing is the enemy of tender banana bread!
- Optional Goodies: If you’re adding chocolate chips or nuts, gently fold them in now.
- Pan It Up: Pour your glorious batter into your prepared small loaf pan. Give it a little tap on the counter to settle.
- Bake Away: Pop it in the preheated oven for 30-35 minutes, or until a toothpick inserted into the center comes out clean.
- Cool Down: Let it hang out in the pan for about 10 minutes before transferring it to a wire rack to cool completely. (Or, you know, eat it warm. I won’t judge.)
Common Mistakes to Avoid
- Using yellow bananas: Rookie mistake! You need spotty, brown, practically rotten-looking bananas for maximum sweetness and flavor. Embrace the brown!
- Overmixing the batter: This is a biggie. Mixing too much develops the gluten, making your bread tough and chewy instead of tender and moist. Stop as soon as the dry ingredients are just incorporated. Your forearms can take a break, promise.
- Not preheating the oven: Patience, young grasshopper. A cold oven means uneven baking. Don’t rush perfection!
- Eating it all in one sitting: Okay, maybe not a *mistake*, but I’m just saying, sharing is caring. (Or saving some for tomorrow, if you’re strong-willed.)
Alternatives & Substitutions
- Spice it up: A pinch of cinnamon or nutmeg goes a long way. Personally, I love a little cinnamon hug in my banana bread.
- Healthy-ish swap: You *can* swap half the all-purpose flour for whole wheat flour for a slightly nuttier, more wholesome vibe. Just be warned, it might be a bit denser.
- No butter? No problem: Vegetable oil or melted coconut oil can work in a pinch, but IMO, butter just tastes better. Sorry, not sorry.
- Sweetener tweak: Brown sugar instead of white sugar will give it a deeper, more caramel-like flavor. Yum!
- Add-ins galore: Walnuts, pecans, shredded coconut, dried cranberries – go wild! Or don’t. It’s your bread, your rules.
FAQ (Frequently Asked Questions)
- “My bananas aren’t ripe enough! What do I do?” Panic! Just kidding. You can bake them (unpeeled!) on a baking sheet at 300°F (150°C) for 15-20 minutes until they’re black and soft. Instant ripeness hack!
- “Can I use margarine instead of butter?” Well, technically yes, but why hurt your soul like that? Butter just provides a richer flavor and better texture. Treat yourself!
- “How do I know when it’s perfectly baked?” A toothpick or skewer inserted into the very center should come out clean, or with a few moist crumbs attached. No wet batter!
- “Can I make muffins instead?” Absolutely! Just divide the batter among 6-8 muffin cups and bake for about 18-22 minutes. Keep an eye on ’em!
- “How long does this small loaf last?” If you manage not to devour it immediately, it’ll be good on the counter for 2-3 days, or in the fridge for up to a week. It also freezes beautifully!
- “What if I don’t have a small loaf pan?” Get creative! You can use a few muffin cups, a small oven-safe dish (adjust baking time), or even a small round cake pan. Just remember to watch the baking time, as it might vary.
Final Thoughts
See? That wasn’t so scary, was it? You just whipped up a cozy, comforting, small-batch banana bread like a pro. Now you’ve got the perfect excuse for a coffee break, a mid-afternoon snack, or a late-night indulgence. Go on, pat yourself on the back. You’ve earned it.
Now go impress someone—or yourself—with your new culinary skills. Maybe even share a slice… but only if you really want to. 😉 Happy baking, my friend!

