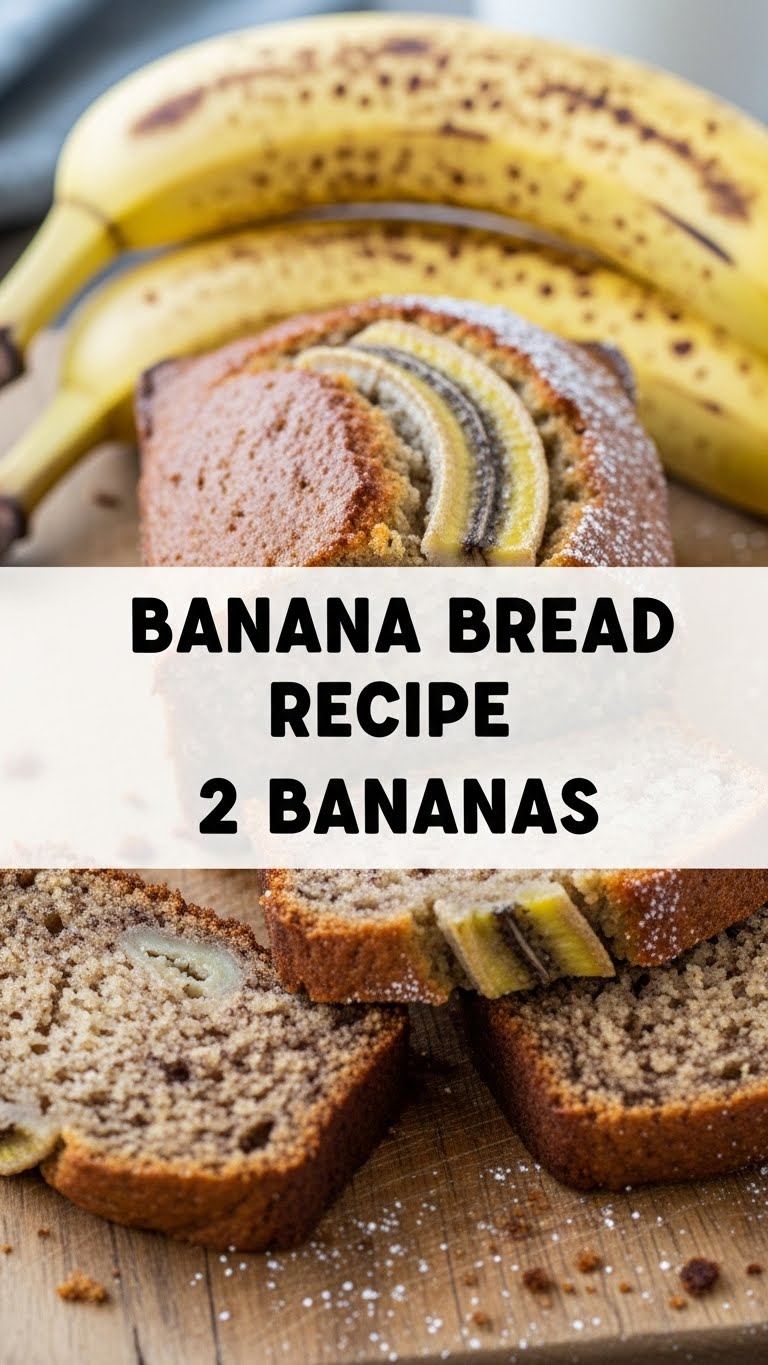
So you’ve got those two sad, spotty bananas sitting on your counter, practically begging for a glorious transformation, right? And you’re craving something warm, comforting, and utterly delicious, but you also don’t want to spend your entire afternoon playing master baker? My friend, you’ve come to the right place. Grab a coffee (or a glass of wine, no judgment here), because we’re about to turn those neglected fruits into a banana bread masterpiece that even *you* can’t mess up. Promise.
Why This Recipe is Awesome
Let’s be real, life’s too short for complicated recipes. This isn’t one of those. This banana bread recipe is basically the culinary equivalent of a warm hug that high-fives your tastebuds. It’s:
- Ridiculously Easy: Seriously, if you can mash a banana, you’re halfway there.
- Beginner-Friendly: Even if your baking skills usually stop at “adding milk to cereal,” you’ll nail this.
- Minimal Ingredients: You probably have most of this stuff lurking in your pantry already.
- Uses Up Those Bananas: No more guilt trips from your fruit bowl!
- Pure Deliciousness: The perfect balance of sweet, moist, and banana-y goodness. It’s practically a hug in bread form.
Ingredients You’ll Need
Time to gather your troops! Here’s what we’re wrangling for this epic banana bread adventure:
- 2 Super Ripe Bananas: The spottier, the better! Think leopard print, not pristine yellow. These are your flavor bombs.
- 1/2 Cup (113g) Unsalted Butter: Softened. Don’t be a hero, let it sit out or zap it gently. Margarine? We’ll talk later, but butter is king here.
- 1/2 Cup (100g) Granulated Sugar: Or a little less if your bananas are basically liquid caramel already.
- 1 Large Egg: Room temperature if you’re feeling fancy, straight from the fridge if you’re like me and just want banana bread ASAP.
- 1 Teaspoon Vanilla Extract: The secret weapon for making everything taste like a warm memory.
- 1 1/2 Cups (180g) All-Purpose Flour: Just regular old flour. No need for anything exotic unless you want to get wild.
- 1 Teaspoon Baking Soda: This is what gives our bread its lovely lift. Don’t skip it!
- 1/2 Teaspoon Salt: Just a pinch to balance out all that sweetness. It makes a difference, trust me.
- Optional Goodies (but highly recommended): 1/2 cup chocolate chips, chopped walnuts, pecans, or a sprinkle of cinnamon. Your bread, your rules!
Step-by-Step Instructions
Alright, apron on (or not, it’s your kitchen), let’s get baking!
- Prep Your Stage: First things first, preheat your oven to 350°F (175°C). Then, grease and flour a standard loaf pan (9×5 inches usually) or line it with parchment paper. Trust me, future you will thank present you for not having a stuck loaf.
- Mash Those Bananas: In a medium bowl, go to town on your super ripe bananas with a fork. You want them pretty well mashed, but a few small lumps are totally fine for texture.
- Cream the Butter & Sugar: In a separate, larger bowl, cream together the softened butter and sugar until light and fluffy. An electric mixer is great here, but a sturdy whisk and some elbow grease work too!
- Add Wet Ingredients: Beat in the egg and vanilla extract into your butter-sugar mixture until just combined. Don’t overmix!
- Combine the Dry: In yet another (sorry!) small bowl, whisk together the flour, baking soda, and salt. Make sure it’s all nicely mixed.
- Bring it All Together: Gradually add the dry ingredients to the wet ingredients, mixing until just combined. Do not overmix! Lumps are okay. Overmixing develops gluten, which leads to tough bread, and nobody wants that.
- Fold in the Good Stuff: Gently fold in your mashed bananas and any optional add-ins (chocolate chips, nuts, etc.).
- Into the Pan: Pour the batter into your prepared loaf pan and smooth the top. If you’re feeling extra, sprinkle a little sugar on top for a nice crust.
- Bake Away! Pop it into your preheated oven and bake for 50-60 minutes. You’ll know it’s ready when a wooden skewer or toothpick inserted into the center comes out clean or with a few moist crumbs.
- Cool Down: Let your glorious creation cool in the pan for about 10-15 minutes before carefully transferring it to a wire rack to cool completely. Patience, young padawan! It’s worth it.
Common Mistakes to Avoid
We’ve all been there. Here’s how to sidestep those pesky banana bread blunders like a pro:
- Using Under-Ripe Bananas: This is probably the #1 rookie mistake. Green or yellow bananas won’t give you the deep flavor or moisture you need. Wait for those spots!
- Overmixing the Batter: I mentioned it, and I’ll mention it again because it’s that important. Mix until *just* combined. A few lumps of flour? Totally fine. A tough, chewy loaf? Not fine.
- Forgetting to Grease the Pan: Or not greasing it well enough. Unless you enjoy prying your bread out in sad, broken pieces, grease that pan thoroughly.
- Opening the Oven Door Too Early: Resist the urge! Opening the door before the bread has set can make it sink. Wait until at least 40 minutes have passed before peeking.
- Not Preheating the Oven: Thinking you can just shove it in a cold oven and it’ll all work out? Nah, you’ll end up with unevenly baked bread. Preheating is non-negotiable.
Alternatives & Substitutions
Feeling a little rebellious? Here are some ways to jazz up (or simplify) your banana bread:
- Brown Sugar Swap: You can totally use brown sugar instead of granulated for a deeper, more molasses-y flavor. It makes the bread even moister, IMO.
- Dairy-Free? Use a plant-based butter alternative and a flax egg (1 tbsp ground flaxseed + 3 tbsp water, let sit for 5 mins) for a delicious dairy-free and vegan version.
- Flour Power: Want to make it a tad healthier? Swap out 1/2 cup of all-purpose flour for whole wheat flour. Don’t go all whole wheat unless you’re prepared for a denser loaf.
- Spice It Up: A pinch of nutmeg, cloves, or allspice can really elevate the flavor profile. Or, go wild with 1/2 teaspoon of cinnamon!
- Add-In Bonanza: Beyond chocolate chips and nuts, consider shredded coconut, dried cranberries, or even a swirl of cream cheese frosting *after* it’s baked and cooled. Yum!
FAQ (Frequently Asked Questions)
Got questions? I’ve got (casual) answers!
- “Can I use frozen bananas?” Absolutely! Just make sure they’re thawed completely (and drain any excess liquid) before mashing. They’ll be extra mushy, which is perfect.
- “My bananas aren’t ripe enough! What do I do?” Desperate times call for desperate measures! You can bake them (unpeeled) on a baking sheet at 300°F (150°C) for 15-30 minutes until they’re black and soft. Or, microwave them for 30 seconds at a time until soft. Not ideal, but it works in a pinch.
- “How long does banana bread last?” At room temperature, tightly wrapped, about 3-4 days. In the fridge, up to a week. For longer storage, slice it up and freeze individual slices for a quick grab-and-go treat!
- “Can I add more than 2 bananas?” Technically, yes, but proceed with caution. Too many bananas can make your bread too dense and moist (as in, soggy). Stick to 2-3 for this recipe’s ratios.
- “Why did my banana bread sink in the middle?” Usually, it’s either under-baking, opening the oven door too early, too much leavening (baking soda/powder), or sometimes too much moisture. Make sure your oven temp is accurate and bake until that toothpick comes out clean!
- “Can I use margarine instead of butter?” Well, technically yes, but why hurt your soul like that? Butter generally provides a richer flavor and better texture. If you must use margarine, pick one that’s high quality and suitable for baking.
Final Thoughts
And there you have it! Your very own, perfectly imperfect (but mostly perfect) banana bread, born from those two humble, spotty bananas. It wasn’t so scary, was it? Now go grab a slice, maybe slather it with a little extra butter (because why not?), and enjoy the fruits of your effortless labor. You’ve earned it! Share it with friends, impress your family, or just hoard it all for yourself (no judgment, remember?). Happy baking, superstar!


