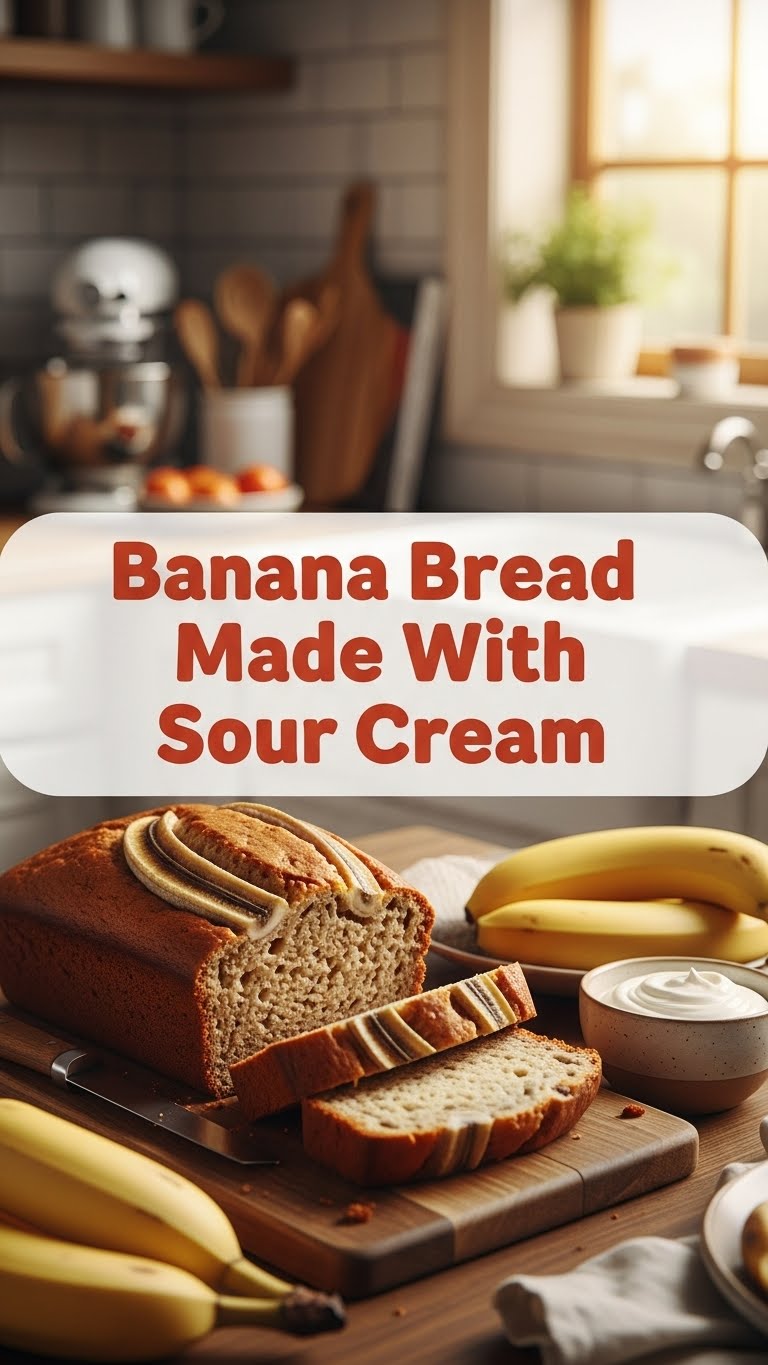
Banana Bread That’s So Good, It’s Almost Suspicious (Thanks, Sour Cream!)
So you’re craving something tasty but too lazy to spend forever in the kitchen, huh? Same. And you’ve got some sad, overripe bananas hanging out, practically begging for a second life. Well, my friend, you’ve stumbled upon the *perfect* solution. This isn’t just any banana bread; it’s the *sour cream* banana bread. And let me tell you, it’s a game-changer.
Why This Recipe is Awesome
Okay, let’s be real. Most banana bread is good, but this one? This one’s *exceptional*. The sour cream is the secret weapon here, folks. It makes the bread unbelievably moist and tender, like it’s had a spa day. It’s so forgiving, it’s practically idiot-proof, even I didn’t mess it up the first time (and that’s saying something!). Plus, it’s ridiculously easy. No fancy equipment, no arcane techniques. Just pure, unadulterated deliciousness waiting to happen.
Ingredients You’ll Need
* 3 very ripe bananas, mashed (the browner, the better – like they’ve seen some things)
* 1/3 cup melted butter (or margarine if you’re feeling adventurous, but butter is life)
* 1/2 cup granulated sugar (or brown sugar if you want to live on the edge)
* 1 large egg, lightly beaten (just give it a good whisking, no need for a full workout)
* 1 teaspoon vanilla extract (the fragrant magic potion)
* 1 teaspoon baking soda (this makes it puff up, like it’s bragging)
* A pinch of salt (to balance all that sweet goodness)
* 1 1/2 cups all-purpose flour (the main structure, don’t skip this!)
* 1/2 cup sour cream (the MVP, the reason for the season)
Step-by-Step Instructions
1. Preheat your oven to 350°F (175°C). **Grease and flour a loaf pan.** This is non-negotiable, unless you enjoy chiseling baked goods out of metal.
2. In a big bowl, **mash those sad bananas** until they’re practically soup. No lumps allowed!
3. Stir in the melted butter, sugar, beaten egg, and vanilla extract. Mix until it’s all happy and combined.
4. In a separate, smaller bowl, **whisk together the baking soda, salt, and flour.** This is called “dry ingredients,” and it’s important to get them evenly distributed.
5. **Gradually add the dry ingredients to the wet ingredients,** mixing until *just* combined. Don’t overmix, or you’ll get tough bread, and nobody wants that.
6. Now for the star of the show! **Gently fold in the sour cream.** You want it to be incorporated, but don’t go crazy. A few streaks are fine, it adds character.
7. Pour the batter into your prepared loaf pan. It might look a little thick, but that’s what we want!
8. Bake for 50-65 minutes, or until a toothpick inserted into the center comes out clean. **Keep an eye on it!** Ovens can be divas.
9. Let it cool in the pan for about 10 minutes before carefully transferring it to a wire rack to cool completely. Patience, grasshopper.
Common Mistakes to Avoid
* **Thinking you don’t need to preheat the oven.** Rookie mistake! Your bread will be a sad, dense hockey puck.
* **Overmixing the batter.** Seriously, stop when you don’t see flour anymore. It’s not a cardio workout.
* **Using underripe bananas.** They won’t be sweet enough, and they won’t mash properly. Save those green guys for a smoothie.
* **Not greasing and flouring the pan properly.** See step 1. Don’t make me repeat myself.
Alternatives & Substitutions
* **Chocolate Chips?** Absolutely! Toss in about a cup. It’s basically a dessert at that point, and who are we to judge?
* **Nuts?** Walnuts or pecans are a classic combo. About 1/2 cup, chopped. Adds a nice crunch.
* **Different flour?** You *could* try whole wheat, but it might make it a bit denser. Whole wheat pastry flour is your best bet if you want to go healthier.
* **Dairy-free?** Plant-based yogurt (like coconut or soy) can work as a substitute for sour cream, but the texture might be slightly different. Worth a shot if you’re committed!
FAQ (Frequently Asked Questions)
* **Can I use margarine instead of butter?** Well, technically yes, but why hurt your soul like that? Butter adds superior flavor and texture. If you *must*, use a good quality stick margarine.
* **My bananas aren’t *that* brown, can I still use them?** If they have *some* brown spots and are soft, go for it. If they’re still mostly yellow and firm, maybe wait a day or two. Patience is a virtue, especially in baking!
* **How do I know if it’s done?** The toothpick test is your bestie. If it comes out clean with no wet batter clinging to it, you’re golden. A few moist crumbs are okay, though.
* **Can I make muffins instead?** Yup! Just reduce the baking time to about 20-25 minutes. Keep an eye on them!
* **What if I don’t have sour cream?** Full-fat plain yogurt is your next best bet. Greek yogurt works too, but it’s thicker, so you might need to add a splash of milk.
* **Can I freeze this banana bread?** Absolutely! Wrap it tightly in plastic wrap and then foil. It’ll keep for a couple of months. Thaw it on the counter or in the fridge.
* **Is this bread *really* that moist?** Yes, my friend. The sour cream is like a magic moisture fairy. Prepare to be amazed.
Final Thoughts
So there you have it! A ridiculously easy, incredibly moist, and downright delicious banana bread that’ll make you look like a culinary genius. You can totally share it, but I won’t judge if you don’t. It’s that good. Now go impress someone—or yourself—with your new culinary skills. You’ve earned it! Enjoy every last crumb!


