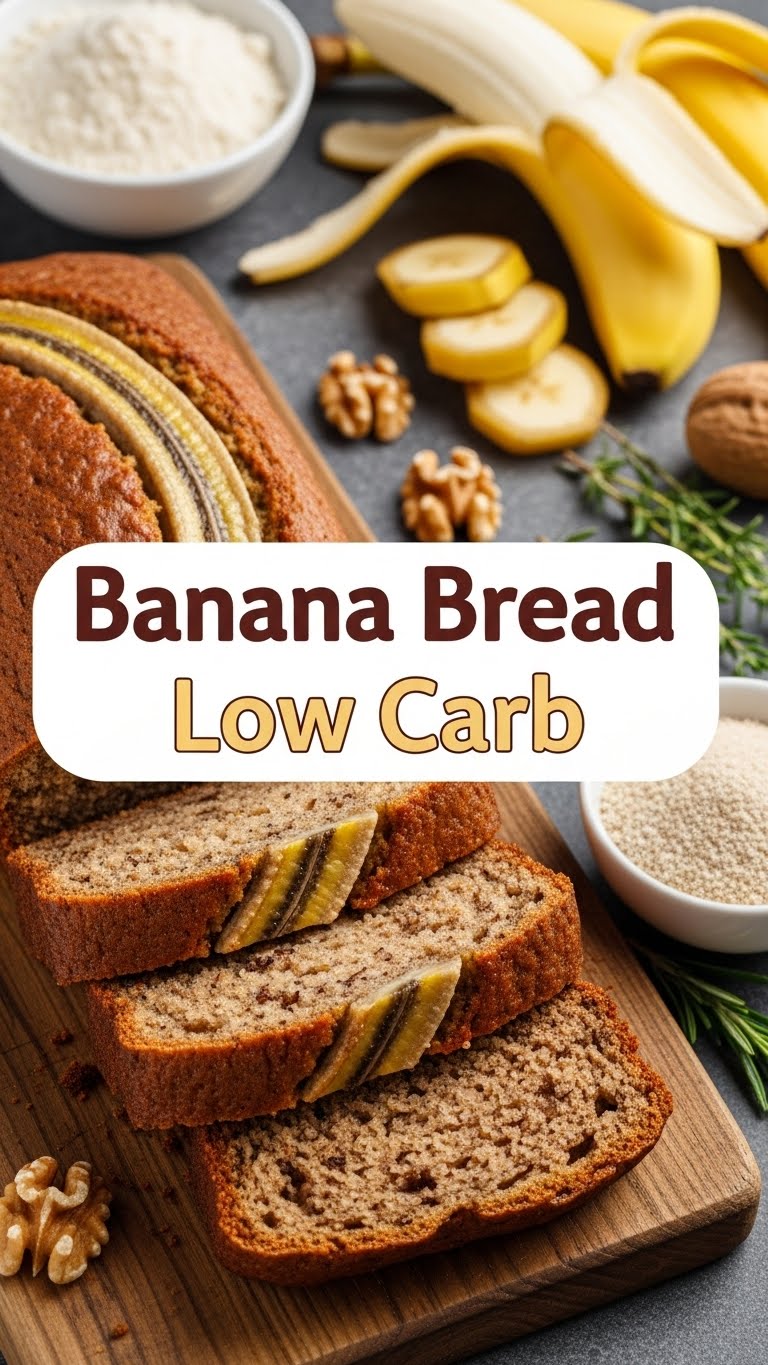
So you’re craving something warm, comforting, and secretly healthy, but the thought of a carb crash gives you the shivers? Been there, baked that. And now, my friend, I’m about to blow your low-carb mind with banana bread that actually tastes like, well, *banana bread* without the sugar spike!
Why This Recipe is Awesome
Okay, let’s be real. Most “low-carb” versions of classic comfort food taste like regret. But not this bad boy! This recipe is basically a magic trick for your taste buds, letting you enjoy a classic without the guilt trip.
It’s **idiot-proof**. Seriously. If I can whip this up after a long day (and without setting off the smoke alarm), you absolutely can too. No culinary degree required, just a desire for deliciousness.
Plus, you get to eat banana bread without the post-sugar slump. Winning! It’s the perfect treat that fits right into your healthier lifestyle without feeling like you’re missing out.
Ingredients You’ll Need
- Ripe Banana: Just *one* (the secret to keeping it low carb but still banana-y!). Make it a squishy, spotty one – nobody likes a stiff banana in their bread.
- Almond Flour: Your low-carb BFF. Don’t even *think* about subbing regular flour unless you want to totally miss the point.
- Coconut Flour: A little goes a long way. This stuff is thirsty, so it helps with texture.
- Large Eggs: The glue of the baking world. Make sure they’re room temperature for the best results!
- Melted Butter (or Coconut Oil): Because everything’s better with butter. Or coconut oil if you’re feeling fancy/dairy-free.
- Erythritol (or your preferred low-carb sweetener): Sweetness without the drama. Adjust to your sweet tooth!
- Baking Powder & Baking Soda: The dynamic duo for lift. Don’t skip ’em.
- Vanilla Extract: A hug for your taste buds.
- Cinnamon (Optional, but highly recommended): Adds that cozy factor and extra flavor depth.
- Pinch of Salt: Balances the sweet and makes everything pop.
- Walnuts/Pecans (Optional): For a little crunch and sophisticated flair.
Step-by-Step Instructions
- **Prep Time!** First things first, preheat your oven to 350°F (175°C). Then, grease a standard loaf pan. For easy removal, line it with parchment paper, leaving an overhang on the sides.
- **Banana Mash-Up:** In a medium bowl, mash that single ripe banana until it’s mostly smooth. Don’t worry about a few small lumps; they just add character to your bread.
- **Wet Ingredients Party:** To your mashed banana, add the eggs, melted butter (or coconut oil), erythritol, and vanilla extract. Whisk everything together until it’s well combined and looks fairly uniform.
- **Dry Ingredients Assemble:** In a separate, larger bowl, whisk together the almond flour, coconut flour, baking powder, baking soda, cinnamon (if you’re using it), and salt. Make sure there are no lumpy bits in your dry mix.
- **Combine Forces:** Pour the wet ingredients into the dry ingredients. Mix gently until *just* combined. **Seriously, do not overmix!** Overmixing is the enemy of tender low-carb bread. If you’re using nuts, fold them in now.
- **Into the Pan:** Scrape the batter into your prepared loaf pan, smoothing the top with a spatula. If you’re feeling fancy, sprinkle a few extra nuts on top for presentation points.
- **Bake It, Baby!** Pop the pan into your preheated oven and bake for 40-50 minutes, or until a toothpick inserted into the center comes out clean. If the top starts to brown too quickly, just loosely tent it with foil.
- **Cool Down:** Let your glorious banana bread cool in the pan for about 10-15 minutes before carefully transferring it to a wire rack to cool completely. **Patience is a virtue here** – it helps the bread set properly.
Common Mistakes to Avoid
- Overmixing the batter: This is a big no-no, especially with gluten-free flours. You’ll end up with a dense, sad brick instead of light, fluffy bread. Mix until *just* combined, then stop!
- Not using a ripe banana: That one lonely banana is doing a lot of heavy lifting for flavor. A green, firm banana won’t give you the sweetness or aroma you’re looking for. Wait for those glorious brown spots!
- Eyeballing the flours: Low-carb flours (especially coconut flour) are super absorbent. **Measure precisely** unless you want a dry, crumbly mess. Seriously, use proper measuring cups and spoons.
- Cutting it too soon: I know, the smell is intoxicating. But warm banana bread is structurally unsound. Let it cool a bit, otherwise, it might crumble. Think of it as anticipation building!
Alternatives & Substitutions
- Sweetener Swap: Don’t love erythritol? Feel free to use monk fruit, allulose, or a stevia blend. Just be mindful of conversion ratios, as they all have different sweetness levels. Check the packaging for guidance.
- Dairy-Free: Easily done! Swap butter for melted coconut oil or avocado oil. The taste won’t change drastically, so go for it!
- Nut-Free: This one’s trickier for low-carb baking. You’d need a completely different flour blend, but for *this* recipe, almond flour is key. If nuts are an issue, this might not be your go-to.
- Add-Ins: Feel free to experiment! Sugar-free chocolate chips, a dash of nutmeg, or even a swirl of cream cheese frosting (sugar-free, of course!) after it’s cooled can take it up a notch.
FAQ (Frequently Asked Questions)
- “Can I use regular flour instead of almond flour?” Oh, honey, no. This is a *low-carb* recipe. Regular flour would change the entire carb count and texture, defeating the purpose. You do you, but then it’s just regular banana bread!
- “My banana bread is too dry! What gives?” Likely culprits: overmixing, using too much coconut flour (it’s really thirsty!), or baking for too long. **Remember, precise measurements and gentle mixing are your friends!**
- “How long does it last?” In an airtight container on the counter, probably 2-3 days. In the fridge, up to a week. If it lasts that long, you’re a stronger person than I am, IMO.
- “Can I add more bananas for extra flavor?” You *can*, but be warned: more bananas mean more carbs and more moisture. If you add more, you might need to adjust the dry ingredients slightly, and then it’s a whole new recipe adventure. Stick to one for this version!
- “Is this recipe freezer-friendly?” Absolutely! Slice it up, wrap individual slices in plastic wrap, and then pop them into a freezer bag. Thaw on the counter or microwave briefly for a quick snack attack. FYI, it’s great for meal prep!
Final Thoughts
See? I told you it wasn’t rocket science! You’ve just unlocked the secret to guilt-free banana bread, my friend. Now go impress someone—or yourself—with your new culinary skills. Maybe make an extra loaf and “accidentally” leave it at a friend’s house. You’ve earned those bragging rights (and that delicious slice!). Happy baking!

