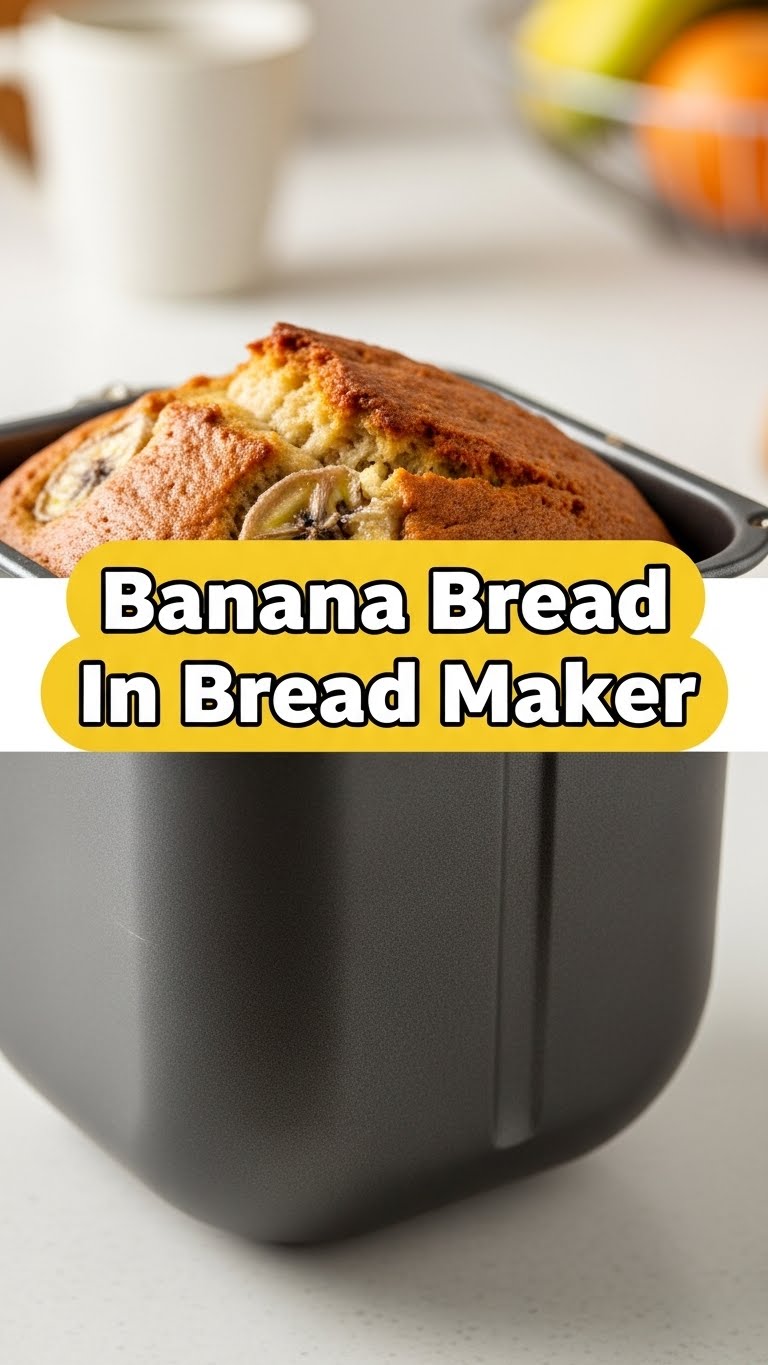
So you’re craving something warm, comforting, and banana-y, but the thought of digging out the mixer, sifting flour, and dirtying a gazillion bowls makes your soul sigh? Same. You’re my kind of people. That’s why we’re making banana bread in a bread maker today. No fuss, maximum deliciousness, minimal dish-washing guilt. You’re welcome.
Why This Recipe is Awesome
Honestly? It’s **idiot-proof**. Even I, queen of forgetting ingredients and burning toast, have never messed this up. Seriously, it’s basically a dump-and-go situation, and your bread maker does all the heavy lifting. You get to sit back, sip your coffee, and pretend you’re a culinary genius while the machine works its magic. Plus, your house will smell like a warm hug, which is a major win in anyone’s book. No preheating the oven, no mixing until your arm falls off. Just pure, unadulterated banana bread bliss with zero drama.
Ingredients You’ll Need
Gather ’round, my lazy-but-ambitious friends. Here’s what you’ll need to transform those sad, forgotten bananas into a masterpiece:
- **Bananas:** 3 medium, *super* ripe (we’re talking brown spots, practically black – the uglier, the better for flavor, trust me!)
- **All-Purpose Flour:** 1 ½ cups (the regular stuff, no fancy business needed)
- **Granulated Sugar:** ¾ cup (because life’s too short for unsweetened banana bread)
- **Melted Butter:** ½ cup (1 stick), cooled slightly (or vegetable oil if you’re feeling rebellious)
- **Eggs:** 2 large (room temp if you remember, but not the end of the world if you don’t)
- **Milk:** ¼ cup (any kind works, even almond or oat if you’re feeling fancy)
- **Vanilla Extract:** 1 teaspoon (don’t skimp, it makes everything better)
- **Baking Soda:** 1 teaspoon (the leavening magic)
- **Salt:** ½ teaspoon (just a pinch to balance the sweetness)
Step-by-Step Instructions
Alright, apron on (or not, who cares?), let’s get this bread party started!
- **Mash those Bananas:** In a separate bowl, mash your super-ripe bananas with a fork until they’re mostly smooth but still have a few small chunks. Personality, right?
- **Wet Ingredients First:** Pour your melted butter (or oil), eggs, milk, and vanilla extract into your bread maker pan. Then, add the mashed bananas. This order helps things mix nicely.
- **Now for the Dry:** Carefully spoon the flour over the wet ingredients. Don’t mix yet! On top of the flour, add the sugar, baking soda, and salt. Make sure the baking soda and salt aren’t directly touching the wet ingredients to start.
- **Seal the Deal:** Pop the bread maker pan into the machine and close the lid.
- **Choose Your Weapon:** Select the **”Quick Bread”** or **”Sweet Bread”** setting on your bread maker. This is crucial as it won’t have the long kneading cycles of regular bread. If your machine only has “Basic” and doesn’t specify quick bread, you might need to check your manual for a “no-knead” or “cake” setting.
- **Press Start & Chill:** Hit that glorious “Start” button and let your bread maker do its thing. Go watch an episode of your favorite show, paint your nails, or just stare blankly at a wall – whatever floats your boat while deliciousness bakes.
- **Check for Doneness:** When the cycle is complete, carefully remove the pan. To check if it’s done, insert a toothpick into the center. If it comes out clean, you’re golden! If not, you can try to bake for an extra 10-15 minutes in a conventional oven (at 350°F / 175°C) if your machine allows, or if it has an extended bake function.
- **Cool Down:** Let the bread cool in the pan for about 10-15 minutes before turning it out onto a wire rack to cool completely. This helps prevent it from getting soggy. **Patience, young grasshopper!**
Common Mistakes to Avoid
Even though this is super easy, there are a few banana peels you can trip over. Let’s make sure you don’t!
- **Under-ripe Bananas:** Seriously, I cannot stress this enough. Greenish bananas will make your bread bland and sad. Wait for the brown spots, people!
- **Opening the Lid Too Much:** Resist the urge to peek every five minutes! Each time you open the lid, you let out heat, which can affect the baking process and cause your bread to sink.
- **Forgetting the Paddle:** Some bread makers have a little paddle at the bottom that mixes everything. Make sure it’s in there before you add ingredients, or you’ll just have a dry pile of flour and a wet pile of bananas. (Ask me how I know.)
- **Not Greasing the Pan (if required):** While many bread maker pans are non-stick, a little spray never hurt. Check your specific model’s instructions.
- **Cutting Too Soon:** As tempting as it is, slicing into piping hot banana bread can make it crumbly. Let it cool a bit. **A warm slice is great, but a cooled slice holds its shape better.**
Alternatives & Substitutions
Feeling adventurous? Good! This recipe is super flexible. Let’s jazz things up:
- **Chocolate Chips:** Because… chocolate. Add ½ to 1 cup of semi-sweet, dark, or even white chocolate chips with the dry ingredients. IMO, dark chocolate is the best pairing here.
- **Nuts:** Walnuts or pecans (½ cup, chopped) add a nice crunch. Toss them in during the last 10-15 minutes of the baking cycle, or add them with the dry ingredients if your bread maker has a “mix-in” dispenser.
- **Spices:** A pinch of cinnamon or nutmeg (½ teaspoon) can elevate the flavor profile. Add it with the dry ingredients.
- **Dairy-Free:** Swap butter for a plant-based butter alternative or more vegetable oil. Use your favorite dairy-free milk. Easy peasy.
- **Gluten-Free:** You can try using a 1:1 gluten-free flour blend. Results may vary slightly, but it’s often a good substitute for quick breads.
FAQ (Frequently Asked Questions)
- **Can I use margarine instead of butter?** Well, technically yes, but why hurt your soul like that? Butter just tastes better and gives a richer flavor. If you must, margarine will work, but don’t say I didn’t warn you.
- **How do I know my bananas are “super” ripe?** They should be mostly brown or black on the outside, soft to the touch, and have a strong sweet smell. If they’re still firm and yellow, just leave them on the counter for a few more days!
- **My bread sank in the middle! What happened?** Usually, this means too much moisture, too much leavening, or the bread maker’s “quick bread” setting might be a bit too long for your specific recipe. Make sure your bananas aren’t *too* liquidy, and measure your baking soda accurately.
- **Can I double the recipe?** **Nope, not in a standard bread maker.** The pan size is specific, and doubling can lead to overflow or under-baking. Stick to single recipes for best results. If you need more, make two batches!
- **Can I freeze banana bread?** Absolutely! Once it’s completely cooled, wrap it tightly in plastic wrap, then foil, and freeze for up to 3 months. Thaw it on the counter or gently warm slices in the microwave. It’s perfect for a quick snack later.
- **What if my bread maker doesn’t have a “Quick Bread” setting?** Check your manual for a “Cake” setting or a custom cycle that doesn’t involve long kneading and rising times. The key is a cycle that mixes ingredients, bakes, and that’s it!
Final Thoughts
So there you have it, folks! Effortless, delicious, bread maker banana bread that will make you feel like a domestic god/goddess without breaking a sweat. It’s the perfect treat for breakfast, a snack, or just because you deserve something warm and comforting. Now go impress someone—or yourself—with your new culinary skills. You’ve earned it!

