So you’re staring at those sad, spotty bananas on your counter, wondering if they’re a lost cause or a culinary opportunity? Ding, ding, ding! Opportunity knocks, my friend, and it smells like warm banana bread. Get ready to turn those forgotten fruits into a masterpiece, because we’re about to make some banana bread worthy of its own “display.”
Why This Recipe is Awesome
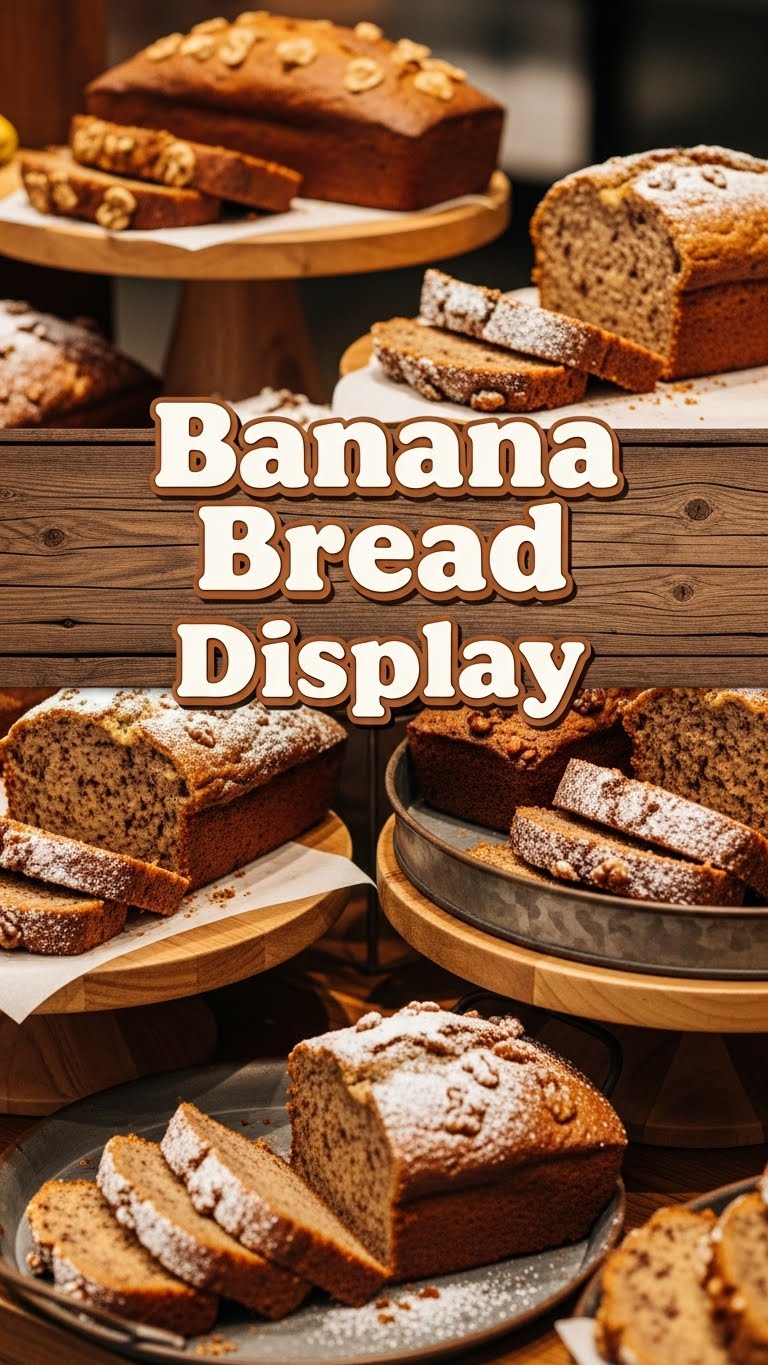
Okay, real talk. This isn’t just *any* banana bread. This is the “holy-moly-did-you-make-this-from-scratch” kind of banana bread. It’s so good, you’ll actually want to make extra just to display it. Seriously. Plus, it’s pretty much idiot-proof. Even if your usual cooking adventures end with a smoke detector concert, you got this. This recipe is your culinary redemption arc, and it’s delicious.
Ingredients You’ll Need
Gather your troops, intrepid baker! Here’s what we’ll need:
- 3-4 Overripe Bananas: The star of the show. We’re talking full-on leopard print, maybe even a little black magic going on. The spottier, the sweeter!
- 1½ cups All-Purpose Flour: No fancy stuff unless you’re feeling extra bougie.
- ¾ cup Granulated Sugar: Because sweetness is not a crime.
- 1 Large Egg: Our trusty binder-upper.
- ⅓ cup Melted Unsalted Butter: Because we like to control the salt ourselves, thank you very much.
- 1 teaspoon Baking Soda: Our lift-off specialist, making it nice and fluffy.
- ½ teaspoon Salt: Just a pinch to make everything pop. Don’t skip it; it balances the sweetness!
- 1 teaspoon Vanilla Extract (Optional, but highly recommended): Why skip the good stuff? It adds that comforting aroma.
- Optional Mix-ins: ½ cup chocolate chips, chopped walnuts, or pecans. Go wild, or don’t. Your bread, your rules!
Step-by-Step Instructions
Alright, apron on! Let’s get this deliciousness going.
- Preheat & Prep: Preheat your oven to 350°F (175°C). Lightly grease and flour a 9×5 inch loaf pan. Don’t skip this, unless you enjoy playing ‘pry the bread out with a spatula and despair’ later.
- Mash ‘Em Good: In a medium bowl, mash those sad bananas with a fork until mostly smooth. A few lumps are totally fine; they add character, as I like to say.
- Wet Ingredients Party: Stir the melted butter, sugar, beaten egg, and vanilla extract (if using) into the mashed bananas. Mix until just combined. We’re not trying to beat air into it; just get everything cozy.
- Dry Ingredients Unite: In a separate, smaller bowl, whisk together the flour, baking soda, and salt. Whisking ensures no mysterious clumps of baking soda end up in your finished bread.
- Combine, But Gently: Add the dry ingredients to the wet ingredients. Mix gently with a spoon or spatula until *just* combined. A few streaks of flour are perfectly acceptable. **Overmixing is the enemy of tender bread!** Seriously, it activates the gluten too much and makes your bread tough.
- Add Your Flair (Optional): If you’re using chocolate chips or nuts, fold them in now.
- Bake It Like You Mean It: Pour the batter into your prepared loaf pan. Bake for 50-60 minutes, or until a toothpick inserted into the center comes out clean. If it’s getting too dark on top, you can loosely tent it with foil. **Patience, young grasshopper!**
- Cool Down: Let your glorious banana bread cool in the pan for about 10 minutes. Then, carefully transfer it to a wire rack to cool completely. Or, you know, eat it warm. I won’t judge your immediate gratification.
Common Mistakes to Avoid
Look, we all make mistakes. Let’s try to avoid these:
- Underripe Bananas: Trying to use yellow bananas? Nope. They need to be *seriously* spotty. Think ‘about to be compost’ spotty. That’s where the flavor and natural sweetness live!
- Overmixing the Batter: I know, I sound like a broken record, but really, this is crucial. Stir until just combined, no more. Lumps are character, toughness is a tragedy.
- Not Greasing Your Pan Properly: Unless you want to chisel your banana bread out in sad, broken pieces, take the extra minute to butter and flour that pan, or use parchment paper. Your future self will thank you.
- Opening the Oven Door Every Five Minutes: Resist the urge! Every time you peek, you let out heat and mess with the baking process, potentially leading to a sunken middle. Trust the oven. And the timer.
Alternatives & Substitutions
Feeling a little rebellious, or just out of an ingredient? Here are some ideas:
- Butter Swap: Melted coconut oil works great for a dairy-free twist, or if you’re just out of butter and feeling rebellious. It adds a subtle coconut flavor that’s actually quite lovely.
- Sugar Options: Brown sugar instead of white gives it a deeper, more caramel-y flavor. Maple syrup or honey could work too, but FYI, you might need to slightly reduce other liquids. IMO, white sugar keeps it classic and allows the banana flavor to shine.
- Flour Power: Whole wheat flour can be substituted for half of the all-purpose for a slightly healthier (shhh!) version. Gluten-free flour blends usually work too, but check the package instructions for ratios, as they can vary.
- Add-ins Galore: Got a serious sweet tooth? White chocolate chips, dried cranberries, a sprinkle of cinnamon, or even a dash of nutmeg would be lovely. Get creative! A streusel topping is also never a bad idea.
FAQ (Frequently Asked Questions)
- My bananas aren’t ripe enough, help!
No worries! Pop them (unpeeled) on a baking sheet in a 300°F (150°C) oven for 15-20 minutes until they’re black and soft. Instant ripeness! Don’t tell anyone I told you that trick.
- Can I add nuts AND chocolate chips?
Are you trying to live your best life? Absolutely! The more the merrier. Just don’t overfill your pan; aim for about ¾ cup total mix-ins.
- How do I know if it’s cooked through?
A toothpick (or a skewer, or even a thin knife) inserted into the very center should come out clean. If it’s gooey, bake a bit longer. Don’t be afraid to give it a few more minutes!
- Can I make muffins instead?
Yep! Divide the batter into a greased muffin tin. Bake for about 20-25 minutes, or until a toothpick comes out clean. **FYI**, they’ll bake much faster than a loaf.
- How long does it last?
Wrapped tightly, it’ll last 3-4 days at room temperature, or a week in the fridge. But let’s be real, it rarely lasts that long in my house.
- Can I freeze it?
Yes! Wrap the cooled bread tightly in plastic wrap, then foil. It’ll keep for up to 3 months. Thaw at room temperature when you’re ready for a treat. Future you will definitely thank present you!
Final Thoughts
See? You’re practically a master baker now! Go ahead, slice that beautiful loaf, marvel at your creation, and maybe even *display* it for a bit before devouring it. You’ve turned forgotten fruit into a masterpiece. Now go impress someone—or yourself—with your new culinary skills. You’ve earned it!


