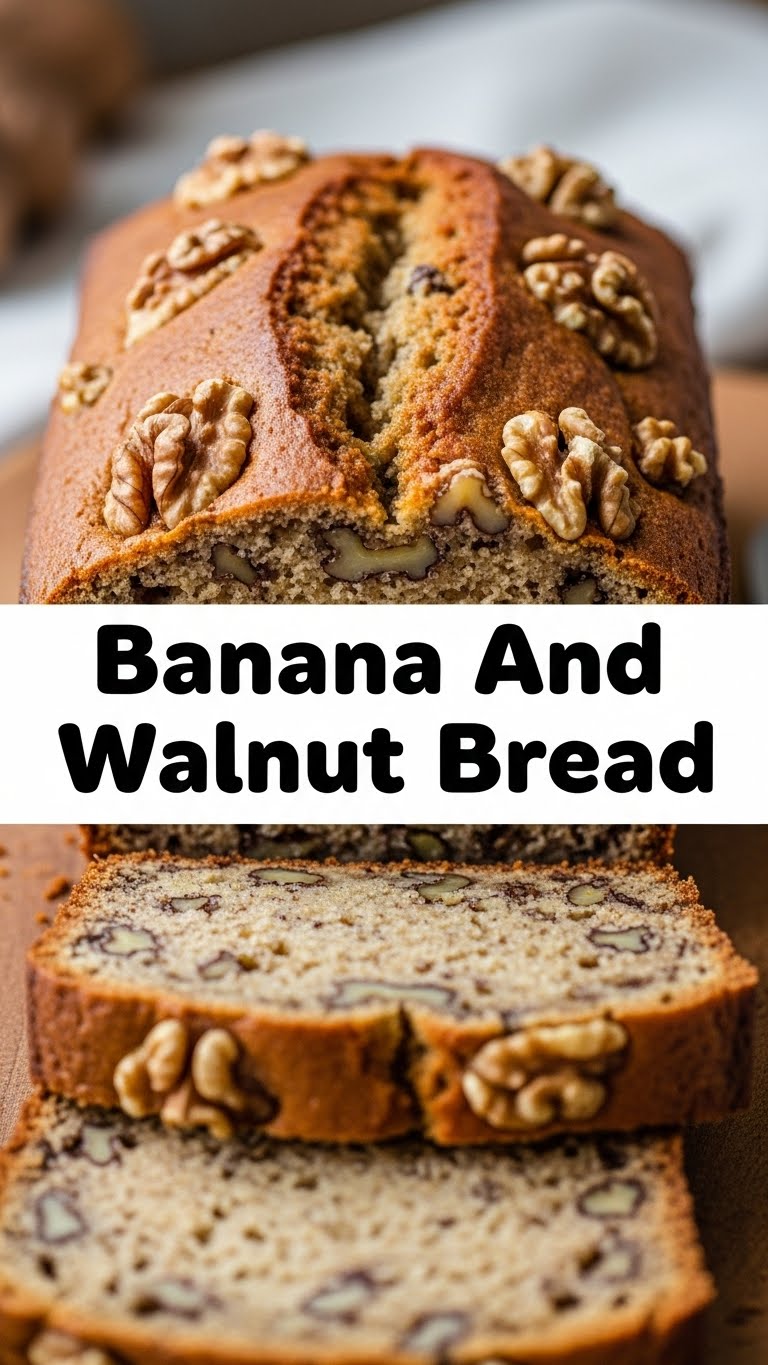
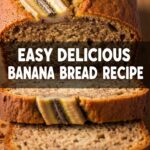
So, you’re staring at those spotty, almost-black bananas on your counter, wondering if they’re still safe to eat or if they’ve developed a tiny, sentient personality of their own? Good news! They’re not going rogue; they’re actually perfectly ripe for their destiny: becoming the star of the most ridiculously delicious Banana and Walnut Bread you’ll ever bake. And guess what? You’re about to make it!
Why This Recipe is Awesome
Okay, let’s be real. In the grand scheme of baking, banana bread is basically the equivalent of wearing sweatpants: comforting, unfussy, and always a good idea. This isn’t just *a* banana bread recipe; this is *the* banana bread recipe that will make you feel like a baking wizard, even if your usual culinary feat is successfully boiling water. It’s so forgiving, it practically bakes itself. And **it’s an epic way to use up those brown bananas** instead of, you know, tossing them or trying to convince yourself they’re “just caramelized.”
Plus, the smell alone as it bakes? Pure, unadulterated bliss. Your house will smell like a cozy autumn day, even if it’s 90 degrees outside. It’s basically a hug in loaf form, and who doesn’t need more of those?
Ingredients You’ll Need
Gather your troops! Here’s what you’ll need to make this magic happen:
- 3 Ripe Bananas: And by ripe, I mean the ones that look like they’ve been through some things. Brown spots, please! The spottier, the sweeter, trust me.
- 1 ½ cups All-Purpose Flour: Your basic baking buddy. No need for anything fancy here, unless you’re feeling bougie.
- ¾ cup Granulated Sugar: For that perfect kiss of sweetness. We’re making bread, not rock candy.
- ½ cup (1 stick) Unsalted Butter: Melted. Because everything is better with butter, **duh**.
- 1 Large Egg: The binder that holds our dreams (and this bread) together.
- 1 teaspoon Vanilla Extract: Don’t skip this! It’s like the secret sauce for extra “oomph.”
- 1 teaspoon Baking Soda: Our lift-off agent. Helps it rise beautifully.
- ½ teaspoon Salt: A tiny pinch to balance all the deliciousness. The unsung hero.
- ¾ cup Chopped Walnuts: The crunch factor! If you’re not a nut person, you can totally skip these, but **IMO**, they make the bread *chef’s kiss*.
Step-by-Step Instructions
Alright, apron on (or not, we’re not judging), let’s get baking!
- Get things Preheat-y: First up, get your oven warmed up to 350°F (175°C). Then, grease and flour a standard loaf pan (about 9×5 inches). You don’t want your masterpiece stuck to the pan, do you?
- Mash ‘Em Good: In a large bowl, take those gloriously spotty bananas and mash them up with a fork. Lumps? Totally fine! Adds character. Think of it as rustic charm.
- Wet Ingredients Party: To the mashed bananas, add the melted butter, sugar, egg, and vanilla extract. Whisk ’em all together until they’re well combined. Don’t go crazy, just get everyone acquainted.
- Dry Ingredients Huddle: In a separate, medium-sized bowl, whisk together the flour, baking soda, and salt. Make sure they’re all friends before meeting the wet crew.
- Combine & Conquer: Now, add the dry ingredients to the wet ingredients. **Mix until *just* combined.** Seriously, stop mixing as soon as you don’t see any more streaks of flour. Overmixing is the enemy of tender bread!
- Nutty Fun: Gently fold in those chopped walnuts. Give them a good, even distribution. This is where the magic really starts to happen.
- Bake It Baby: Pour the batter into your prepared loaf pan. Pop it into your preheated oven and bake for about 50-60 minutes.
- The Toothpick Test: To check if it’s done, stick a toothpick or a thin knife into the center of the loaf. If it comes out clean (maybe a few moist crumbs are okay), it’s ready! If it’s still gooey, give it another 5-10 minutes.
- Cool Down, Buttercup: Let the bread cool in the pan for about 10 minutes. This helps it firm up. Then, carefully transfer it to a wire rack to cool completely. **Resist the urge to slice it immediately!** It’s hot, you’ll burn your tongue, and it won’t slice cleanly. Patience, young padawan.
Common Mistakes to Avoid
Nobody’s perfect, but we can avoid some common pitfalls, right?
- Using Yellow Bananas: We talked about this! **No yellow bananas!** They won’t give you the same sweetness or moisture. It’s like bringing a spoon to a knife fight.
- Overmixing: I cannot stress this enough. Mix until *just* combined. If you keep mixing, your bread will be tough, dense, and nobody wants tough bread.
- Not Greasing the Pan: Unless you enjoy a good wrestling match with your baked goods, grease and flour that pan properly. A little parchment paper sling helps too!
- Impatience is NOT a Virtue: Pulling it out too early means a gooey center. Cutting it too soon means a crumbly mess. **Trust the cooling process!**
Alternatives & Substitutions
Feeling a little rebellious? Here are some ways to shake things up:
- No Walnuts? No Problem! Pecans are a fantastic substitute. Or, if you’re a chocolate fiend (who isn’t?), toss in some chocolate chips. White chocolate, milk chocolate, dark chocolate – your call!
- Make it Vegan: Swap the butter for a plant-based butter or a neutral oil (like canola or vegetable). For the egg, use a flax egg (1 tbsp ground flaxseed mixed with 3 tbsp water, let sit for 5 minutes).
- Gluten-Free Gang: Use a 1:1 gluten-free flour blend. Many brands work wonderfully in this recipe.
- Spice Things Up: A pinch of cinnamon or nutmeg (about ½ teaspoon) can add a lovely warm flavor. Cardamom works too if you’re feeling adventurous!
- Sweetener Swap: You can replace some of the granulated sugar with brown sugar for a deeper, more molasses-like flavor. Yum!
FAQ (Frequently Asked Questions)
Got questions? I’ve got (casual) answers!
- “Can I use less sugar? I’m trying to be ‘healthy’.” Well, technically yes, you can reduce it by about ¼ cup without too much fuss. But the bananas provide a lot of natural sweetness, so it’s not overly sweet to begin with. **FYI**, it’s a treat, live a little!
- “My bread came out dry, what did I do wrong?” Ah, the age-old question! Most likely, you either overbaked it or overmixed the batter (which develops the gluten too much). Remember, **less is more with mixing!**
- “How long does this glorious bread last?” If it lasts more than 2-3 days in your house, you’ve got willpower I can only dream of! Store it covered at room temperature for up to 3 days, or in the fridge for up to a week. It also freezes beautifully for longer storage!
- “Can I add other fruits or ingredients?” Absolutely! Dried cranberries, blueberries, shredded coconut, or even a streusel topping (butter, flour, brown sugar crumbles) would be amazing. Go wild!
- “Is it okay if my bananas aren’t *super* brown?” It’s okay, but your bread won’t be quite as moist or sweet. The browner they are, the more sugar has developed, and the softer they’ll be for mashing. **Embrace the brown!**
Final Thoughts
And there you have it! You’ve just transformed a few sad, spotty bananas into a warm, comforting, and absolutely delicious loaf of banana and walnut bread. See? You *are* a baking wizard! This recipe is perfect for breakfast, a coffee break, or a midnight snack (we won’t tell). So go ahead, slice yourself a thick piece, maybe slather it with a little more butter (because why not?), and enjoy the fruits (literally!) of your labor.
Now go impress someone – or just yourself – with your new culinary skills. You’ve earned it!

