So, you just opened the pantry and staring back at you is that lonely can of apple pie filling, probably wondering what it did to deserve such a fate? Or maybe you *intentionally* bought it, dreaming of something epic but easy? Either way, you’re in the right place, friend. We’re about to turn that humble can into a dessert superstar without breaking a sweat or, you know, actually *making* pie from scratch. Because who has time for that?
Why This Recipe is Awesome
This isn’t just a recipe; it’s a life hack. Seriously. It’s for those moments when you want to look like a culinary genius but your internal monologue is just shouting ‘EFFORT?! NO THANKS!’. It’s so **mind-numbingly simple**, you could probably bake it blindfolded (though I don’t recommend trying that, fire hazards and all). Plus, it uses ingredients you likely already have, which means no emergency grocery store runs in your PJs. It’s practically guilt-free gourmet. Even I didn’t mess it up, and that’s saying something!
Ingredients You’ll Need
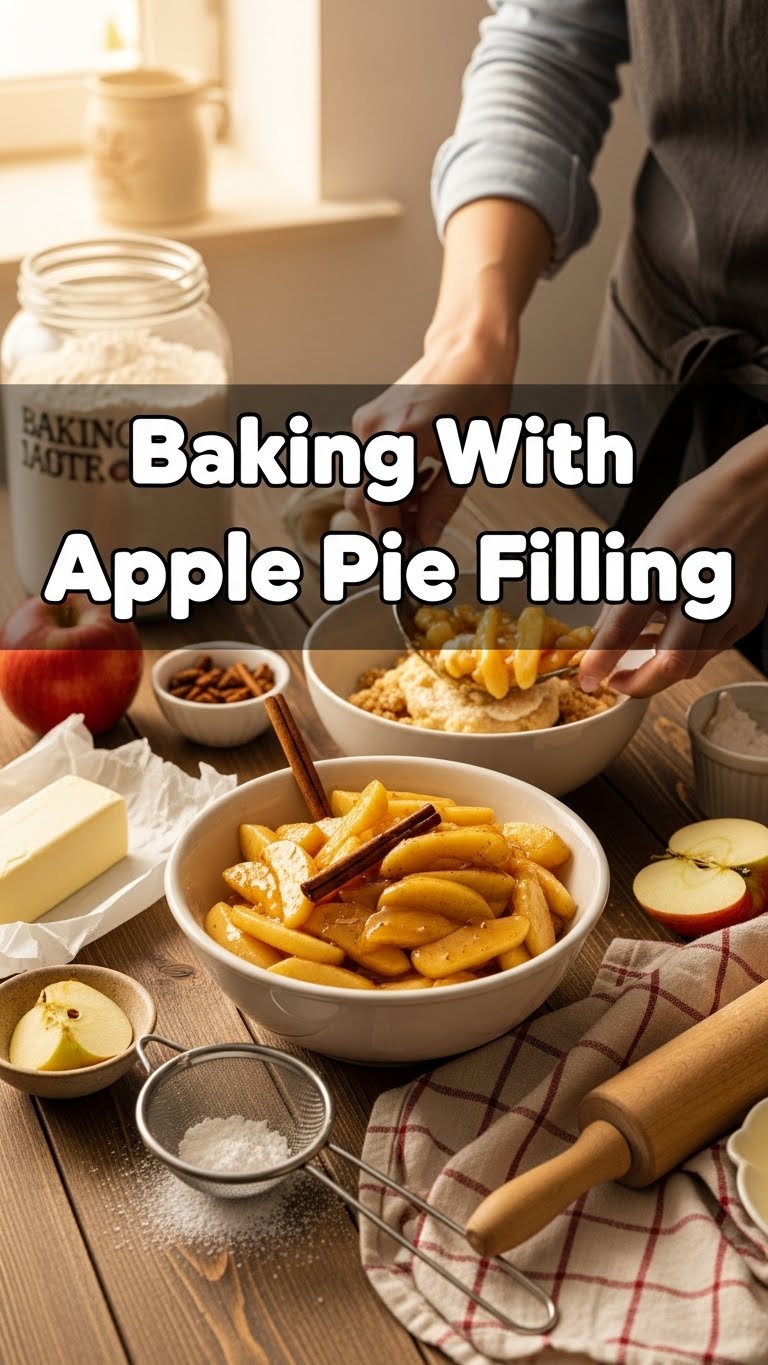
- **One can (21 oz / 600g-ish) Apple Pie Filling:** The undisputed star of our show. Don’t cheap out too much; good filling makes a good… well, filling!
- **One Box Yellow Cake Mix (or Vanilla, whatever’s chilling):** Your secret weapon for that cakey goodness. We’re not using eggs or oil, so don’t even look at the box instructions. We’re rebels.
- **1/2 cup (1 stick) Unsalted Butter, melted:** Or salted, if that’s all you got. Just be prepared for a tiny bit more sass in your dessert.
- **Optional Toppings:** A sprinkle of cinnamon, a dash of nutmeg, a scoop of vanilla ice cream, or a dollop of whipped cream. Because dessert without extras is just sad, IMO.
Step-by-Step Instructions
- **Preheat Your Oven:** Set it to **350°F (175°C)**. This is crucial, don’t skip it. A cold oven is like trying to bake with a sad face—it just doesn’t work right.
- **Prep Your Pan:** Grab an 8×8 or 9×9 inch baking dish. Give it a light spray with non-stick goodness.
- **Spread the Apple Love:** Pour that entire can of apple pie filling into the prepared dish. Spread it out evenly. It’s okay if it looks a bit chunky; that’s character.
- **Cake Mix Shower:** Open your cake mix box. No, don’t read the back! Just evenly **sprinkle the dry cake mix** directly over the apple filling. Try to cover as much as you can.
- **Butter Drizzle Time:** Melt that butter. Then, carefully and evenly, **drizzle the melted butter over the dry cake mix**. Make sure to get it all covered; this is what creates that magical crust.
- **Bake Until Golden:** Pop your dish into the preheated oven. Bake for **45-55 minutes**, or until the top is golden brown and bubbly. You’ll know it’s ready when your kitchen smells like a cozy fall wonderland.
- **Cool (if you can wait):** Let it cool for at least 10-15 minutes before serving. It helps it set, but honestly, who can resist warm apple goodness?
Common Mistakes to Avoid
- **Not Preheating the Oven:** Rookie move! Your dessert won’t cook evenly, and you’ll end up with a weird, half-baked situation. Patience, young Padawan.
- **Mixing the Cake Mix into the Apples:** Nope! Keep that cake mix dry on top. The magic happens as the butter and apple juices soak into it.
- **Using *Too Much* Butter (or too little):** Stick to the 1/2 cup. Too much makes it greasy; too little leaves dry patches. It’s a delicate balance, like life itself.
- **Under-baking:** If the top isn’t golden and the filling isn’t bubbly, it’s not done. Give it more time. A pale crust is a sad crust.
Alternatives & Substitutions
- **Different Fruit Filling? Uh, YES!** Peach pie filling, cherry, berry… whatever floats your boat! This recipe is super adaptable. I’m personally a fan of cherry, but don’t tell the apple purists.
- **Cake Mix Flavors:** Yellow or vanilla are classic, but a spiced cake mix (like spice cake or even a hint of gingerbread) would be divine, especially around the holidays. Chocolate cake mix? Maybe for a truly adventurous soul, but you do you!
- **Add-ins:** Want more texture? Throw in a handful of chopped walnuts or pecans with the apple filling. A little crunch never hurt anyone. A pinch of cinnamon mixed with the dry cake mix can also add an extra layer of warmth.
FAQ (Frequently Asked Questions)
- **Q: Can I use light apple pie filling?**
A: Sure, if you’re feeling virtuous. But are you really baking a dessert to be *light*? Just kidding (mostly). It’ll work just fine, though the flavor might be a touch less robust. - **Q: My butter isn’t melting properly, help!**
A: Microwave it in short bursts (15-30 seconds) until fully liquid. Or, if you’re old school, a small saucepan on low heat works too. Just don’t burn it, that smells awful. - **Q: What if I don’t have a 9×9 dish?**
A: An 8×8 will work, but it might be a bit thicker and need a few extra minutes to bake. A 9×13 will also work, but your layers will be thinner, so keep an eye on it—it might bake faster! - **Q: Can I store leftovers?**
A: If there *are* leftovers (highly doubtful, FYI), cover it and keep it in the fridge for up to 3-4 days. Reheat gently in the microwave or oven. - **Q: Is this technically a “cobbler” or a “dump cake”?**
A: Ah, the age-old dessert identity crisis! It’s definitely leaning towards a “dump cake” because we’re just, well, dumping things in. But it has cobbler vibes because of that fruit-and-cakey topping combo. Let’s just call it delicious, shall we? - **Q: Can I add fresh apples instead of canned filling?**
A: Technically yes, but you’d need to pre-cook them with sugar, spices, and a thickening agent first, turning it into a *much* longer process. We’re here for the easy button, remember? So, maybe next time, Martha Stewart.
Final Thoughts
See? You just whipped up something seriously delicious with minimal effort. You’ve basically performed kitchen alchemy, turning humble ingredients into a warm, comforting hug in a dish. Now go forth, share your creation (or don’t, I won’t judge), and bask in the glory of your baking prowess. You deserve a treat, and frankly, this one’s a winner. Cheers to easy desserts and happy tummies!


