So, you’re craving something warm, gooey, and absolutely legendary, but your motivation meter is hovering dangerously close to ‘nap time,’ huh? Same, friend, same. We’ve all been there: staring into the abyss of an empty cookie jar, wishing a bakery-worthy treat would magically appear. Well, buckle up, buttercup, because today we’re making those dreams a delicious reality. And no, you don’t need a fancy chef’s hat or a culinary degree. Just a willingness to make your kitchen smell divine and a slight obsession with chocolate chips. Let’s do this!
Why This Recipe is Awesome
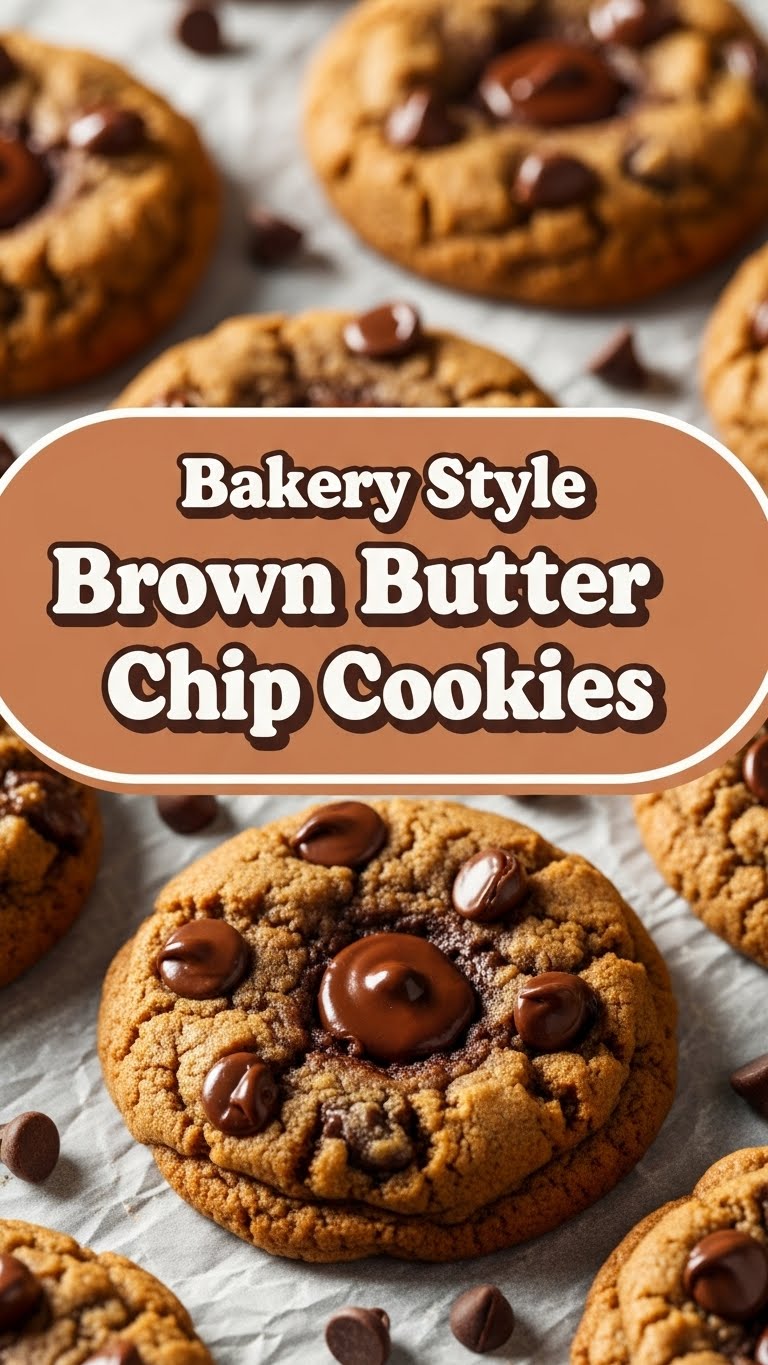
Okay, so why bother with this recipe when the internet is overflowing with chocolate chip cookie instructions? Because this isn’t just *any* recipe. This is THE recipe for those elusive bakery-style cookies – thick, chewy, slightly crispy edges, and a flavor that makes you involuntarily hum. The secret sauce? Brown butter. It’s the culinary equivalent of turning up the volume on deliciousness. It adds this nutty, toasty depth that will make you wonder how you ever lived without it. Plus, it’s pretty much idiot-proof. Seriously, if I can nail it after a long day, you definitely can. No complicated steps, just pure, unadulterated cookie magic.
Ingredients You’ll Need
Gather ’round, my fellow snack enthusiasts! Here’s your shopping list for buttery, chocolatey bliss:
- Unsalted Butter (1 cup / 2 sticks): The good stuff. We’re browning this, so don’t skimp.
- Granulated Sugar (3/4 cup): The classic sweet stuff.
- Light Brown Sugar (1 cup, packed): This is your secret to chewiness and that lovely caramel note. Don’t even *think* about skimping on packing it.
- Large Eggs (2): Room temperature, please! They mix better.
- Vanilla Extract (2 teaspoons): Use the good stuff, not the imitation kind that tastes like sadness.
- All-Purpose Flour (2 1/4 cups): Spooned and leveled, unless you like brick-like cookies.
- Baking Soda (1 teaspoon): Helps with that lovely rise and spread.
- Salt (1 teaspoon): Essential for balancing the sweetness and making everything pop.
- Chocolate Chips (1 1/2 cups): A mix of semi-sweet and milk chocolate is my go-to, but you do you. Go for good quality – it makes a difference!
- Flaky Sea Salt (optional, but highly recommended): For sprinkling on top, because fancy.
Step-by-Step Instructions
- Brown that Butter: Grab a light-colored saucepan (so you can see the magic happen!). Melt your butter over medium heat. Keep stirring it constantly. It’ll foam, then get quiet, then start smelling nutty and delicious, and you’ll see little brown bits at the bottom. That’s gold! Once it hits that gorgeous amber color (about 5-8 minutes), immediately pour it into a heatproof bowl to stop it from burning. Let it cool for 10-15 minutes.
- Cream the Dream: In a large mixing bowl, combine your slightly cooled brown butter with both granulated and brown sugars. Beat them together until light and fluffy – usually 2-3 minutes.
- Egg-cellent Addition: Crack in your eggs, one at a time, mixing well after each addition. Stir in the vanilla extract. Scrape down the sides of the bowl to make sure everything’s incorporated.
- Dry Goods Join the Party: In a separate bowl, whisk together your flour, baking soda, and salt. Gradually add this dry mixture to your wet ingredients, mixing on low speed until *just* combined. Do not overmix! Overmixing leads to tough cookies, and nobody wants that.
- Chocolate Chip Shower: Fold in your chocolate chips. Get them evenly distributed throughout the dough. This is where your self-control might be tested.
- Chill Out: Cover the bowl with plastic wrap and refrigerate the dough for at least 30 minutes. An hour is even better! This helps the flavors meld and prevents your cookies from spreading too much. Patience, grasshopper.
- Preheat & Prep: While the dough chills, preheat your oven to 375°F (190°C). Line a baking sheet with parchment paper or a silicone mat.
- Scoop & Bake: Scoop generous balls of dough (about 2 tablespoons each) onto your prepared baking sheet, leaving enough space between them (they like their personal space). Sprinkle with a little flaky sea salt if you’re feeling fancy.
- Golden Goodness: Bake for 9-12 minutes, or until the edges are golden brown and the centers are still slightly soft. They’ll firm up as they cool.
- Cool Down: Let the cookies cool on the baking sheet for a few minutes before transferring them to a wire rack to cool completely (or, you know, eat one while it’s still warm – I won’t tell).
Common Mistakes to Avoid
Listen up, buttercup, because these are the pitfalls that stand between you and cookie nirvana:
- Skipping the Brown Butter Step (or Burning It!): Don’t rush browning the butter, but also don’t walk away and forget it. It goes from perfectly nutty to burnt nastiness in a flash. Stay attentive!
- Not Chilling the Dough: “But I’m hungry NOW!” I hear you. But chilling is key for flavor development and prevents your cookies from becoming flat, sad pancakes. This is arguably the most important step for bakery-style thickness.
- Overmixing the Dough: Once the flour goes in, mix only until no streaks of flour remain. Seriously, gentle hands! Overworking the gluten makes for tough cookies.
- Incorrect Oven Temperature: An oven that’s too hot will burn the outside before the inside cooks. Too cold and they’ll just spread and stay pale. Invest in an oven thermometer if you’re unsure about your oven’s accuracy.
- Crowding the Baking Sheet: Cookies need space to spread and bake evenly. Don’t try to cram too many on one sheet, or they’ll steam instead of bake, and you’ll get one giant, sad cookie monster.
Alternatives & Substitutions
Feeling adventurous? Here are some tweaks for your cookie masterpiece:
- Chocolate Choices: Not a fan of semi-sweet? Go all milk chocolate! Or mix in some dark chocolate chunks for a more intense flavor. White chocolate, butterscotch chips, or even chopped nuts (pecans or walnuts) would be killer too.
- Flour Power: If you’re feeling extra fancy, you could try swapping a small portion of the all-purpose flour for bread flour (like 1/4 cup) for an even chewier cookie.
- Spice it Up: A pinch of cinnamon or nutmeg could add a nice warmth, especially if you’re baking around the holidays.
- Dairy-Free? While brown butter is the star here, you *could* try a plant-based butter alternative, but the browning process might be different, and the flavor won’t be quite the same. Proceed with caution and manage expectations!
FAQ (Frequently Asked Questions)
Got questions? I’ve got (casual) answers!
- Can I skip the brown butter step? Well, technically yes, but why would you want to miss out on all that nutty goodness? It’s like going to a concert and only listening to the opening act. It’ll still be a good cookie, just not *legendary*.
- My cookies are spreading too much, what gives? Ah, the flat cookie dilemma! Did you chill your dough enough? Was your butter too warm when you mixed it? Also, make sure your baking soda isn’t expired!
- How long do these glorious cookies last? In an airtight container at room temperature, they’re typically good for 3-5 days. But honestly, they rarely make it past 24 hours in my house.
- Can I freeze the cookie dough? Absolutely! Scoop balls of dough onto a parchment-lined baking sheet, freeze until solid, then transfer to a freezer-safe bag or container. When you’re ready to bake, just pop them in the oven from frozen, adding a couple of minutes to the bake time. Future you will thank past you!
- What if I don’t have light brown sugar? Can I use dark? You can! Dark brown sugar has a bit more molasses, so your cookies might be slightly chewier and have a deeper, richer flavor. Not a bad thing, IMO.
- Why room temperature eggs? Does it really matter? Yes, it matters! Room temperature eggs incorporate more evenly into the butter and sugar mixture, creating a smoother emulsion. This leads to a better texture in your final cookie.
Final Thoughts
There you have it, my friend! You’re now equipped with the knowledge (and hopefully the motivation) to bake a batch of the most mind-blowingly delicious, bakery-style brown butter chocolate chip cookies. Seriously, these aren’t just cookies; they’re an experience. So go forth and conquer that cookie craving! Your taste buds (and anyone lucky enough to be nearby) will thank you. Now go impress someone—or yourself—with your new culinary skills. You’ve earned it!


