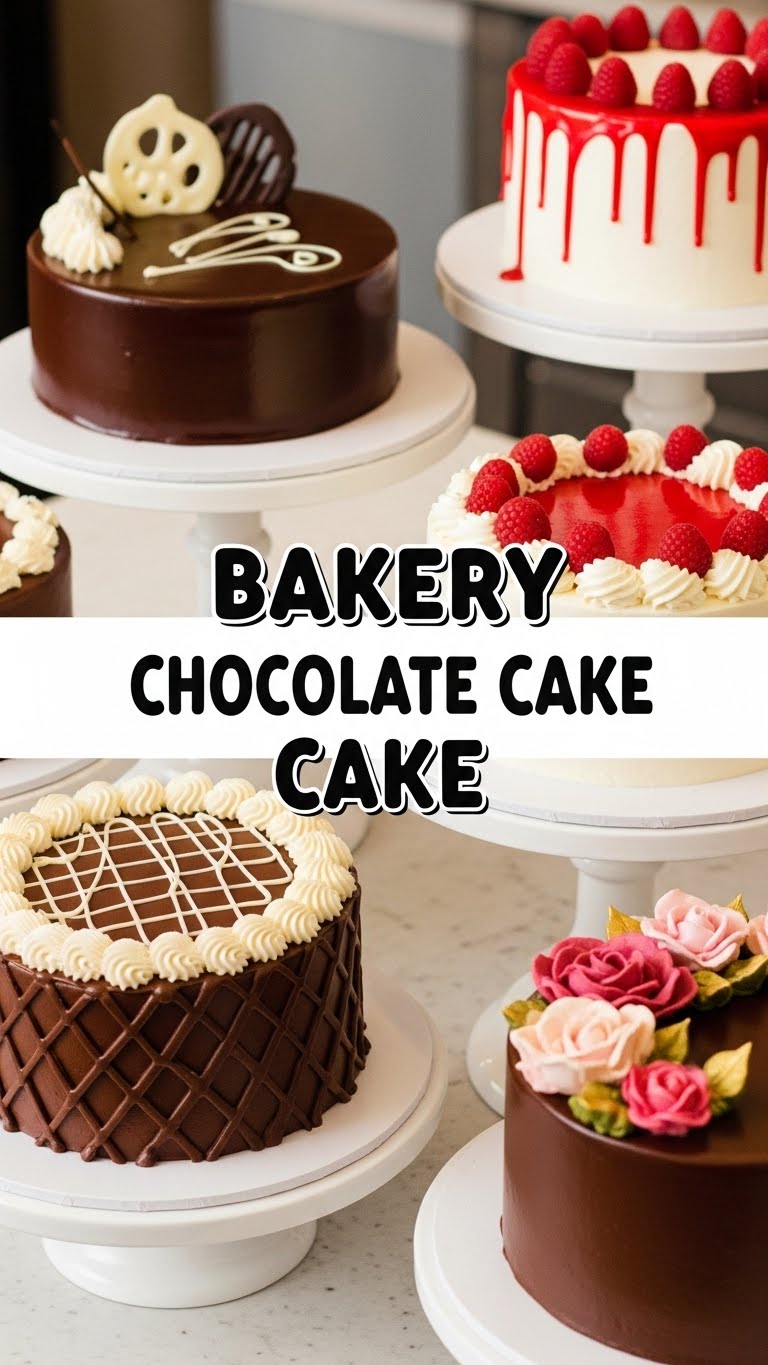
So, you’ve scrolled through enough food porn on Instagram to trigger a serious chocolate craving, but the thought of a complicated recipe makes you want to curl up with a bag of chips instead? Been there, done that, got the crumb-stained t-shirt. But what if I told you we could whip up a legit bakery-style chocolate cake without turning your kitchen into a disaster zone or sacrificing your entire afternoon? Yeah, I’m serious. Let’s make some magic!
Why This Recipe is Awesome
Okay, buckle up, buttercup. This isn’t just *any* chocolate cake recipe. This is **THE** chocolate cake recipe that will make your friends wonder if you secretly interned at a fancy patisserie. Here’s the deal: it’s ludicrously simple (honestly, even *I* managed not to mess it up, and my track record with delicate desserts is… spotty). It’s moist, it’s rich, it’s chocolatey beyond belief, and it’s basically a hug in cake form. Plus, it uses ingredients you probably already have lying around, which means fewer last-minute grocery store dashes in your PJs. Win-win-win!
Ingredients You’ll Need
Time to gather your edible arsenal! No fancy-schmancy stuff here, just good old basics that do the job like a boss. Seriously, don’t overthink it.
- **All-Purpose Flour:** About 1 ½ cups. The backbone of our cakey dreams.
- **Granulated Sugar:** 1 ½ cups. Because sweetness is not a crime.
- **Unsweetened Cocoa Powder:** ¾ cup. And I mean *good quality* cocoa. This is where the chocolate power comes from, so don’t skimp, my friend!
- **Baking Soda:** 1 ½ teaspoons. Our little leavening hero.
- **Baking Powder:** 1 ½ teaspoons. Another leavening hero, because we want lift!
- **Salt:** 1 teaspoon. Don’t skip it; it brings out all the other flavors. Think of it as the hype-man for your chocolate.
- **Eggs:** 2 large. Room temp is ideal, but if you forgot, don’t sweat it too much.
- **Milk:** 1 cup. Whole milk is great, but whatever you have will likely work.
- **Vegetable Oil:** ½ cup. For that glorious moisture. Canola or sunflower works too.
- **Vanilla Extract:** 2 teaspoons. Essential for depth of flavor. Buy the good stuff, you deserve it.
- **Boiling Water (or hot coffee):** 1 cup. Trust me on this one. It’s the secret sauce for an extra rich, moist crumb. (FYI: coffee enhances chocolate flavor without making it taste like coffee!)
Step-by-Step Instructions
- **Preheat & Prep:** First things first, get that oven sizzling at **350°F (175°C)**. Then, grease and flour a 9×13 inch baking pan (or two 8-inch round pans if you’re feeling fancy). Don’t forget this step, unless you enjoy playing “pry the cake off the pan” later.
- **Whisk the Dry Stuff:** In a large bowl, dump in your flour, sugar, cocoa powder, baking soda, baking powder, and salt. Give it a good whisk until everything looks evenly distributed. No lumpy bits allowed!
- **Add the Wet Stuff (Except the Hot Liquid):** To your dry mix, add the eggs, milk, oil, and vanilla extract. Beat it on medium speed with an electric mixer for about 2 minutes. Scrape down the sides of the bowl midway through to make sure everything gets acquainted. The batter will be thick, but don’t panic.
- **The Hot Secret:** Now for the magic trick! Carefully pour in the boiling water (or hot coffee). Mix on low speed until *just* combined. The batter will be thin and runny – that’s totally normal and exactly what we want. **Don’t overmix!**
- **Bake It Up:** Pour your beautiful, thin batter into your prepared pan(s). Pop it into the preheated oven.
- **Patiently Wait:** Bake for **30-35 minutes** for a 9×13 pan, or **25-30 minutes** for round pans. You’ll know it’s done when a wooden skewer or toothpick inserted into the center comes out clean (or with just a few moist crumbs).
- **Cool Down:** Let your masterpiece cool in the pan for about 10-15 minutes before transferring it to a wire rack to cool completely. Resist the urge to dive in immediately; patience is a virtue, especially with cake.
Common Mistakes to Avoid
Listen up, buttercup! Even the simplest recipes have traps for the unwary. Learn from my past kitchen mishaps!
- **Not Preheating the Oven:** Rookie mistake! If your oven isn’t at the right temperature from the start, your cake won’t rise properly, and you’ll end up with a dense, sad brick instead of a fluffy, happy cake.
- **Overmixing the Batter:** Once you add the wet ingredients, mix only until just combined, especially after adding the hot liquid. Overmixing develops the gluten in the flour, making your cake tough and chewy instead of tender.
- **Eyeballing Ingredients:** Baking is a science, not an art exhibition. Use proper measuring cups and spoons. Trust me, “a little bit more” usually leads to “a little bit wrong.”
- **Opening the Oven Door Too Soon:** Oh, the temptation! But opening the oven door before the cake is set can cause it to collapse in the middle. Give it at least 20 minutes before peeking.
- **Not Cooling Completely Before Frosting:** This is a cardinal sin! If you frost a warm cake, your frosting will melt into a gooey, unappetizing mess. Be strong, wait it out!
Alternatives & Substitutions
Feeling a little rebellious? Here are some ways to shake things up without breaking the bank (or the cake):
- **Milk:** No whole milk? No problem! Skim, 2%, or even non-dairy alternatives like almond or soy milk usually work just fine, though they might slightly alter the richness.
- **Oil:** While vegetable oil is great for moisture, you can swap it for an equal amount of melted butter if you want a richer, buttery flavor profile. Just make sure it’s cooled slightly before adding.
- **Coffee vs. Water:** If you’re not a coffee person, or just plain forgot to brew some, boiling water is perfectly acceptable. The coffee just *really* deepens that chocolate flavor, IMO, so if you have it, use it!
- **Flour Power:** Don’t have all-purpose? You *can* use cake flour for an even finer, more delicate crumb, but honestly, AP flour does a stellar job here.
- **Add-ins:** Feeling spicy? Throw in a teaspoon of instant espresso powder with your dry ingredients for extra chocolate oomph. Or, for a hint of warmth, a pinch of cinnamon or chili powder can be surprisingly delightful.
FAQ (Frequently Asked Questions)
Got questions? I’ve got (mostly) witty answers!
- **”Can I make this dairy-free?”** Absolutely! Swap the milk for a non-dairy alternative (almond, soy, oat milk all work well). Just ensure your frosting is dairy-free too!
- **”My cake came out dry! What happened?”** Oh no, a sad fate! This usually happens if you overbaked it, used too much flour, or didn’t add enough liquid. **Always check for doneness** with a toothpick and pull it out as soon as it comes clean.
- **”Do I really need boiling water/hot coffee?”** While regular hot water *can* work, the boiling temp helps bloom the cocoa powder, bringing out a deeper chocolate flavor, and also contributes to the cake’s tender crumb. So, yeah, it’s pretty important if you want that bakery feel!
- **”Can I make cupcakes instead?”** You betcha! This recipe makes about 24-30 cupcakes. Fill your liners about two-thirds full and bake for roughly 18-22 minutes. Keep an eye on them!
- **”What kind of frosting should I use?”** Oh, the possibilities! A classic chocolate buttercream is always a winner. A cream cheese frosting adds a lovely tang, or for something super simple, a rich chocolate ganache poured over the top is divine.
- **”How long does this cake last?”** If stored properly (covered at room temperature), it’s usually good for 3-4 days. In the fridge, it can last a bit longer, but honestly, it probably won’t make it past day two because it’s *that* good.
Final Thoughts
And there you have it, folks! Your very own, shockingly easy, ridiculously delicious bakery chocolate cake. Who knew you had such mad skills, right? Now go impress someone—or yourself—with your new culinary superpowers. Maybe even share a slice (or five). You’ve earned it, champion! Now go forth and conquer those cravings!
