Short, Catchy Intro
So, your stomach’s rumbling, but your motivation to cook is whispering sweet nothings about takeout? Been there, done that, got the stained t-shirt. But what if I told you there’s a way to get ridiculously delicious, crispy, fall-off-the-bone (or not, if you like a bit of chew!) chicken wings without turning your kitchen into a war zone or your wallet into a sad, empty abyss? Yeah, I know, I had you at ‘ridiculously delicious.’ Let’s make some magic happen, wing-style, right in your oven!
Why This Recipe is Awesome
Listen, this isn’t just a recipe; it’s a life hack. It’s so easy, your cat could probably do it (if they had opposable thumbs and an interest in savory snacks). This method for baked chicken wings is the ultimate trifecta: minimal effort, maximum flavor, and an even easier cleanup than you’d expect. No deep-frying dangers, no greasy splatters everywhere, just perfectly cooked wings ready for your favorite sauce (or just devour them plain, no judgment here!). It’s practically idiot-proof, even I didn’t mess it up, and my track record with ovens sometimes resembles a crime scene. Trust me, these wings will make you feel like a culinary genius without, you know, actually *being* one. FYI, they’re also way healthier than their deep-fried cousins, so you can feel smug about that too.
Ingredients You’ll Need
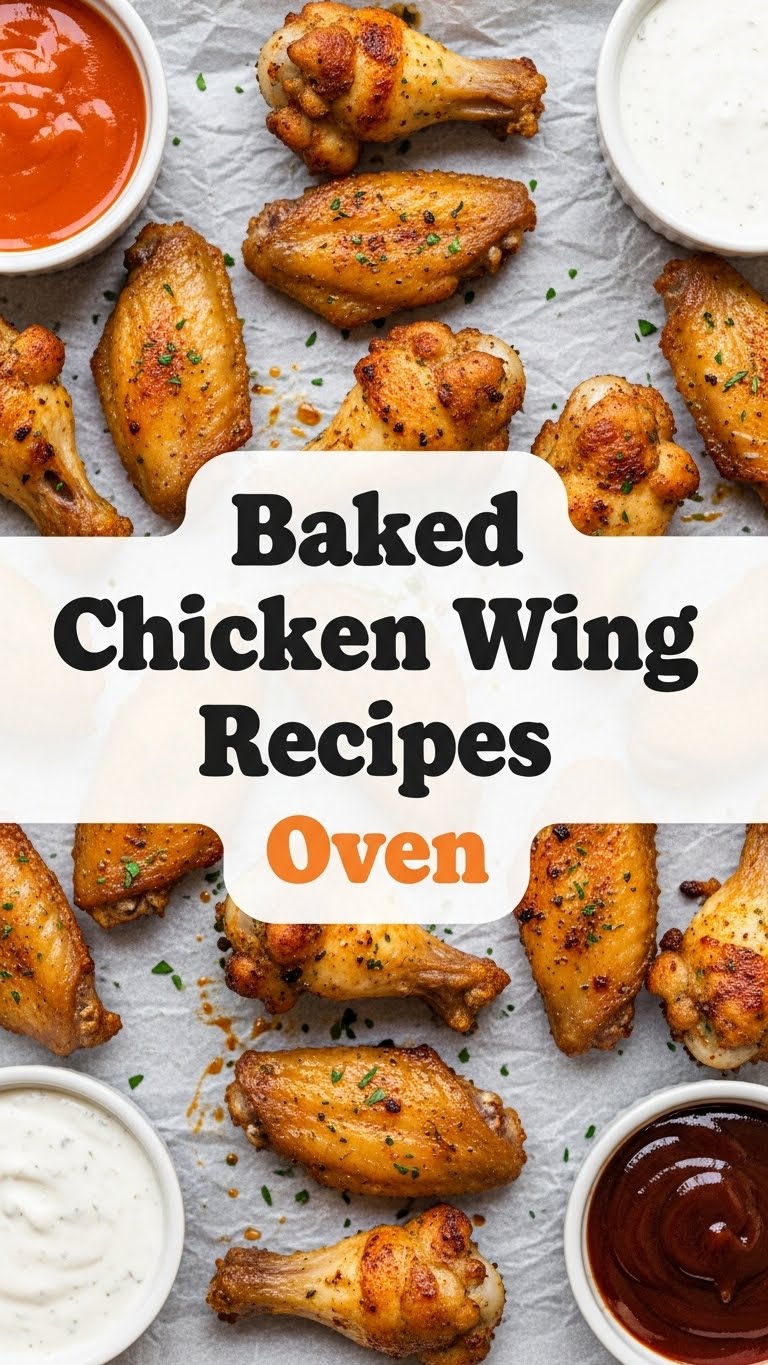
Gather your troops, chef! This list is short, sweet, and to the point. No obscure spices or fancy pantry items required.
- Chicken Wings: About 2-3 pounds. Get the whole ones, drumettes, flats – whatever floats your boat, as long as it used to fly.
- Olive Oil: Just a couple of tablespoons to help everything crisp up and stick.
- Baking Powder: (The unsung hero!) 1-2 teaspoons. Make sure it’s baking powder, not baking soda, unless you want weird-tasting wings. This is our secret weapon for *maximum* crispiness!
- Garlic Powder: 1 teaspoon. Because garlic makes everything better. It’s a fact.
- Paprika: 1 teaspoon. Adds a lovely color and a smoky-sweet note.
- Salt & Black Pepper: To taste. Don’t be shy, these wings need seasoning love.
- Your Favorite Sauce: (Optional, but highly recommended for dipping or tossing!) Buffalo, BBQ, honey mustard – you do you.
Step-by-Step Instructions
Alright, apron on (or not, we’re friends here), let’s get down to business. These steps are as simple as 1-2-3-4-5…ish.
- Prep Your Wings: First things first, get those wings out of their package. Rinse them under cold water, then the most important step for crispy wings: pat them dry, REALLY dry with paper towels. I’m talking drier than your ex’s sense of humor. Any moisture is the enemy of crisp! If they’re whole wings, you can separate the drumettes and flats if you prefer.
- Season Like a Pro: Toss the wings into a large bowl. Drizzle with the olive oil, then sprinkle evenly with the baking powder, garlic powder, paprika, salt, and pepper. Use your hands (yes, get in there!) to mix everything until every wing is coated like it’s going to a fancy spice party.
- Set Up for Success: Line a baking sheet with foil (for easier cleanup – you’re welcome!) and place a wire rack on top. This allows air to circulate all around the wings, which is key for that glorious crisp. Arrange your seasoned wings in a single layer on the rack, making sure they’re not touching. Crowding is a no-go zone!
- Heat It Up: Pop your baking sheet with wings into the preheated oven. Bake for 30 minutes.
- The Flip & Finish: After 30 minutes, flip each wing over. Reduce the oven temperature to 400°F (200°C) and bake for another 20-30 minutes, or until the wings are gloriously golden brown and as crispy as you like ’em. The internal temperature should reach 165°F (74°C).
- Sauce It Up (Optional): Once out of the oven, you can toss them immediately in your favorite warm sauce or serve them as is with sauce on the side for dipping.
Common Mistakes to Avoid
Nobody’s perfect, but we can avoid some major wing pitfalls, right?
- Skipping the Pat-Dry Step: Rookie mistake! Seriously, those moist wings will steam instead of crisp. Don’t do it.
- Forgetting the Baking Powder: This is the secret to next-level crispy skin without deep frying. If you leave it out, your wings will still be good, but not *chef’s kiss* good.
- Overcrowding the Baking Sheet: It’s like a sardine can in there! Wings need personal space to get crispy. If they’re too close, they’ll steam each other and you’ll end up with sad, soggy wings. Use two baking sheets if necessary.
- Not Using a Wire Rack: Thinking you don’t need a rack? That’s a direct path to soggy bottoms. The rack lifts the wings, allowing air to circulate and ensuring even crispiness.
- Impatience: Don’t open the oven door every five minutes! Let them cook. Good things come to those who wait (and don’t let all the heat escape).
Alternatives & Substitutions
Feeling adventurous? Or just missing an ingredient? No worries, we’ve got options!
- Different Spice Blends: Don’t like paprika? Swap it for chili powder, smoked paprika, cumin, or an Italian seasoning blend. Want a kick? Add a pinch of cayenne pepper to your dry rub. The world is your spice rack!
- Oil Alternatives: No olive oil? A neutral oil like avocado, vegetable, or canola oil will work just fine. Olive oil just adds a nice flavor, IMO.
- Cooking Method: Got an air fryer? You can totally make these in there! Cook at 375°F (190°C) for 20-25 minutes, flipping halfway, until crispy and cooked through.
- Sauce It Up Differently: Instead of tossing after baking, you can brush your wings with BBQ sauce or a sweet chili glaze during the last 10-15 minutes of baking for a caramelized finish. Just keep an eye on them so the sugar doesn’t burn!
FAQ (Frequently Asked Questions)
Got questions? I’ve got (casual and humorous) answers!
- Do I really need a wire rack? Look, you *can* skip it, but do you want sad, soggy bottoms, or glorious all-around crispiness? Your call, friend. But if you want the best results, yes, use a rack.
- Can I use frozen chicken wings? Technically, yes, but you need to thaw them completely first! And then pat them *extra* dry. Starting with frozen wings will give you a steamy, less crispy result. Don’t do it unless absolutely necessary.
- How long do I marinate the wings? For this recipe, no marinating is needed because the baking powder works its magic directly. If you’re doing a wet marinade, an hour or two is great, or even overnight for max flavor, but ensure you pat them dry BEFORE baking.
- What’s the best internal temperature for cooked wings? Aim for 165°F (74°C). Use a meat thermometer to be sure. Nobody wants undercooked chicken. Ew.
- Can I make these ahead of time? You can prep them (season and refrigerate on the rack) a few hours before, but for peak crispiness, they’re best served fresh from the oven. Reheating can make them a bit less crispy, but still tasty!
- My wings aren’t getting crispy! What gives? Did you pat them dry? Did you use baking powder? Did you overcrowd the pan or skip the rack? These are the usual culprits. If all else fails, a few extra minutes in the oven can sometimes help!
Final Thoughts
And there you have it, folks! Your new go-to recipe for baked chicken wings that are crispy, flavorful, and ridiculously easy. Whether you’re making them for game night, a casual get-together, or just a Tuesday night feast for one (no judgment, I’ve been there), these wings will deliver. Now go forth and conquer those cravings! You’re basically a culinary wizard now. Don’t forget to high-five yourself – you’ve earned it!


