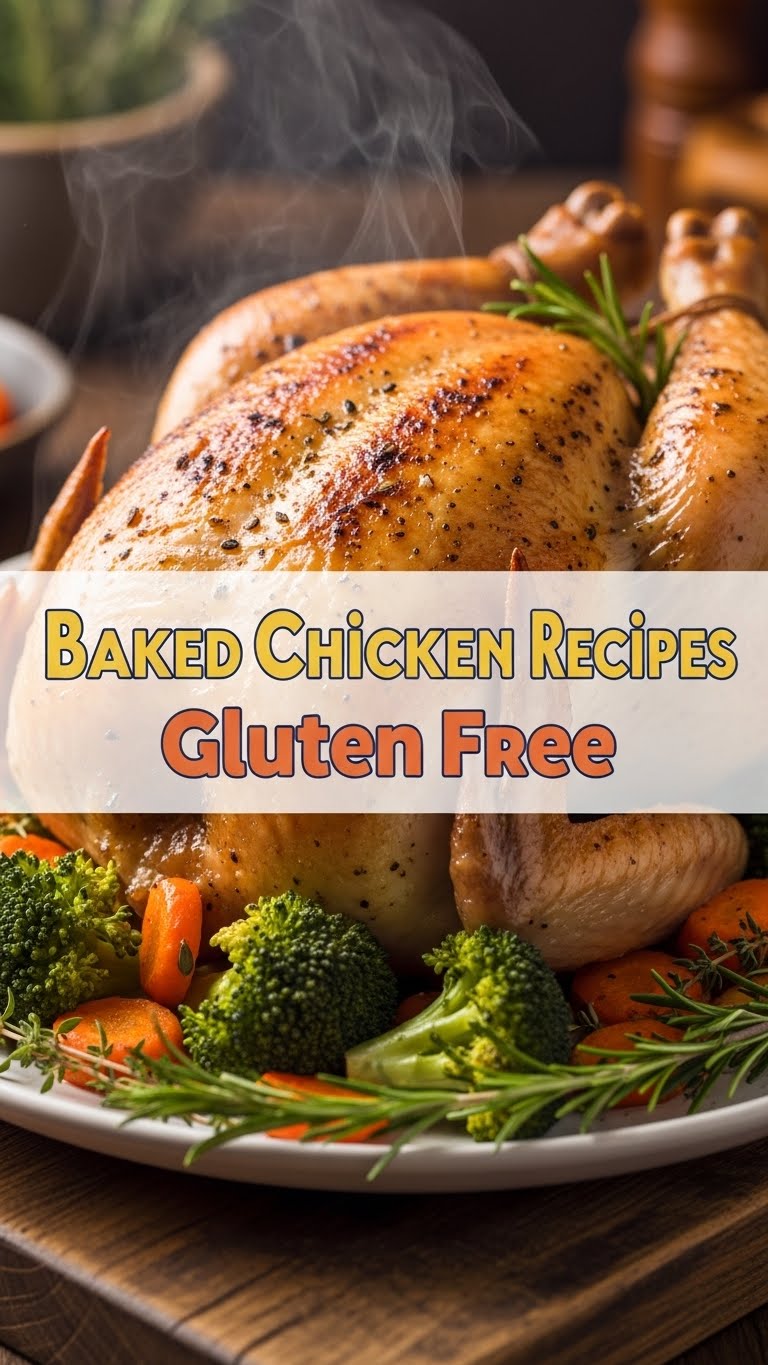
So, you want delicious chicken but the thought of complex recipes makes you want to order takeout and cry into your pillow? Been there, done that, got the stained pillowcase. Good news, friend! We’re about to whip up some seriously yummy, baked chicken that’s naturally gluten-free and so easy, your cat could probably do it (if they had opposable thumbs, obvi).
Why This Recipe is Awesome
Okay, let’s be real. This isn’t just a recipe; it’s a magic trick. You basically throw a few things together, shove it in the oven, and BAM! Dinner. Seriously. It’s so simple, it’s almost insulting. Plus, it’s gluten-free without even trying too hard. No weird flour replacements, no obscure ingredients. Just good old chicken doing its delicious thing. And honestly? It looks super impressive, like you actually know what you’re doing. Wink. It’s the kind of meal that makes you feel like a chef, but really, you just pressed a few buttons. And did I mention the clean-up is minimal? You’re welcome.
Ingredients You’ll Need
Gather ’round, pantry explorers! Here’s what you’ll need for this culinary masterpiece:
- Chicken Thighs (boneless, skinless, ~1.5 lbs): Because who wants bones? Not me. And thighs stay juicy, unlike those sometimes-dry breasts. Just saying.
- Olive Oil (2 tablespoons): Your trusty kitchen sidekick for flavor and a lovely sear.
- Lemon (1 large, juiced): For that zesty ‘zing!’ We like a little drama and brightness here.
- Garlic (4-5 cloves, minced): Because is it even a recipe without garlic? I think not.
- Dried Herbs (1 teaspoon each: oregano, thyme, rosemary): The holy trinity of flavor. Use fresh if you’re feeling fancy, but dried works like a charm.
- Smoked Paprika (1 teaspoon): Adds a gorgeous color and a little smoky hug. Don’t skip this for that extra oomph!
- Salt & Black Pepper (to taste): Duh. The OG seasonings. Don’t be shy!
Step-by-Step Instructions
- Get That Oven Roaring: First things first, get your oven nice and toasty to 400°F (200°C). While it’s warming up, grab a large baking sheet and line it with parchment paper for easy cleanup. You’ll thank me later.
- Chicken Prep Party: Grab your chicken thighs and give them a good pat-down with paper towels. This is key for a good roast and delicious browning. Nobody likes soggy chicken, IMO.
- Mix & Mingle: In a large bowl, toss your chicken with the olive oil, lemon juice, minced garlic, dried oregano, thyme, rosemary, smoked paprika, salt, and pepper. Get in there with your hands! It’s surprisingly therapeutic and ensures everything is coated beautifully.
- Sheet Pan Fun: Spread your beautifully seasoned chicken out in a single layer on your prepared baking sheet. **Seriously, don’t crowd them.** They need their space to get golden and glorious; otherwise, they’ll steam instead of roast. Sad chicken.
- Bake It Up: Slide that sheet pan into the hot oven for 25-30 minutes. You’re looking for an internal temperature of 165°F (74°C). If you’re fancy, use a meat thermometer. If not, cut into the thickest part—no pink!
- Rest & Devour: Once it’s cooked, pull it out and let it rest on the pan for 5 minutes. **Seriously, don’t skip this.** It lets the juices redistribute so your chicken stays super moist and delicious. Then, attack!
Common Mistakes to Avoid
Listen, we all make mistakes. But these are the ones that can turn your culinary triumph into… well, less of a triumph. Let’s learn from them, shall we?
- Not Preheating the Oven: Rookie mistake. Your chicken will bake unevenly and take forever. Just do it. **A properly hot oven is your friend.**
- Crowding the Pan: This ain’t a sardine can! Give your chicken space, or it’ll steam instead of roast. Steamed chicken is fine, but we’re going for glorious, slightly crispy perfection here.
- Not Patting Chicken Dry: Moisture is the enemy of delicious browning and overall good roasting. Pat. It. Dry. This little step makes a HUGE difference.
- Skipping the Rest Time: You just put all that effort in, don’t ruin it by cutting too soon! Patience, grasshopper. Those 5 minutes of resting are essential for juicy chicken.
- Forgetting to Set a Timer: Unless you like crispy… to a crisp. Just set the timer. Your future self (and your taste buds) will thank you.
Alternatives & Substitutions
Feeling a little rebellious? Want to mix things up? I got you. This recipe is super flexible!
- Veggies Galore: Throw some chopped potatoes, bell peppers, broccoli florets, or even asparagus on the pan with the chicken for a one-pan wonder. Just be sure to toss them in a little olive oil and seasoning too! Roast them right alongside your chicken.
- Spice it Up: Want a kick? Add a pinch of cayenne pepper or red pepper flakes to the seasoning mix. Or, if you’re a hot sauce aficionado, a dash of your fave on the side is always a good idea.
- Different Herbs: Not a fan of rosemary? Try dried dill, marjoram, or an Italian seasoning blend. You do you! The goal is flavor, so choose what you love.
- Chicken Cut Swap: Chicken breasts work too, but keep an eye on them. They cook faster and can dry out if you’re not careful. **Thighs are your juiciness insurance**, but if breasts are all you have, go for it, just watch the temp!
- Marinade Mania: While not necessary for this recipe, if you want to prep ahead, letting the chicken marinate in all those glorious spices for 30 minutes to an hour in the fridge can amp up the flavor even more.
FAQ (Frequently Asked Questions)
Got questions? I’ve got answers. Probably. Let’s see!
- “Can I use chicken breasts instead?” Totally! Just keep an eye on the cooking time; they’ll usually be done a bit quicker than thighs. **Aim for 165°F internal temp.** They can dry out faster, so don’t overcook them!
- “Do I need to marinate it?” Nah, not for this recipe. The flavors are strong enough to infuse during cooking. But if you want to prep ahead, 30 mins to an hour in the fridge is fine! It won’t hurt.
- “Can I add veggies to the same pan?” OMG, yes! Chop up some potatoes, bell peppers, or broccoli, toss them with a bit of oil and seasoning, and spread them around the chicken. One-pan meal FTW! Just make sure they’re in a single layer.
- “My chicken isn’t browning! What gives?” Make sure your oven is hot enough and you’re not crowding the pan. Also, that little bit of paprika helps with that gorgeous color! Sometimes, a quick broil for the last minute or two (watch carefully!) can help.
- “Is this actually gluten-free?” You betcha! All the ingredients listed are naturally GF. No sneaky stuff here, promise. Enjoy with peace of mind!
- “Can I make this ahead of time?” You can definitely prep the chicken by seasoning it and letting it sit in the fridge for a few hours (or even overnight). Then just pop it in the oven when you’re ready to bake. Freshly baked is always best though!
Final Thoughts
See? Told ya it was easy! Now you’ve got a ridiculously tasty, naturally gluten-free baked chicken dish that makes you look like a culinary genius. Go on, pat yourself on the back. You’ve earned it! This is your new go-to “I want delicious food but don’t want to work for it” recipe. Now go impress someone—or just yourself—with your new kitchen superpowers. You’re basically a chef now. Don’t tell Gordon Ramsay I said that. 😉


