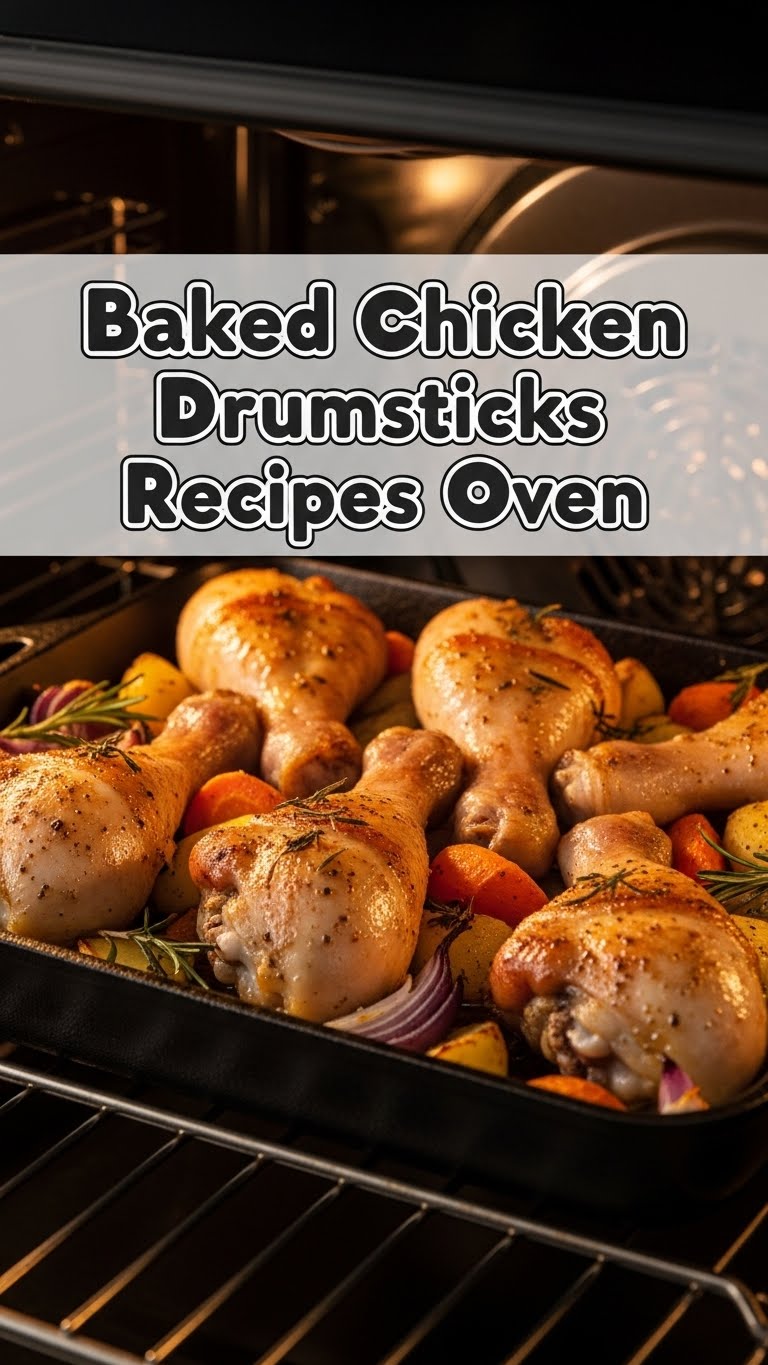
So you’re staring into the fridge, wondering what magic you can conjure without, you know, *actual magic* or hours of effort? And a delicious aroma filling your kitchen would be nice, right? You, my friend, are in the market for some seriously easy, seriously tasty baked chicken drumsticks. And guess what? You’ve landed in the right spot! We’re about to make dinner so good, you’ll wonder if you secretly hired a tiny chef.
Why This Recipe is Awesome
Let’s be real, sometimes cooking feels like a chore. This recipe? It’s the culinary equivalent of putting on your comfiest sweats, grabbing a remote, and letting the good times roll. It’s **idiot-proof**, even *I* didn’t mess it up! Here’s the lowdown on why these drumsticks are about to become your new weeknight hero:
- **Minimal Effort, Maximum Flavor:** Most of the magic happens in the oven. Your job is mainly to season, pop ’em in, and then bask in the glory.
- **Budget-Friendly Brilliance:** Drumsticks are usually super affordable. Score! More money for, well, more drumsticks. Or maybe a fancy dessert.
- **Crispy Skin, Juicy Meat:** The perfect combo. No sad, flabby skin here. We’re going for golden-brown perfection.
- **Versatile AF:** You can tweak the seasonings to match whatever mood you’re in. Spicy? Sweet? Savory? Your drumstick, your rules!
Ingredients You’ll Need
Gather ’round, my aspiring culinary wizard! Most of these are probably already lurking in your pantry. If not, a quick trip to the grocery store is all it takes.
- **6-8 Chicken Drumsticks:** The stars of our show. Pat ’em dry for best results, trust me.
- **1-2 Tablespoons Olive Oil:** Your trusty sidekick, helping everything get golden and crispy.
- **1 Teaspoon Salt:** Because bland food is a tragedy.
- **½ Teaspoon Black Pepper:** Adds that perfect little kick.
- **1 Teaspoon Garlic Powder:** Essential. Non-negotiable.
- **1 Teaspoon Onion Powder:** Garlic’s best friend, making everything taste more savory.
- **1 Teaspoon Smoked Paprika:** This is where the magic happens, giving it a beautiful color and smoky depth. Don’t skip it if you can help it!
- **½ Teaspoon Dried Oregano (Optional, but recommended):** A little herbaceous hug.
- **Pinch of Cayenne Pepper (Optional):** If you like a little zing in your step (or your chicken).
Step-by-Step Instructions
Okay, let’s get cooking! This is so straightforward, you’ll be high-fiving yourself in no time.
- **Preheat Your Oven to 400°F (200°C):** This is crucial! A hot oven ensures crispy skin from the get-go. While it’s heating, line a baking sheet with parchment paper or foil for easy cleanup. If you have a wire rack, put it on top of the lined sheet – it helps with air circulation and super crispy skin!
- **Prep the Drumsticks:** Take those drumsticks and pat them *really* dry with paper towels. **This is a key step for crispy skin.** No one likes soggy chicken skin, right?
- **Mix Your Seasonings:** In a small bowl, combine the salt, pepper, garlic powder, onion powder, smoked paprika, oregano (if using), and cayenne pepper (if using). Give it a good whisk.
- **Get Them Dressed:** Drizzle the olive oil over the dry drumsticks in a large bowl. Toss them around to coat evenly. Then, sprinkle your amazing seasoning mix all over, making sure every drumstick gets some love. Don’t be shy; rub it in!
- **Arrange for Awesomeness:** Place the seasoned drumsticks on your prepared baking sheet (or wire rack). Make sure they’re in a single layer and not touching. Give them space to breathe and crisp up!
- **Bake Away!** Pop that tray into your preheated oven. Bake for about **35-45 minutes**. Halfway through (around the 20-minute mark), you can flip them if you want, but it’s not strictly necessary, especially if you’re using a wire rack.
- **Check for Doneness:** The drumsticks are ready when they’re golden brown and the internal temperature reaches **165°F (74°C)** at the thickest part (without touching the bone). Use a meat thermometer, please!
- **Broil for Extra Crisp:** For ultimate crispiness, crank up the broiler for the last 3-5 minutes. **Keep an eye on them!** Things go from perfectly golden to charred disaster real fast under the broiler.
- **Rest and Devour:** Take them out of the oven and let them rest for 5 minutes before serving. This keeps all those lovely juices locked in.
Common Mistakes to Avoid
Listen, we all make mistakes. But some are easily dodged, especially when it comes to chicken! Don’t be *that* person:
- **Forgetting to Preheat the Oven:** Rookie mistake! Your chicken will cook unevenly and won’t get that initial crisp it deserves. Patience, young grasshopper.
- **Not Patting the Chicken Dry:** Seriously, I can’t stress this enough. Moisture = steam = flabby skin. You want crispy, not limp.
- **Overcrowding the Pan:** Giving your drumsticks a little personal space is key. If they’re too close, they’ll steam instead of roast, leading to sad, pale chicken.
- **Under-Seasoning:** This isn’t a beauty contest for blandness. Be generous with those spices! They’re there to make your taste buds sing.
- **Eyeballing Doneness:** Cooking chicken to the correct internal temperature isn’t just about taste; it’s about food safety. Get a meat thermometer. **FYI**, they’re super cheap and super useful.
Alternatives & Substitutions
Feeling adventurous? Or just missing an ingredient? No stress! This recipe is super flexible.
- **Different Chicken Parts:** Thighs work wonderfully with the same method; just adjust baking time slightly (they might need a few minutes longer). Wings? Oh yeah, works great!
- **Spice Blend Swap:**
- **Italian Vibe:** Skip the smoked paprika and cayenne, add dried basil, oregano, and a touch of rosemary.
- **Mexican Fiesta:** Add chili powder, cumin, and a pinch more cayenne.
- **Sweet & Sticky:** After baking for 30 minutes, brush with your favorite BBQ sauce or a honey-soy glaze and bake for another 10-15 minutes until caramelized.
- **No Smoked Paprika?** Regular paprika is fine, but you’ll miss that extra “oomph” and smoky goodness, **IMO**. A tiny dash of liquid smoke might help, but careful not to overdo it.
- **Fresh Herbs:** Toss in some chopped fresh rosemary or thyme with your drumsticks for an aromatic boost.
FAQ (Frequently Asked Questions)
Got questions? I’ve got answers, delivered with a side of sass.
Q: How long do I *really* need to bake these?
A: About 35-45 minutes, but the real answer is “until they hit 165°F (74°C) internally.” Your oven might run hot or cold, so that thermometer is your best friend. Don’t risk raw chicken or dry chicken!
Q: Can I use frozen drumsticks?
A: Well, technically yes, but you *must* thaw them completely first! Trying to cook them from frozen will result in uneven cooking and potentially rubbery chicken. Plan ahead, darling.
Q: My chicken isn’t getting crispy! What gives?
A: Did you pat them dry? Did you use a wire rack? Is your oven hot enough? Did you overcrowd the pan? Did you forget the broiler? Any of these could be the culprit. Go back and check those steps!
Q: Can I marinate the drumsticks ahead of time?
A: **Absolutely!** Marinating them in the seasoning and oil for a few hours or even overnight in the fridge will deepen the flavor even more. Just make sure they’re in a sealed bag or container.
Q: What should I serve with these amazing drumsticks?
A: Pretty much anything! Roasted veggies (toss them on the pan with the chicken!), a simple side salad, mashed potatoes, rice, or mac and cheese. They’re super versatile, remember?
Q: Can I use a different type of oil?
A: Yep! Avocado oil, canola oil, or vegetable oil would all work just fine. Olive oil just has that extra little flavor punch.
Final Thoughts
There you have it! A ridiculously easy, incredibly tasty recipe for baked chicken drumsticks that basically cooks itself. You’ve just unlocked a new level of weeknight dinner mastery, or at least a stress-free path to a delicious meal. Now go impress someone—or yourself—with your new culinary skills. You’ve earned it!

