So, You’re Craving Something Epic But Too Lazy for a Full-Blown Fiesta? Same.
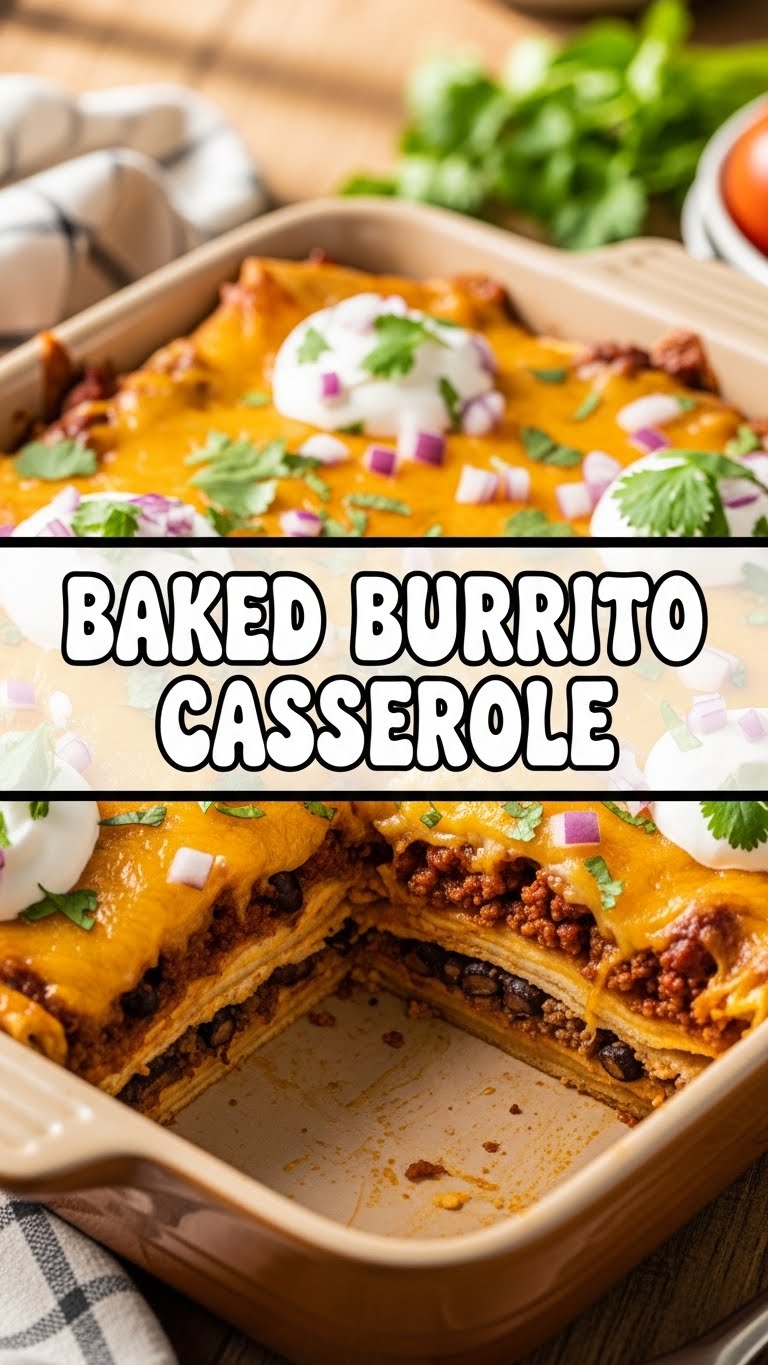
Alright, my friend, let’s be real. We all have those days. You want something ridiculously delicious, comforting, and packed with flavor, but the thought of meticulously rolling individual burritos makes you want to crawl back into bed. Enter: the Baked Burrito Casserole! This isn’t just a recipe; it’s a life hack for your taste buds. Forget the fuss, embrace the bake, and get ready for some serious yum. It’s like a burrito decided to chill out, get cozy in a baking dish, and invite all its best cheesy friends. You ready? Let’s roll (or rather, layer)!
Why This Recipe is Awesome (Seriously, It Is)
Okay, so why should *this* be your next culinary adventure, besides the fact that I’m telling you it should? For starters, it’s pretty much **idiot-proof**. And I say that with love, because even I, on my most distracted “what even is cooking” days, manage not to mess this up. It’s a one-pan (mostly) wonder, meaning less dish duty and more couch time. This casserole is also a certified crowd-pleaser, perfect for game nights, potlucks, or just feeding your hungry horde (aka your family, or just your very hungry self). Plus, it’s infinitely customizable, a chameleon in casserole form! Got a picky eater? No problem. Got a dietary restriction? We can hack it. It’s basically a warm, cheesy hug in a dish, and who doesn’t need more of those?
Ingredients You’ll Need (The Good Stuff)
Gather your culinary comrades! Here’s what you’ll need to make this magic happen. Don’t worry, nothing too fancy, just good old reliable flavor bombs.
- 1 tablespoon Olive Oil: For getting things started.
- 1 lb Ground Beef or Turkey: The OG protein. Or use plant-based crumbles, we’re not judging!
- 1 Yellow Onion: Diced. The unsung hero of flavor.
- 2-3 cloves Garlic: Minced. Because everything is better with garlic, **IMO**.
- 1 packet (1 oz) Taco Seasoning: Your flavor shortcut. Don’t skimp!
- 1 can (15 oz) Diced Tomatoes with Green Chilies (like Rotel): Drained. A little kick, a lot of flavor.
- 1 can (15 oz) Black Beans: Rinsed and drained. Protein, fiber, the whole deal.
- 1 cup Frozen Corn: No need to thaw, just toss it in!
- 8-10 Medium Flour Tortillas (8-inch size): The cozy blankets for our fillings.
- 2 cups Shredded Mexican Cheese Blend: Or cheddar, or Monterey Jack. Just make sure it’s *plenty* of cheese. Seriously, don’t hold back.
- Optional Toppings: Salsa, sour cream, fresh cilantro, avocado/guacamole, jalapeños. Because accessorizing is fun!
Step-by-Step Instructions (Let’s Get Cooking!)
Alright, apron on (or not, live dangerously), let’s make this happen.
- Preheat your oven to 375°F (190°C). Grab a 9×13 inch baking dish and lightly grease it. You want things to slide out nicely, not stick around like that awkward party guest.
- Heat the olive oil in a large skillet or Dutch oven over medium-high heat. Add your ground beef (or turkey/plant crumbles) and cook, breaking it up with a spoon, until it’s nicely browned.
- Once browned, drain any excess grease. You don’t want a greasy casserole, trust me. Add the diced onion to the skillet and cook until softened, about 5 minutes. Stir in the minced garlic and taco seasoning, cooking for another minute until fragrant. Oh, that smell!
- Stir in the drained diced tomatoes with green chilies, black beans, and frozen corn. Bring the mixture to a gentle simmer and let it cook for about 5-7 minutes, allowing the flavors to meld. Remove from heat.
- Now, for the layering fun! Spread about 1/2 cup of the meat mixture evenly on the bottom of your greased baking dish. This acts as an anchor.
- Lay 3-4 tortillas over the meat mixture, slightly overlapping, to cover the bottom. Don’t worry if they don’t fit perfectly; you can tear some to fill in gaps.
- Spoon about half of the remaining meat mixture over the tortillas and spread it out. Sprinkle about 1 cup of the shredded cheese over that. Because more cheese is always the answer.
- Repeat the tortilla, meat, and cheese layers. Finish with a final layer of tortillas on top, then spread any remaining meat mixture over those. Pile on the rest of that glorious cheese. This is your grand finale cheese moment!
- Bake for 20-25 minutes, or until the cheese is melted and bubbly and the edges are lightly golden. Let it rest for 5-10 minutes before serving. This helps everything set up and prevents a cheesy avalanche when you cut into it.
- Slice, serve, and top with all your favorite fixings! Salsa, sour cream, cilantro, guacamole – the world is your burrito casserole oyster. Enjoy!
Common Mistakes to Avoid (Learn From My Fails)
Nobody’s perfect, but we can try to avoid these little pitfalls, right?
- Thinking you don’t need to preheat the oven: Rookie mistake! Your casserole won’t cook evenly, and you’ll end up with a sad, lukewarm center. Always preheat, folks.
- Not draining the grease: Unless you want a soggy, greasy mess, always drain that excess fat from your ground meat. Your stomach will thank you.
- Skimping on the cheese: This isn’t a “reduce calories” recipe, it’s a “delicious comfort food” recipe. **Don’t you dare short-change yourself on the cheese!** It’s the glue, the love, the everything.
- Cutting into it immediately: I know, I know, it smells amazing. But seriously, give it 5-10 minutes to cool slightly. It helps the layers settle and prevents a chaotic, molten cheese explosion (though sometimes, that’s fun too).
- Over-baking it: You want bubbly, golden cheese, not a dry, crusty mess. Keep an eye on it!
Alternatives & Substitutions (Get Creative!)
This recipe is super flexible, so feel free to mix and match to your heart’s content.
- Protein Power-Up: Swap ground beef for shredded chicken (rotisserie chicken works wonders!), shredded pork, or even lentils for a vegetarian twist.
- Veggie Vortex: Want more greens? Sauté some bell peppers, zucchini, or spinach with the onion. Just make sure to drain any excess liquid from the veggies.
- Tortilla Twists: While flour tortillas are classic here, you *can* use corn tortillas if you lightly warm them first to make them more pliable. Just know they might absorb more liquid and make for a denser casserole. Gluten-free flour tortillas work perfectly!
- Cheese, Please!: Feel free to experiment with different cheeses! Pepper Jack for a kick, Colby Jack for extra creaminess, or a blend of your favorites. Just stick to real cheese, **FYI**. That weird “cheese product” stuff? Nah.
- Spice it Up: Add chopped jalapeños or a dash of your favorite hot sauce to the meat mixture for extra heat.
FAQ (Frequently Asked Questions – The Fun Version)
Got questions? I’ve got (casual) answers!
- Can I make this ahead of time? Oh, absolutely! Assemble the whole glorious thing, cover it tightly, and refrigerate for up to 24 hours. Just add an extra 5-10 minutes to the bake time if it’s going in cold.
- Can I freeze this casserole? You betcha! You can freeze it unbaked (cover tightly, then thaw in the fridge overnight before baking) or baked (cool completely, then wrap well). It’s a lifesaver for busy weeknights!
- What if I don’t have flour tortillas? Can I use corn? Well, technically yes, but prepare for a slightly different texture. Corn tortillas tend to be a bit firmer and soak up liquid more. Warm them gently first so they don’t crack when you’re layering!
- Is it spicy? I’m a bit of a heat-wuss. It totally depends on your taco seasoning and the type of diced tomatoes with green chilies you use. Go mild on both if you’re sensitive, or embrace the heat if you’re feeling feisty!
- Can I make this vegetarian? 100%! Swap the ground meat for an extra can of black beans, pinto beans, or lentils. You can also use plant-based ground crumbles. Just make sure you get enough protein in there!
- How do I reheat leftovers? Pop a slice in the microwave for a quick reheat, or cover and bake in the oven at 300°F (150°C) until warmed through. It’s almost better the next day, right?
- Why does my casserole look sad and dry? Chances are you either over-baked it (been there!) or, ahem, maybe didn’t use enough cheese. Next time, go bolder with the bake time and the cheese content!
Final Thoughts (Go Forth and Casserole!)
So there you have it, my friend: your new go-to for a delicious, easy, and undeniably fun meal. This Baked Burrito Casserole is proof that comfort food doesn’t have to be complicated, and a little bit of cheese goes a long, long way. Now, go impress someone—or more importantly, yourself—with your new culinary superpowers. You’ve earned it! Dig in, enjoy every cheesy, flavorful bite, and remember to send me a virtual slice! Happy cooking!


