So, you’ve got that sweet tooth gnawing at you, but the idea of a complicated dessert sends shivers down your spine? Good, because we’re about to make magic with minimal effort. Seriously, even my cat could probably supervise this one. We’re talking about baked apples with vanilla ice cream, a dessert that screams “I tried!” but secretly whispers “I barely lifted a finger.” Ready to impress yourself (or your significant other/roommate/pet)? Let’s dive in!
Why This Recipe is Awesome
Okay, buckle up, because this recipe is basically the culinary equivalent of a warm hug. It’s so awesome for a few simple reasons:
- It’s ridiculously easy. We’re talking “can’t mess it up unless you try really, really hard” easy.
- The aroma alone is worth it. Your kitchen will smell like a cozy autumn day, even if it’s 90 degrees outside.
- Minimal ingredients, maximal flavor. Who doesn’t love that combo?
- It’s **super adaptable**. Got a random nut in the pantry? Throw it in!
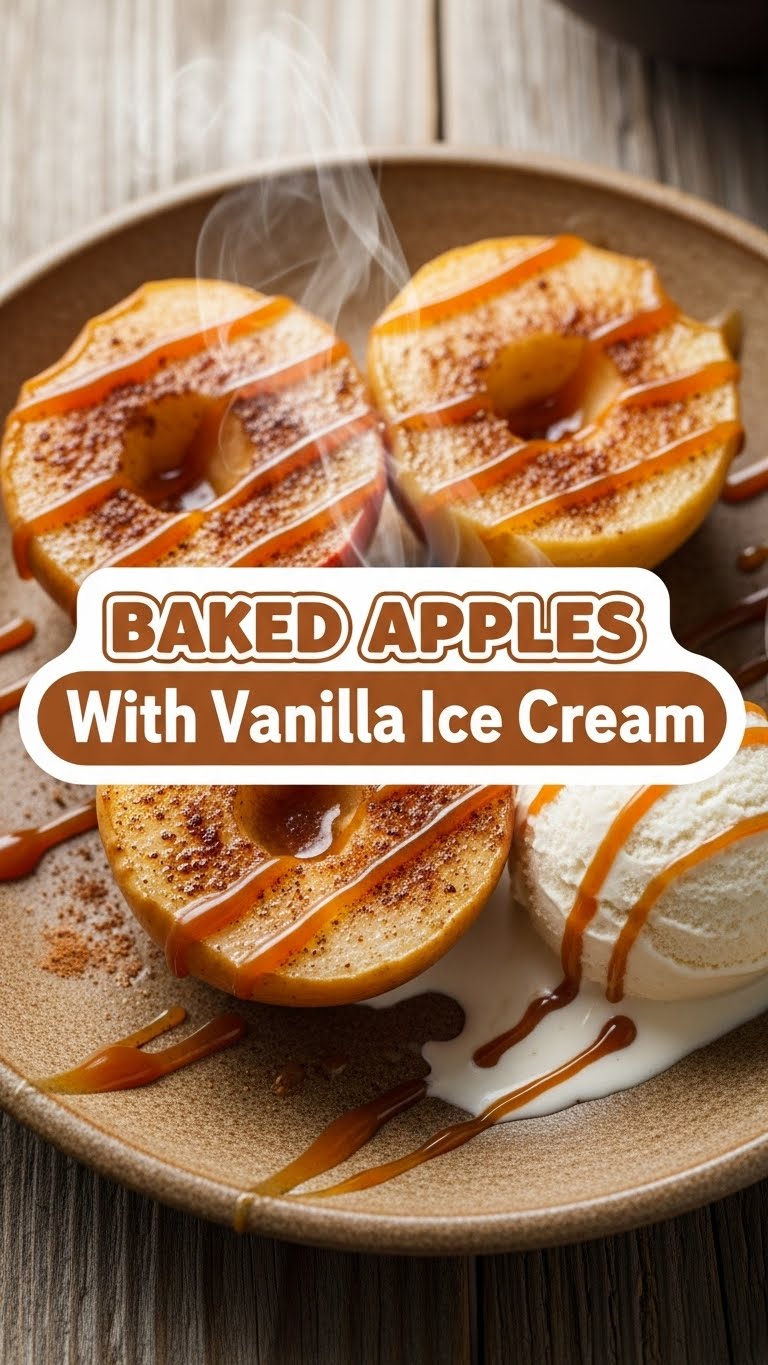
- And let’s be real, warm apples with cold vanilla ice cream? That’s a classic for a reason, people. It’s pure comfort food, no fancy techniques required.
Ingredients You’ll Need
Gather ’round, folks! Here’s what you’ll need for this ridiculously simple masterpiece:
- 2-4 Medium Apples: Think firm, baking-friendly varieties like Honeycrisp, Granny Smith (for a tart kick), Fuji, or Gala. Avoid the sad, mealy ones, please – your taste buds deserve better.
- 2-4 Tablespoons Unsalted Butter: One tablespoon per apple. The good stuff, because life’s too short for bad butter.
- 2-4 Tablespoons Brown Sugar: One tablespoon per apple. This is where that cozy, caramel-y goodness comes from. Light or dark, your call.
- 1 Teaspoon Ground Cinnamon: Maybe a bit more if you’re feeling spicy. Your kitchen’s going to smell like a dream.
- Pinch of Nutmeg (Optional but Recommended): Just a little somethin’ somethin’ extra.
- Vanilla Ice Cream: The grand finale! Get a decent quality one. This is non-negotiable, unless you’re a monster.
Step-by-Step Instructions
Alright, let’s get cooking! Follow these simple steps and you’ll be chowing down in no time.
- First things first: Preheat your oven to a cozy 375°F (190°C). Don’t skip this, it’s not just a suggestion! Grab a small baking dish or an oven-safe pie plate.
- Time to prep those apples! Give ’em a good wash. Now, carefully core each apple, making sure not to go all the way through the bottom. You want to create a nice little well for our delicious filling. **Pro tip:** Make a shallow cut around the circumference of each apple about halfway down – this helps prevent the skin from bursting.
- Now for the fun part: filling! In each cored apple, drop in one tablespoon of butter. Then, spoon in one tablespoon of brown sugar. Sprinkle with about a quarter teaspoon of cinnamon and that tiny pinch of nutmeg. Yes, it’s that simple.
- Carefully place your filled apples into your prepared baking dish. If you have any extra space in the dish, you can add a splash of water (about 1/4 inch) to the bottom to help keep the apples moist and prevent burning.
- Slide your dish into the preheated oven and bake for about 30-45 minutes. The baking time will vary depending on your apple type and size. You’re looking for fork-tender apples that are still holding their shape. They should be beautifully soft and caramelized.
- Once they’re done, carefully remove them from the oven. Let them cool down for a few minutes. They’ll be hot enough to melt an iceberg, so don’t be too eager!
- Finally, the moment we’ve all been waiting for! Transfer each warm, glorious baked apple to a bowl and top it generously with a scoop (or two, no judgment here) of your favorite vanilla ice cream. The contrast of warm and cold, soft and creamy, is pure bliss.
Common Mistakes to Avoid
Even though this recipe is practically fail-proof, there are a few rookie errors we should chat about. Don’t worry, I’ve probably made them all!
- Forgetting to Preheat the Oven: Yeah, I know, it seems like an optional step sometimes. But no! It ensures even cooking and perfect caramelization. Don’t be that person.
- Using the Wrong Apples: Soft, mealy apples will turn into sad mush. Stick to the firm, baking-friendly varieties we talked about.
- Not Coring Properly: Leaving seeds or not creating a deep enough well means less room for that glorious butter-sugar mixture. Tragedy!
- Overbaking: While “mushy” might sound appealing to some, you want your apples to hold their shape. Keep an eye on them, especially after the 30-minute mark.
- Serving Immediately Out of the Oven: Patience, young padawan! Let them cool for a few minutes. Otherwise, that scalding hot apple will melt your ice cream into a puddle of regret before you can even take a photo.
Alternatives & Substitutions
Feeling adventurous? Or maybe you just ran out of something. No worries, here are some ideas to mix things up!
- Other Fruits: Firm pears (like Bosc or Anjou) work wonderfully if you’re not an apple fan. Just adjust baking time slightly.
- Sweeteners: Out of brown sugar? Maple syrup or honey can be drizzled into the apple wells instead. They’ll give a slightly different, but equally delicious, flavor.
- Spices: Swap cinnamon for apple pie spice mix, a touch of cardamom, or even a tiny pinch of ginger for an extra kick.
- Butter Alternatives: If you’re dairy-free, a good quality vegan butter alternative or even a dollop of coconut oil will do the trick. But **FYI, real butter truly makes it shine**.
- Toppings Beyond Ice Cream: No ice cream? No problem! Try a dollop of whipped cream, a spoonful of Greek yogurt for a healthier twist, or even a drizzle of caramel sauce. Crème fraîche is also amazing!
- Add-ins: Get creative! Throw in a few chopped walnuts, pecans, or almonds for crunch. A few raisins or dried cranberries can also be mixed into the filling for extra sweetness and chewiness.
FAQ (Frequently Asked Questions)
Got questions? I’ve got answers! (Mostly.)
What kind of apples are truly the best?
Honestly, it depends if you like ’em tart or sweet. Granny Smiths are fantastic if you want a tart counterpoint to the sweet filling and ice cream. Honeycrisp or Fuji will give you a sweeter, slightly softer result. Pick your fighter!
Do I need to peel the apples?
Nope! Leave the skin on. It adds a bit of texture, some extra nutrients, and frankly, saves you a step. Plus, the skin looks pretty when it’s all browned and bubbly.
Can I make this ahead of time?
You can certainly prep the apples (core and fill them) a few hours in advance and keep them in the fridge. But for the best experience, bake them just before serving. That warm, gooey goodness is what we’re after!
No vanilla ice cream, what now?!
Crisis averted! Whipped cream, custard, or even a scoop of plain Greek yogurt (if you want to pretend it’s healthy) will work. Or just eat them plain; they’re still fantastic!
How do I know when the apples are perfectly done?
Gently poke them with a fork. It should slide in easily, but the apple should still hold its shape. If it’s turning to complete mush, you’ve gone too far (but it’ll still taste good, just less pretty).
Can I make this dairy-free?
Absolutely! Just swap out the butter for a good quality vegan butter alternative or coconut oil, and use your favorite dairy-free vanilla ice cream. Easy peasy!
Final Thoughts
There you have it, my friend! A ridiculously easy, unbelievably delicious, and perfectly cozy dessert that will make you feel like a culinary genius without actually breaking a sweat. Whether you’re making it for a fancy dinner party (who are we kidding, it’s for Tuesday night) or just a solo treat, it hits all the right notes.
So go on, grab those apples, get baking, and bask in the glory of your new favorite simple dessert. You’ve earned it!


