So you’re craving something tasty but too lazy to spend forever in the kitchen, huh? Same. We’ve all been there: that sudden, undeniable urge for something warm, comforting, and just a *little* bit fancy, but the thought of a complex recipe makes you want to curl up with a bag of chips instead. Fret not, my friend! I’ve got the ultimate cheat code to dessert heaven for you: Baked Apples with Ice Cream. It’s simple, it’s scrumptious, and it makes your kitchen smell like a warm hug.
Why This Recipe is Awesome
Let’s be real, you’re not looking for a culinary marathon. You want results, and you want them *now*. This recipe delivers. First off, it’s pretty much **idiot-proof**. Seriously, if I didn’t mess it up, you’re golden. Secondly, the aroma alone is worth the minimal effort—think cozy autumn evening, even if it’s 90 degrees outside. And third, it’s elegant enough to impress guests (if you choose to share, which, honestly, why would you?) but easy enough for a Tuesday night treat just for yourself. It’s basically a gourmet experience with a fast-food effort level. Win-win!
Ingredients You’ll Need
Gather ’round, my little chef-in-training! Here’s what you’ll need to conjure this magic. Don’t worry, it’s nothing you can’t find with your eyes closed in any grocery store.
- 2 large, firm apples: Honeycrisp, Fuji, Gala, or even Braeburn are your best friends here. We want them to hold their shape, not turn into apple sauce soup.
- 2 tablespoons unsalted butter: Because everything’s better with butter, right? Don’t skimp, it’s for flavor and richness!
- 2 tablespoons brown sugar: Light or dark, your call. This gives it that deep, caramel-y sweetness.
- ½ teaspoon ground cinnamon: The MVP of cozy spices. Feel free to add a little more if you’re a cinnamon fiend like me.
- Pinch of nutmeg (optional): Just for an extra layer of warmth, if you’re feeling extra.
- Vanilla ice cream: **This is non-negotiable.** Get a good quality one. It’s the grand finale, the cool counterpoint to your warm apple.
- Optional garnishes: Chopped walnuts or pecans, a drizzle of caramel sauce, or a tiny sprig of mint if you’re feeling super fancy (but let’s be real, you probably won’t).
Step-by-Step Instructions
Okay, let’s get down to business. Follow these steps and prepare to be amazed by your own genius.
Preheat and Prep: First things first, turn your oven on to 375°F (190°C). While it’s warming up, grab your apples. Give them a good wash, then get ready to core them. You want to remove the core, leaving a nice cavity for our delicious filling, but **don’t go all the way through the bottom!** We don’t want any leakage. A melon baller, an apple corer, or even a sturdy spoon can do the trick.
Mix the Magic Filling: In a small bowl, combine the softened butter, brown sugar, cinnamon, and that optional pinch of nutmeg. Stir it up until it forms a lovely, fragrant paste. This is where the magic happens, people.
Stuff ‘Em Up: Now, carefully spoon your butter-sugar-cinnamon mixture into the hollowed-out center of each apple. Try to pack it in nicely. You can even mound a little on top if you have extra. Place your filled apples in a small baking dish—just big enough for them to sit snugly.
Bake ‘Em Till Perfect: Pop that baking dish into your preheated oven. Bake for about 30-45 minutes. The exact time depends on the size and type of your apples. You’re looking for the apples to be tender when pierced with a fork but still holding their shape. They should be beautifully golden and smell absolutely divine. FYI, this is the hardest part: waiting!
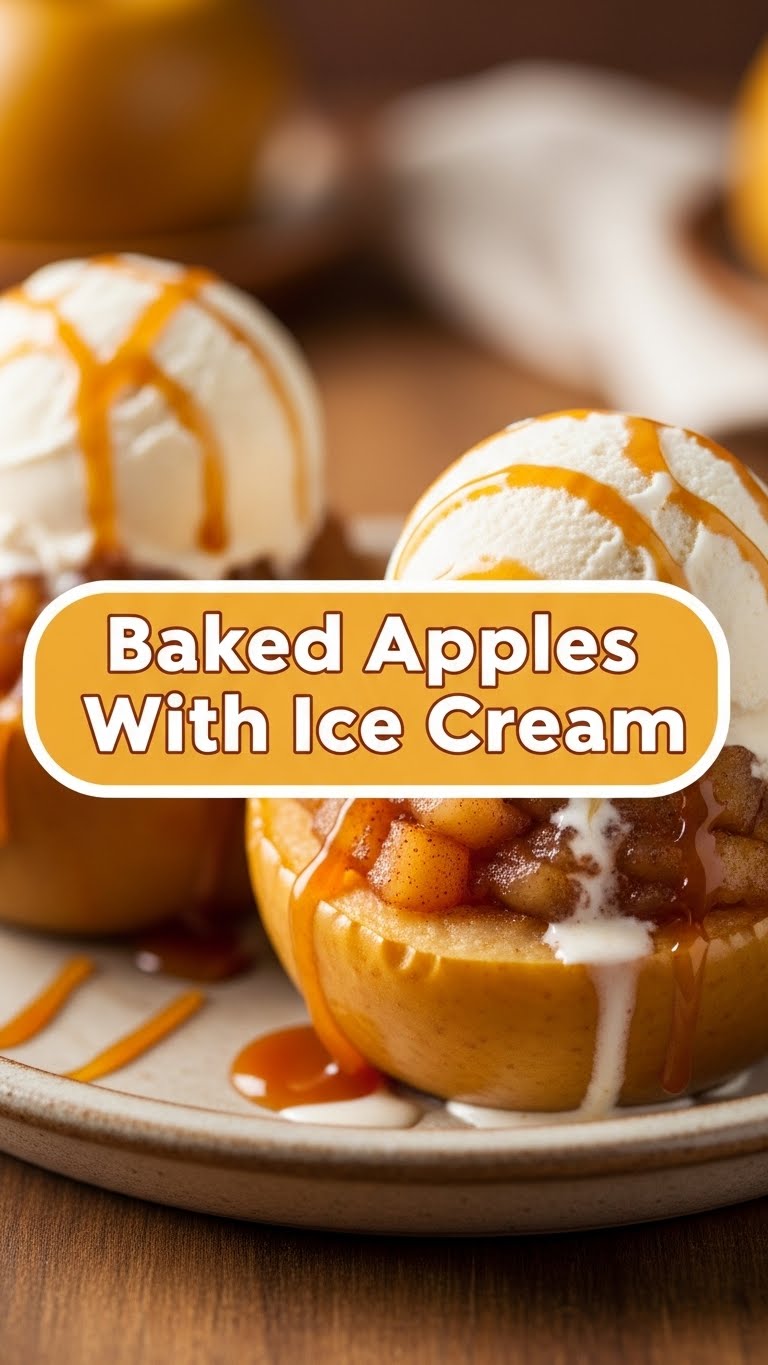
Serve and Devour: Carefully remove the apples from the oven. Let them cool for just a few minutes so you don’t burn your tongue (learned that the hard way). Then, place each warm, gooey apple into a bowl. Crown it generously with a scoop (or two, I’m not judging) of vanilla ice cream. If you’re feeling extra, add those optional walnuts or a drizzle of caramel. Serve immediately and enjoy your masterpiece!
Common Mistakes to Avoid
Nobody’s perfect, but we can avoid some common pitfalls, right? Learn from my past kitchen mishaps!
- Under-Coring: Not removing enough of the core means less room for that glorious butter-sugar filling. Don’t be shy! Just remember to leave the bottom intact.
- Overfilling: While tempting to pack it to the brim, an overstuffed apple means molten sugar overflowing everywhere. It makes a mess and burns easily. A good mound on top is fine, but don’t go crazy.
- Baking Until Mush: Unless you’re aiming for baby food, don’t overbake. A fork should pierce easily but the apple should still have some structural integrity. Keep an eye on them after 30 minutes!
- Skipping the Ice Cream: This isn’t a mistake; it’s a cardinal sin. The warm apple and cold ice cream combo is what makes this dessert legendary. Don’t deprive yourself!
Alternatives & Substitutions
Feeling adventurous? Or maybe you just ran out of something? No worries, we’ve got options!
- Spices: Instead of just cinnamon, try a pinch of allspice, cardamom, or apple pie spice blend. Nutmeg is always a good addition.
- Sweeteners: Out of brown sugar? Granulated sugar works, but brown sugar gives a deeper, molasses-like flavor. Maple syrup or honey can also be used, but adjust quantities as they are often sweeter and runnier.
- Fillings: Want more texture? Add a tablespoon of rolled oats, chopped pecans, walnuts, or even dried cranberries to your butter mixture. It gives it a lovely “crisp” feel.
- Toppings: If vanilla ice cream isn’t your jam (though, why not?), try salted caramel ice cream, cinnamon ice cream, or even a dollop of whipped cream. A drizzle of chocolate sauce also wouldn’t hurt, IMO.
FAQ (Frequently Asked Questions)
Got questions? I probably asked them too at some point. Let’s get them answered!
- Do I have to peel the apples? Nah, not unless you really want to. The skin softens nicely during baking and adds a little color and fiber. Why add extra work if you don’t have to?
- Can I use margarine instead of butter? Well, technically yes, but why hurt your soul like that? Butter just tastes better and gives that rich, buttery flavor we’re going for. Stick with butter if you can.
- What if I don’t have an apple corer? No biggie! A sturdy spoon can scoop out the core, or you can carefully use a small knife to cut around the core (just be super careful with your fingers!).
- Can I make these ahead of time? You sure can! Bake them as instructed, then let them cool. Reheat gently in the oven (around 300°F/150°C) until warm, then add your ice cream. They’re best fresh, but leftovers are still pretty darn good.
- What kind of apples are best for baking? As mentioned, firm apples like Honeycrisp, Fuji, Gala, or Braeburn are great. Granny Smith works too if you prefer a tarter apple that holds its shape. Just avoid really soft, mealy apples.
Final Thoughts
See? That wasn’t so scary, was it? You just whipped up a dessert that tastes like a warm hug and looks like you spent hours slaving away. Now go impress someone—or more importantly, yourself—with your new culinary skills. You’ve earned this moment of pure, unadulterated deliciousness. Enjoy every single bite, you magnificent chef, you!


