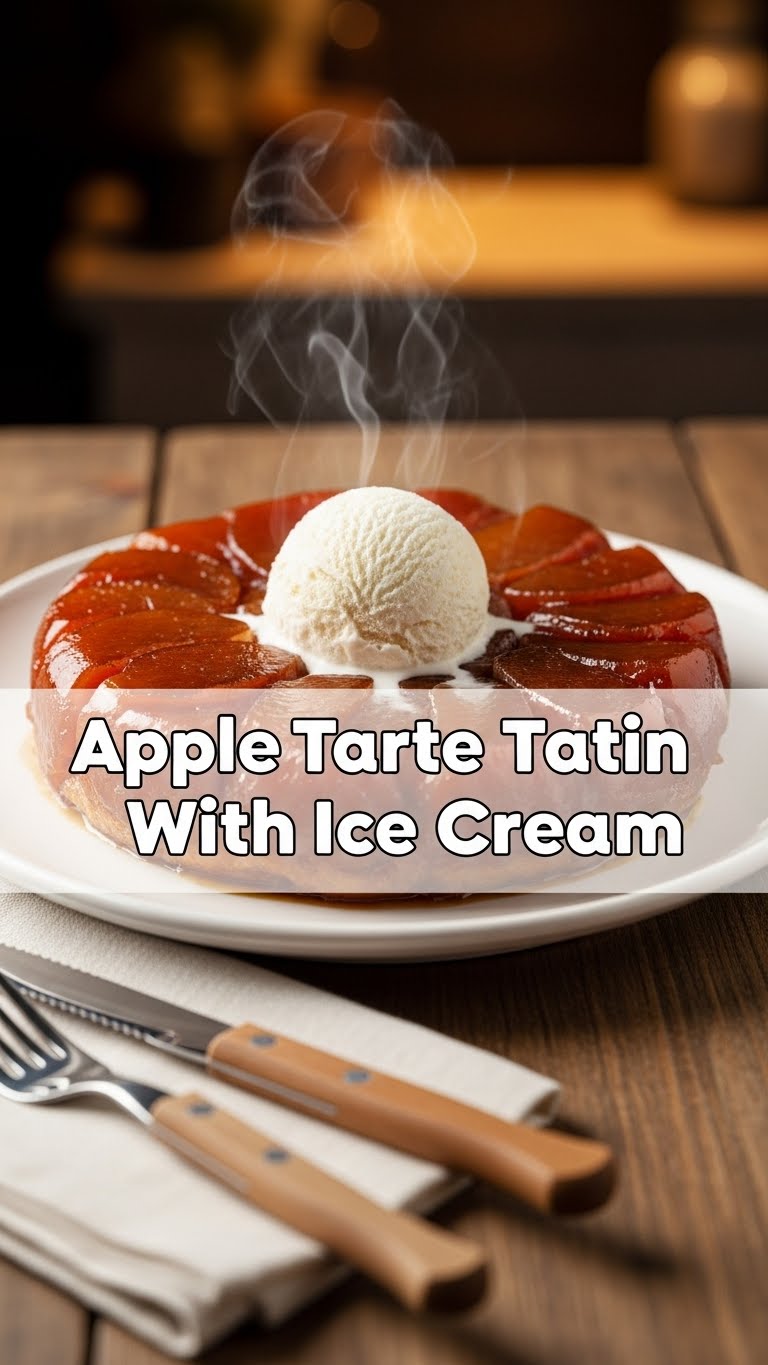
So you’re craving something tasty but too lazy to spend forever in the kitchen, huh? Same. And honestly, who isn’t? But what if I told you there’s a dessert that looks like you spent hours slaving over it, but actually, it’s pretty chill? Enter the legendary Apple Tarte Tatin with a scoop (or three) of ice cream. Your new BFF dessert.
Why This Recipe is Awesome
Okay, first off, it’s basically magic. You flip it! How cool is that? Second, it tastes like autumn threw a party in your mouth and everyone’s invited. Third, it’s genuinely idiot-proof. Seriously, if I can make it without setting off the smoke alarm, you’re golden.
Plus, that caramel sauce? Oh. My. Goodness. It’s the kind of dessert that makes people think you’re a fancy-pants chef, but really, you just followed some super simple steps. Win-win, right?
Ingredients You’ll Need
- Apples: 4-5 medium, firm, tart ones (like Honeycrisp or Granny Smith). Don’t use mushy ones, unless you’re into apple mush.
- Puff Pastry: 1 sheet, store-bought, all-butter if you’re feeling fancy. Thaw it, but keep it chill.
- Butter: 1/2 cup (1 stick), unsalted. Because butter makes everything better, duh.
- Granulated Sugar: 1/2 cup. For that glorious caramel.
- Vanilla Extract: 1 teaspoon. A little splash of happy.
- Salt: A tiny pinch. Balances the sweet, like your witty personality balances my sarcasm.
- Ice Cream: Vanilla, cinnamon, or even salted caramel. Non-negotiable, IMO.
Step-by-Step Instructions
- Preheat & Prep: Get your oven to a cozy 400°F (200°C). Grab an oven-safe, 10-inch non-stick skillet (cast iron works beautifully!). Peel, core, and quarter your apples. Try to make them roughly the same size for even cooking.
- Caramel Time! Melt butter in your skillet over medium heat. Sprinkle in the sugar. Let it bubble and turn into a lovely amber caramel, about 5-8 minutes. Don’t stir constantly, just swirl the pan gently.
- Apple Arrangement: Once the caramel is golden, carefully arrange your apple quarters snugly in the skillet, cut-side down. Pack them in!
- Simmer & Soften: Let the apples cook in the caramel for about 10-15 minutes on the stovetop, turning them once or twice, until they’ve softened slightly and absorbed some of that buttery goodness. Add the vanilla and salt.
- Pastry Perfection: While the apples are still warm in the pan, gently lay your thawed puff pastry over the apples. Tuck the edges down around the fruit, like you’re tucking a baby into bed. Prick the pastry a few times with a fork.
- Bake It Up: Transfer the skillet to the preheated oven. Bake for 25-30 minutes, or until the pastry is gloriously golden brown and puffed up like it’s proud of itself.
- The Flipper-oo! This is the moment of truth! Let it cool for just 5-10 minutes. Then, grab a plate that’s bigger than your skillet, place it over the skillet, and with confidence (and oven mitts!), swiftly flip the tarte onto the plate. Voila!
- Serve & Devour: Serve warm, with generous scoops of your favorite ice cream. Drizzle any extra caramel from the pan over the top. You’ve earned this.
Common Mistakes to Avoid
- Not preheating the oven: Rookie mistake. It impacts everything. Don’t skip it!
- Over-stirring the caramel: Resist the urge! Let it do its thing. Constant stirring can make it crystallize.
- Using mushy apples: They’ll turn into sad apple sauce. Firm apples are your friends.
- Flipping too soon: Patience, grasshopper. Giving it a few minutes to cool helps the caramel set just enough so the apples stay put.
- Forgetting the ice cream: Seriously? That’s just criminal.
Alternatives & Substitutions
Pears instead of apples? Absolutely! Pears make a divine Tarte Tatin too. Use firm Bosc or Anjou pears.
Spices: Feel free to sprinkle a pinch of cinnamon or a tiny grating of nutmeg into the caramel for extra warmth.
Vegan version: Use plant-based butter and a vegan puff pastry (check ingredients, many are accidentally vegan!). And obviously, dairy-free ice cream. Easy peasy!
No skillet? You can use a round baking dish, but you’ll have to make the caramel in a separate saucepan and pour it into the dish before adding apples. A solid oven-safe skillet is key for ease.
FAQ (Frequently Asked Questions)
“Can I use margarine instead of butter?” Well, technically yes, but why hurt your soul like that? Butter just tastes better here, trust me.
“My caramel seized up! What happened?” Probably either stirred too much, or the heat was too high. Low and slow, my friend. You can try adding a splash of hot water and reheating gently to dissolve it.
“My pastry isn’t golden brown, but the timer went off!” Ovens vary! Bake until it’s actually golden and puffed. Add a few more minutes if needed.
“What if I don’t have a 10-inch skillet?” You can use an 8-inch for a thicker tarte, or a 12-inch for a thinner one, but adjust apple quantity accordingly. Just make sure it’s oven-safe!
“Can I make this ahead of time?” You can prep the apples a bit, but honestly, this is best served warm, fresh out of the oven after that dramatic flip. Day-old is okay, but not chef’s kiss.
Final Thoughts
See? I told you it wasn’t rocket science! You just whipped up a dessert that looks fancy, tastes incredible, and probably took less time than deciding what to binge-watch next. Now go impress someone—or yourself—with your new culinary skills. You’ve earned it!
Don’t forget to snap a pic, because if it’s not on the ‘gram, did it even happen? 😉 Happy baking, my friend!


