So you’re craving something warm, cozy, and utterly delicious, but the thought of a complicated recipe makes you want to just order pizza? Been there, done that, bought the oversized sweats. But what if I told you there’s an apple pie out there that’s so ridiculously easy, it practically bakes itself? And it has a *secret weapon* that banishes the dreaded “soggy bottom” to the darkest corners of your culinary nightmares? That’s right, we’re talking about apple pie with tapioca, my friend. Get ready to elevate your pie game without actually breaking a sweat.
Why This Recipe is Awesome
Let’s be real, life’s too short for sad, watery pie fillings. This recipe is your new best friend because it tackles that common pie problem head-on. Thanks to our superstar ingredient, tapioca, you get a beautifully thick, glistening apple filling that holds its shape and tastes like a dream. No more soggy crusts making you question your life choices!
It’s also practically **idiot-proof**. Seriously, if I can whip this up without setting off the smoke alarm (which is saying something), you’re golden. Plus, it uses store-bought crusts because, let’s face it, we love shortcuts. You’ll impress everyone with minimal effort, and that, my friend, is the ultimate win.
Ingredients You’ll Need
Gather ’round, gather ’round! Here’s your shopping list. Keep it simple, keep it real.
- 1 box (2 count) refrigerated pie crusts: Don’t be a hero, use the store-bought stuff. We’re here for the pie, not a baking marathon.
- 6-7 medium apples: Think firm and slightly tart, like Granny Smith or Honeycrisp. About 6 cups sliced. We want a little zing!
- 1/2 cup granulated sugar: Adjust if your apples are super sweet or you like things extra sugary.
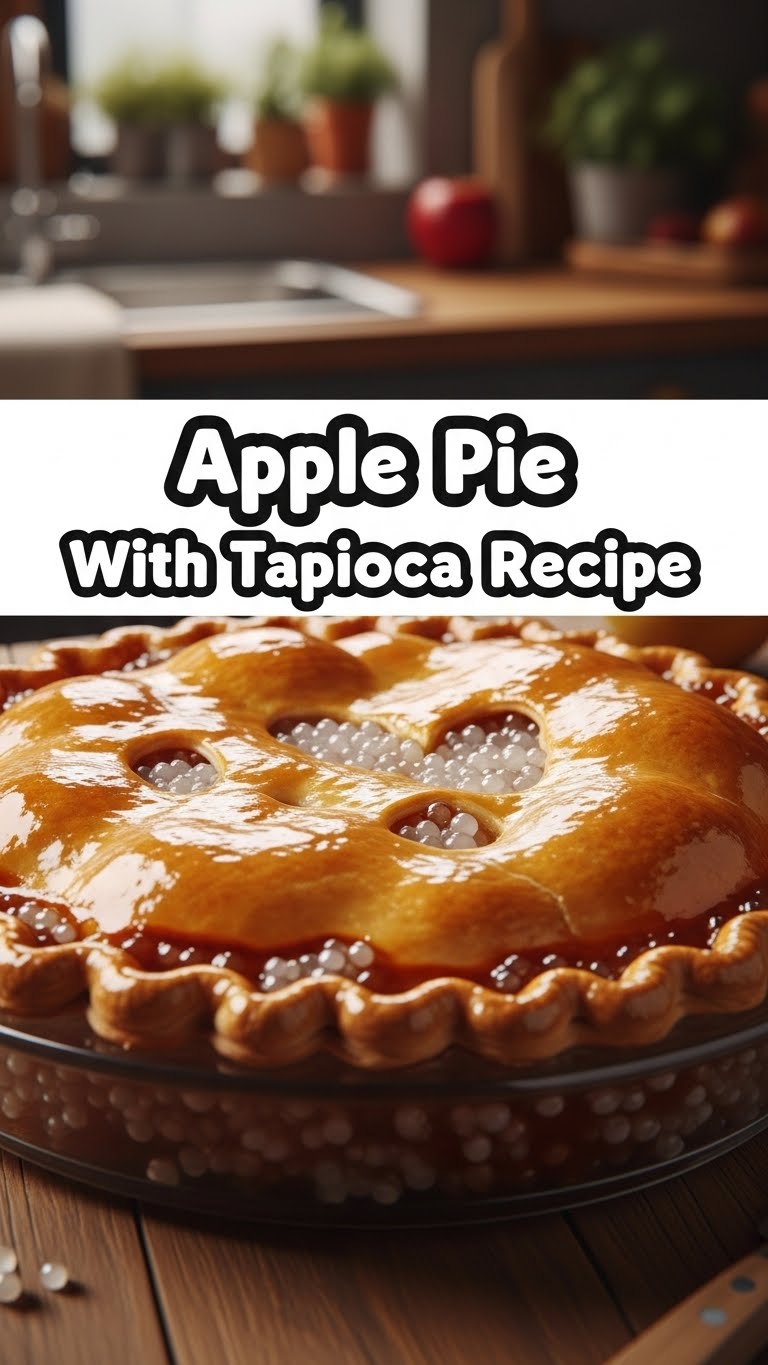
- 1/4 cup quick-cooking tapioca: THIS IS THE MAGIC! Find it in the baking aisle. Don’t skip it, don’t substitute it with weird stuff.
- 1 teaspoon ground cinnamon: The OG pie spice.
- 1/4 teaspoon ground nutmeg: Optional, but adds a lovely warmth.
- 1 tablespoon lemon juice: Brightens things up and keeps the apples from browning while you prep.
- 2 tablespoons unsalted butter: Cut into small pieces. These little pats of gold make the filling extra rich and delicious.
- 1 egg, beaten (for egg wash): Whisked with a tablespoon of water or milk for that glorious golden-brown crust.
Step-by-Step Instructions
Alright, apron on (or not, whatever), let’s make some pie!
- Prep Your Crusts & Oven: Take those pie crusts out of the fridge about 15-20 minutes before you start so they’re easier to work with. Preheat your oven to **425°F (220°C)**. Seriously, preheat it.
- Peel, Core, Slice: Get those apples naked! Peel ’em, core ’em, and slice ’em into roughly 1/4-inch thick pieces. Try to keep them fairly uniform so they cook evenly.
- Mix the Filling Magic: In a large bowl, combine your sliced apples, granulated sugar, quick-cooking tapioca, cinnamon, nutmeg (if using), and lemon juice. Toss it all together gently until the apples are well coated. Let it sit for about 15 minutes while the tapioca works its magic and starts absorbing some liquid.
- Assemble the Base: Carefully unroll one pie crust and fit it into a 9-inch pie plate. Don’t stretch it too much, or it might shrink while baking.
- Fill ‘Er Up: Spoon your apple mixture into the pie crust, mounding it slightly in the center. Dot the top of the apples with those little pieces of butter. This step is non-negotiable for max deliciousness.
- Top it Off: Unroll the second pie crust and place it over the apple filling. Trim the edges, leaving about a 1/2-inch overhang. Pinch and crimp the edges of both crusts together to seal in all that goodness.
- Egg Wash & Vent: Whisk your egg with a tablespoon of water or milk to create an egg wash. Brush this over the top crust for a beautiful golden finish. Now, for a crucial step: cut a few slits in the top crust (about 1-inch long) to allow steam to escape. Otherwise, you’ll have a pie explosion, and nobody wants that.
- Bake Time! Place the pie on a baking sheet (to catch any potential drips and save your oven from a sticky mess). Bake for **15 minutes at 425°F (220°C)**. Then, reduce the oven temperature to **375°F (190°C)** and continue baking for another **35-45 minutes**, or until the crust is deeply golden brown and the filling is bubbly. If the crust starts browning too quickly, you can gently cover the edges with aluminum foil.
- Cool Down: This is the hardest part, I know. Let the pie cool completely on a wire rack for at least 3-4 hours before slicing. This allows the filling to set up properly. **Seriously, don’t cut it hot unless you want a sloshy mess!**
Common Mistakes to Avoid
Listen up, buttercup! Don’t fall into these common traps:
- Not Preheating the Oven: Rookie move! A cold oven means a sad, greasy crust. Get that oven hot and ready.
- Skipping the Tapioca: The whole point of this recipe! Without it, you’re back to soggy pie land. Don’t do it.
- Overfilling the Pie: We love apples, but don’t stuff it so much that the top crust can’t properly seal. Leaky pies are sad pies.
- Forgetting to Vent the Top Crust: Trapped steam leads to a volcano-style pie eruption. Cut those slits!
- Cutting the Pie Too Soon: I know, I know, it smells incredible. But trust me, giving it time to cool and set is crucial for perfect slices. Patience, grasshopper.
Alternatives & Substitutions
Feeling a little adventurous? Here are some tweaks, but remember, the tapioca is non-negotiable for *this* specific recipe!
- Apple Blend: While Granny Smiths are classic for tartness, feel free to mix in some sweeter varieties like Braeburn, Gala, or Honeycrisp for a more complex flavor profile. Just make sure they’re firm baking apples.
- Spice It Up: Add a pinch of ground cloves, allspice, or a tiny grating of fresh ginger to your apple mixture for extra warmth.
- Crust-Curious? If you’re feeling ambitious (and have more time than us lazy chefs), you can absolutely make your own pie crust from scratch. But honestly, the store-bought ones are excellent these days.
- Sweetener Swap: You can replace some of the granulated sugar with light brown sugar for a deeper, molasses-y flavor. Yum!
FAQ (Frequently Asked Questions)
Got questions? I’ve got (casual) answers!
- Why tapioca? Is it really necessary? YES! It’s the secret sauce (literally!). It thickens the filling beautifully without making it cloudy, and it prevents that dreaded soggy bottom. Trust me on this one.
- Can I use frozen apples? You can, but you’ll need to thaw them completely and drain any excess liquid first. Otherwise, your pie might get watery. Fresh is best, IMO.
- My crust is browning too fast! Help! Relax, it’s a common thing! Just gently tent the edges of your pie with aluminum foil to protect them. Easy peasy.
- Can I use margarine instead of butter? Well, technically yes, but why hurt your soul (and your pie’s flavor) like that? Butter just tastes better, period.
- How do I know when the pie is done? Look for a deeply golden-brown crust and bubbling filling peeking through those vents. If you’re fancy, an instant-read thermometer inserted into the filling should read around 200°F (93°C).
- Can I make this pie ahead of time? Absolutely! You can assemble the pie, cover it loosely, and refrigerate it for up to 24 hours before baking. Just add about 10-15 minutes to the baking time. Or bake it, cool it completely, and freeze it for up to 3 months. Reheat from frozen at 350°F (175°C) until warmed through.
Final Thoughts
Boom! You just made an apple pie, and not just any apple pie – a no-soggy-bottom, tapioca-powered apple pie that’s going to make you feel like a culinary rockstar. Now go impress someone (or just yourself, you deserve it!) with your new-found baking prowess. Seriously, you totally crushed it. Enjoy every glorious, bubbly, crispy-crusted bite!


