Short, Catchy Intro
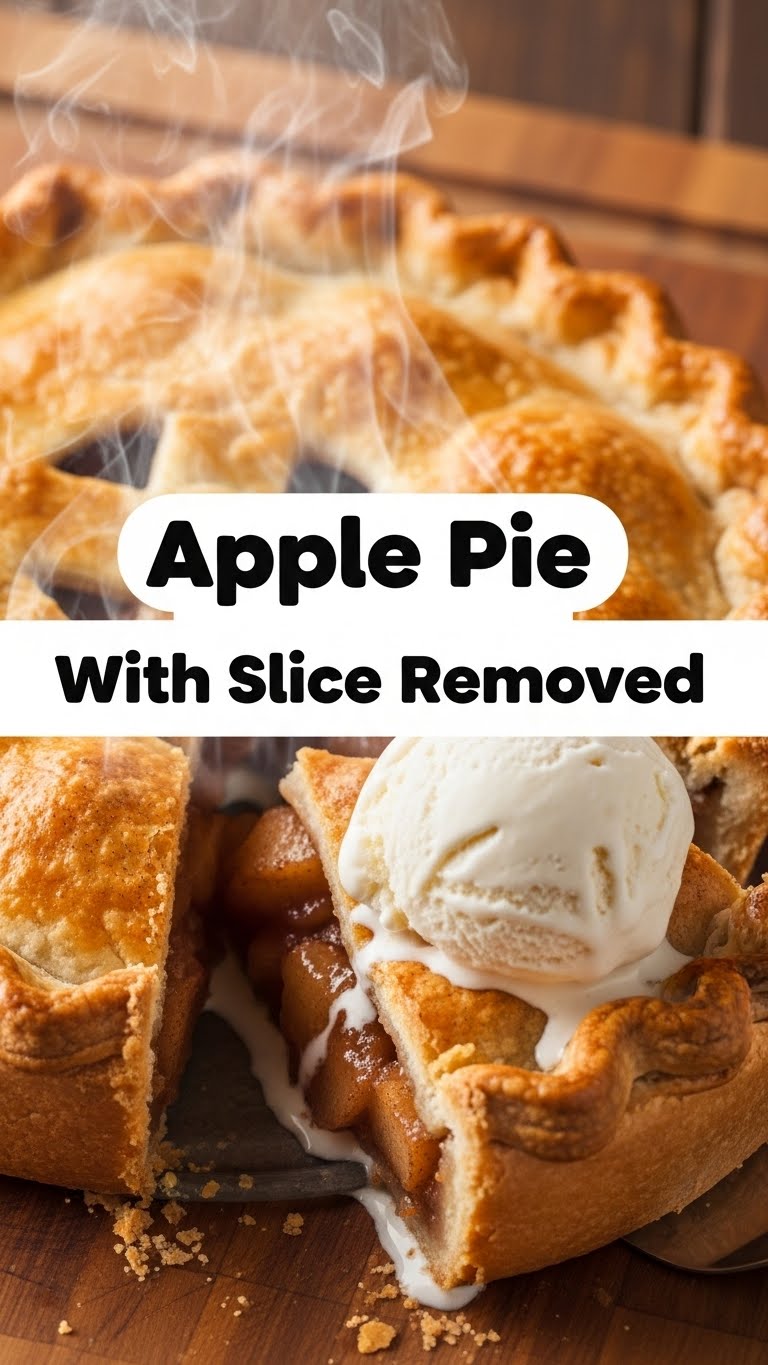
So, you’re scrolling through your feed, minding your own business, and BAM! A picture of a glorious apple pie pops up, a perfect slice already missing, whispering sweet nothings about warm, spiced apples and flaky crust. And suddenly, your couch-potato plans just got a serious upgrade, huh? Same. Don’t worry, we’re not aiming for a Michelin star here, just pure, unadulterated comfort in pie form. Let’s make some magic (and probably a glorious mess) together!
Why This Recipe is Awesome
Look, I get it. Baking can feel like a high-stakes science experiment. But this apple pie? This, my friend, is your new bestie. It’s practically **idiot-proof** – and trust me, if I can nail it without setting off the smoke alarm, you totally can too. BTW, we’re talking minimal fuss, maximum flavor, and that undeniable “I-made-this!” bragging rights. Plus, the best part is seeing that first slice go missing – a true testament to its irresistible charm. It’s warm, it’s cozy, and it’s basically a hug in a pie dish. Who doesn’t need that?
Ingredients You’ll Need
- For the Filling:
- 6-8 medium apples (about 6 cups sliced). Go for a mix of tart and sweet! Think Granny Smith, Honeycrisp, Fuji.
- ½ cup granulated sugar (adjust to your apple’s sweetness, darling).
- ¼ cup packed light brown sugar. For that extra caramelly goodness.
- 2 tablespoons all-purpose flour or cornstarch (the secret to not-too-runny filling).
- 1 teaspoon ground cinnamon. Because, apple pie.
- ¼ teaspoon ground nutmeg. Cinnamon’s cozy best friend.
- Pinch of ground cloves or allspice (optional, but adds depth!).
- 1 tablespoon lemon juice. Brightens everything up and keeps apples from browning.
- 2 tablespoons unsalted butter, cut into small pieces. Hello, richness!
- For the Crust (the foundation of your pie empire):
- 1 box (2 count) refrigerated pie crusts. Yeah, we’re not judging. Store-bought is a lifesaver! Or, if you’re feeling fancy, your favorite homemade double-crust recipe.
- 1 egg, beaten (for egg wash, gives a pretty, golden sheen).
- 1 tablespoon coarse sugar (for sprinkling, adds sparkle and crunch).
Step-by-Step Instructions
Get Prepped: First things first, preheat your oven to 425°F (220°C). And no, don’t even think about skipping this step. Trust me. Grab your trusty 9-inch pie plate. You’re going to need it.
Apple Time: Peel, core, and slice your apples. Aim for about ¼-inch thick slices – not too chunky, not too flimsy. Toss them into a large bowl. Don’t be shy; get those hands in there!
Mix the Magic: In a separate small bowl, whisk together the granulated sugar, brown sugar, flour/cornstarch, cinnamon, nutmeg, and the optional cloves/allspice. This is your flavor bomb. Sprinkle this mixture over the sliced apples, add the lemon juice, and gently toss until all those apple slices are beautifully coated. Let them sit for about 10 minutes to release some juices.
Crust on Duty: Unroll one of your pie crusts and carefully fit it into your 9-inch pie plate. Don’t stretch it too much, or it might shrink while baking. Trim the edges, leaving about a ½-inch overhang.
Fill ‘Er Up: Spoon the apple mixture into the crust-lined pie plate, mounding it slightly in the center. Dot the top of the apples with those small pieces of butter. This is where the magic happens, folks!
Top it Off: Unroll the second pie crust. You can either place it directly over the apples, cut some vents in the top, or get fancy with a lattice crust if you’re feeling ambitious (Google it, it’s easier than it looks!). Press the edges of the top and bottom crusts together, then crimp them with your fingers or a fork to seal. Trim any excess.
Glam Up: In a small bowl, whisk the egg with a splash of water to make an egg wash. Brush this over the top crust, then generously sprinkle with coarse sugar. This makes your pie look like a million bucks.
Bake Away! Place the pie on a baking sheet (to catch any drips, because nobody likes a messy oven). Bake for 15 minutes at 425°F (220°C). Then, reduce the oven temperature to 375°F (190°C) and continue baking for another 35-45 minutes, or until the crust is golden brown and the filling is bubbly and tender (you should be able to easily poke a knife through a vent hole into an apple slice).
The Hardest Part: Let your glorious pie cool on a wire rack for at least 2-3 hours before slicing. Yes, I know, it’s practically torture. But this lets the filling set properly, preventing a soupy mess. Patience, grasshopper, patience!
Common Mistakes to Avoid
- Under-Baked Crust: Nobody wants a pale, doughy bottom. Make sure your oven is properly preheated and don’t pull it out too early. A **golden-brown crust** is your goal!
- Soupy Filling: Skimping on the flour/cornstarch or not letting the apples sit to release juices can lead to a runny mess. Embrace the thickener!
- Not Cooling It Down: Seriously, I know it smells heavenly. But cutting into a hot pie is a one-way ticket to a disintegrated slice and a soupy puddle. **Patience is a virtue here, friend.**
- Forgetting the Vents: Steam needs an escape route! If you don’t cut vents in your top crust, your pie might get angry and explode. Just kidding (mostly), but it will make for a sad, puffy crust.
- One Apple Wonder: Using only one type of apple can result in a bland pie. **Mix those tart and sweet babies** for maximum flavor complexity!
Alternatives & Substitutions
- Apple Varieties: Don’t have the exact apples? No biggie! Use what you have. Just remember to balance sweetness and tartness. All sweet apples? Maybe dial back the sugar a touch.
- Gluten-Free: Easily swap out the regular pie crust for a store-bought GF version. The filling is naturally GF!
- Spice It Up: Not a fan of nutmeg? Leave it out! Want more ginger? Go for it! This is *your* pie. A little cardamom or star anise can also be a fun twist.
- Less Sugar: If your apples are super sweet or you prefer a less sugary dessert, feel free to reduce the sugar by ¼ cup. Taste those apples first, IMO!
- Dairy-Free: Use a plant-based butter substitute in the filling and ensure your pie crust is dairy-free (many store-bought ones are!). Skip the egg wash or use a plant-based milk wash for the top.
FAQ (Frequently Asked Questions)
- Can I use margarine instead of butter in the filling?
- Well, technically yes, but why hurt your soul like that? Butter just adds so much richness and flavor that margarine can’t quite replicate. For best results, stick with the good stuff!
- My crust is browning too fast! What do I do?
- Ah, the classic over-browning dilemma! Simply create a little foil shield (a ring of aluminum foil) to cover the edges of your pie. This will protect them from burning while the rest of the pie catches up.
- How do I know when the pie is truly done?
- Look for a deeply golden-brown crust and a bubbly filling peeking through the vents. You can also gently insert a thin knife through a vent into an apple piece – if it slides in easily, your apples are tender and cooked through!
- Can I make this pie ahead of time?
- Absolutely! You can assemble the pie, wrap it tightly in plastic wrap, and refrigerate it for up to 24 hours before baking. You might need to add an extra 5-10 minutes to the baking time if baking from cold.
- What’s the best way to store leftover pie?
- Cover it loosely with plastic wrap or foil and store it at room temperature for up to 2 days, or in the refrigerator for up to 4-5 days. It’s usually devoured long before then, though!
- My pie crust looks sad and cracked when I unroll it. Help!
- Don’t panic! Pie crusts can be finicky when cold. Let it sit at room temperature for 10-15 minutes before unrolling. If it still cracks, simply use your fingers to press the cracks together – it’ll be our little secret.
- Can I freeze baked apple pie?
- You betcha! Once completely cooled, wrap the pie tightly in plastic wrap, then a layer of aluminum foil. It can live happily in your freezer for up to 3 months. Thaw overnight in the fridge and reheat gently in the oven.
Final Thoughts
Alright, superstar! You’ve navigated the exciting (and slightly sticky) world of apple pie making. Now, go impress someone—or yourself—with your new culinary skills. Take that first slice, savor every warm, spiced bite, and pat yourself on the back. You’ve earned it! Remember, baking should be fun, messy, and absolutely delicious. Don’t sweat the small stuff, just enjoy the process and the amazing treat at the end. Happy baking, my friend!


