So, you’ve scrolled through enough Instagram feeds to know that a regular ol’ pie just doesn’t cut it anymore, right? You want something that screams “I tried, but also I’m naturally fabulous,” without, you know, *actually* trying that hard. Friend, I feel you. And that’s exactly why we’re diving into an Apple Pie with a Rose-Shaped Crust. It’s fancy, it’s fun, and it’s surprisingly chill to make. Trust me, if I can do it without setting off the smoke detector, you’re golden.
Why This Recipe is Awesome
Okay, let’s be real. Most pies are great, but this one? It’s like the pie went to finishing school. You get all the cozy, classic apple pie vibes but with a crust that’s basically a edible work of art. It looks way more complicated than it actually is, which, let’s be honest, is peak adulting. It’s perfect for impressing your in-laws, making your friends think you’re a baking genius, or just staring at proudly before you demolish it yourself (no judgment here!). Plus, the smell alone is worth the minimal effort. Seriously, you’ll be swimming in compliments and apple-cinnamon euphoria.
Ingredients You’ll Need
Gather your troops! Here’s what you’ll need to make this masterpiece happen. Don’t skimp on the butter, your taste buds will thank you.
- For the Crust (aka the showstopper):
- 2 ½ cups all-purpose flour (the basic building block of dreams)
- 1 teaspoon salt (because even sweet things need a little zing)
- 1 cup (2 sticks) unsalted butter, very cold and cubed (this is crucial for flakiness, don’t mess with it!)
- ½ cup ice water (seriously, ice cold, it keeps the butter happy)
- For the Apple Filling (the heart of the operation):
- 6-8 medium apples (a mix of Granny Smith for tartness and Honeycrisp or Fuji for sweetness and texture is *chef’s kiss*)
- ½ cup granulated sugar (adjust to your apple’s sweetness, don’t be shy)
- ¼ cup packed light brown sugar (adds a lovely caramel note)
- 2 tablespoons all-purpose flour (our secret weapon for a thick, non-watery filling)
- 1 teaspoon ground cinnamon (can you even have apple pie without it?)
- ¼ teaspoon ground nutmeg (a whisper of warmth)
- ⅛ teaspoon ground cloves (optional, but gives it a little extra oomph)
- 1 tablespoon fresh lemon juice (brightens everything up and prevents browning)
- 2 tablespoons unsalted butter, cut into small pieces (melts into gloriousness)
- For Assembly & Glaze:
- 1 egg, whisked with 1 tablespoon water (for that gorgeous golden shine)
- A sprinkle of turbinado sugar (optional, but adds a lovely crunch and sparkle)
Step-by-Step Instructions
Alright, apron on, good vibes only! Let’s get baking.
- Make the Crust: In a large bowl, whisk together flour and salt. Add the cold, cubed butter and cut it in with a pastry blender or your fingertips until it resembles coarse meal with some pea-sized butter pieces. Slowly add ice water, one tablespoon at a time, mixing until the dough just comes together. Don’t overmix! Divide the dough in half, flatten each half into a disk, wrap in plastic, and chill for at least 30 minutes. Chilling is non-negotiable for tender crust!
- Prep the Apples: Peel, core, and slice your apples into thin, even slices (about ⅛ inch thick). This is key for the “rose” effect! In a large bowl, toss the apple slices with granulated sugar, brown sugar, flour, cinnamon, nutmeg, cloves (if using), and lemon juice until everything is evenly coated.
- Roll Out the Base: On a lightly floured surface, roll out one disk of dough into a 12-inch circle. Carefully transfer it to a 9-inch pie plate. Trim the edges, leaving about an inch of overhang, and crimp or flute the edges as desired. Pop it in the fridge while you do the next step.
- Assemble the Filling: Pour your apple mixture into the chilled pie crust. Dot the top with the small pieces of butter. Mmm, butter.
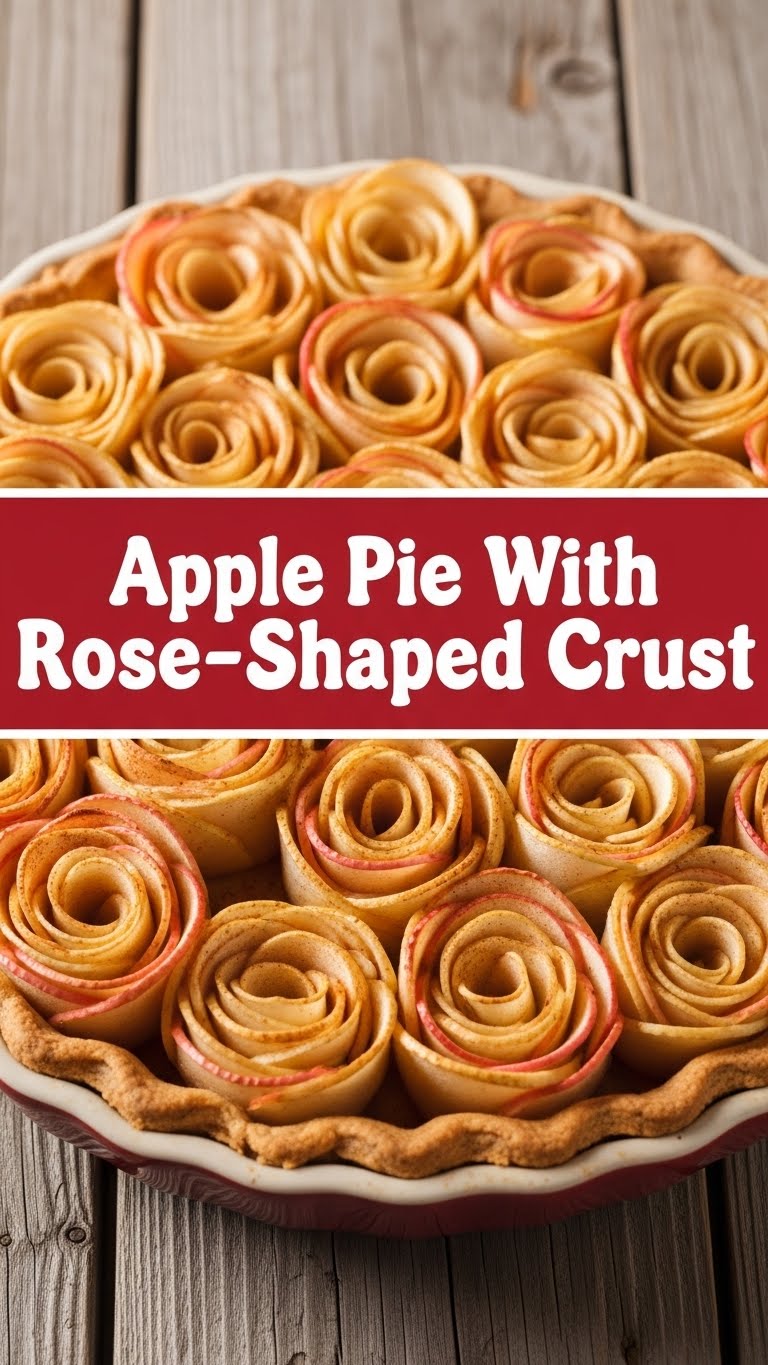
- Craft the Rose Crust: Roll out the second disk of dough into a large circle, about 1/8 inch thick. Using a round cookie cutter (about 2-3 inches in diameter) or a sharp knife, cut out several circles. Overlap these circles slightly in a line, about 4-5 circles long. Starting from one end, gently roll them up to form a “rose.” Gently pull apart the “petals” a bit. Repeat this process, making enough roses to cover the entire top of your pie. Place the roses close together on top of the apple filling. This is the fun part, get creative!
- Bake It Up: Preheat your oven to 425°F (220°C). Brush the egg wash over the entire rose-shaped crust. If you’re feeling fancy, sprinkle with turbinado sugar. Place the pie on a baking sheet (to catch any potential drips) and bake for 15 minutes.
- Reduce and Finish: Reduce the oven temperature to 375°F (190°C). Continue baking for another 45-60 minutes, or until the crust is golden brown and the filling is bubbly. If the crust starts to brown too quickly, loosely tent it with foil.
- Cool Down: Let the pie cool completely on a wire rack for at least 2-3 hours before slicing. This allows the filling to set properly, so it won’t be a runny mess when you cut into it. Patience, my friend, is a virtue.
Common Mistakes to Avoid
Nobody’s perfect, but we can avoid these rookie blunders together!
- Warm Butter/Water: Thinking you can get away with not-so-cold butter or regular tap water? Oh, honey, no. Warm ingredients make for tough, sad crust. Always use very cold butter and ice water!
- Overworking the Dough: If you knead pie dough like it owes you money, it’ll get tough. Mix just until it comes together. A few dry spots are better than overmixed.
- Not Chilling the Dough Enough: Impatience is the enemy of flaky crust. Chilling allows the gluten to relax and the butter to firm up, preventing shrinkage and making it easier to roll.
- Watery Filling: Forgetting the flour in the apple filling or slicing apples too thick can lead to a soupy pie. Thin slices + flour = perfect, gooey filling.
- Cutting Too Soon: I know it’s hard, but cutting into a hot pie is a recipe for a sloshy, runny mess. Let it cool! Seriously, resist the urge.
Alternatives & Substitutions
Feeling adventurous? Or just missing an ingredient? No stress!
- Fruit Swaps: Not an apple fan (gasp!)? You can totally use pears, peaches, or even a mix of berries. Just adjust sugar levels based on the fruit’s sweetness. For peaches, you might want to peel them first.
- Spice It Up: Don’t have all the spices? Just cinnamon works! Or throw in some ginger or cardamom for a different twist. Maybe even a tiny pinch of black pepper for a sophisticated kick.
- Crust Fat: While butter is king IMO, you can do a half-butter, half-shortening crust for extra flakiness and easier handling. Some people even use lard!
- Gluten-Free: For my GF pals, use your favorite 1:1 gluten-free flour blend. The process should be very similar.
FAQ (Frequently Asked Questions)
- Can I use store-bought pie crust? Technically, yes, you *can*. But why would you want to deny yourself the glory of homemade? Plus, the rose crust works best with a slightly more pliable, homemade dough. Do it for the ‘gram!
- My apples are browning! What do I do? Don’t panic! The lemon juice helps, but a little browning is natural. Once baked, you won’t even notice. Just keep tossing them with the lemon juice as you slice.
- How do I prevent the crust edges from burning? Smart question! You can use a pie shield (a fancy metal ring) or, if you’re like me and don’t own one, simply wrap strips of aluminum foil around the crust edges once they’ve reached your desired goldenness.
- How long does this pie last? Covered at room temperature, it’s good for 2-3 days. In the fridge, maybe up to 5 days. But honestly, it rarely lasts that long!
- Can I make the dough ahead of time? Absolutely! You can keep the dough disks in the fridge for up to 3 days, or freeze them for up to a month. Just thaw in the fridge overnight before using.
- What if my “roses” don’t look perfect? Who cares?! It’s homemade, it’s beautiful because *you* made it. Embrace the rustic charm! It’ll still taste amazing, which is the main point, right?
Final Thoughts
And there you have it! A show-stopping, apple-cinnamon dream pie with a crust that’ll make everyone wonder if you secretly went to culinary school. This isn’t just baking; it’s therapy, it’s art, it’s pure deliciousness. So go forth, bake this beauty, and prepare for endless compliments. You’ve earned it! Now go impress someone—or yourself—with your new culinary skills. You’ve totally got this.


