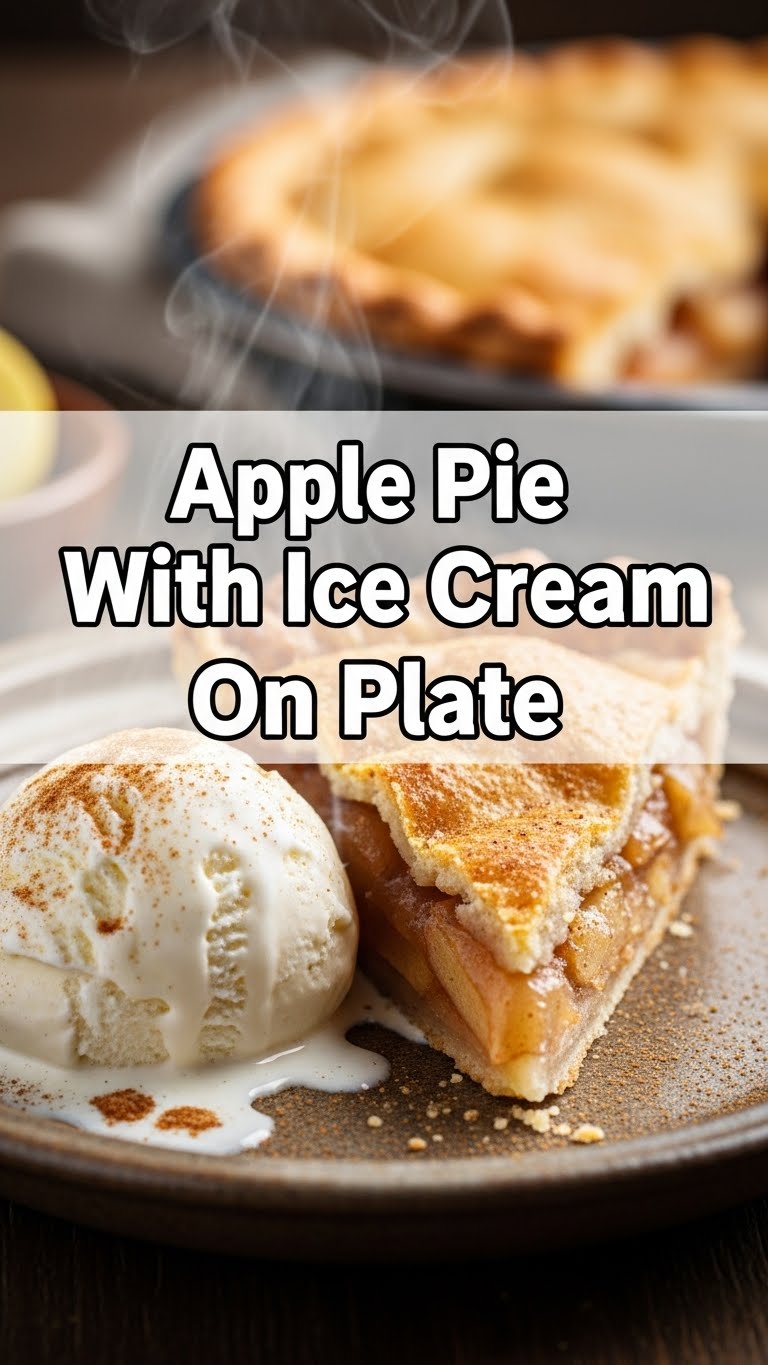
So, you’re craving something warm, comforting, and ridiculously delicious but your internal chef is currently on vacation, leaving you with zero motivation to get fancy, huh? Same, friend, *same*. Good news: I’ve got your back with a recipe so easy, you’ll wonder why you ever bought a pre-made pie from the store. Get ready for Apple Pie with Ice Cream on a Plate – because life’s too short for pie without ice cream.
Why This Recipe is Awesome
Okay, let’s be real. This isn’t just apple pie; it’s a warm hug for your soul, a trophy for your tastebuds, and **proof that you *can* bake without setting off the smoke detector**. Seriously, it’s so easy, even my cat could probably supervise (and he’s mostly interested in sleeping and batting at dust bunnies). We’re talking minimal fuss, maximum flavor, and an aroma that will make your house smell like a cozy autumn wonderland, even in the middle of summer. Plus, the whole “ice cream on a plate” thing? Pure genius. It melts into the pie, creating this creamy, dreamy sauce that’s just… *chef’s kiss*.
Ingredients You’ll Need
Gather ’round, my lazy-gourmet-in-training! Here’s what you’ll need to make magic happen:
- For the Pie Crust:
- 2 store-bought pie crusts (the kind that come rolled up in a box). Because who has time for making pastry from scratch on a Tuesday? Not me, buddy. No shame in this game!
- For the Filling:
- 6-8 medium apples (Granny Smiths are my go-to for that tart kick, but use whatever apples are giving you the side-eye at the grocery store. A mix of tart and sweet works wonders!).
- 1/2 to 3/4 cup granulated sugar (adjust to your sweet tooth’s demands. Remember, apples have natural sugar, so don’t go too wild).
- 1/4 cup all-purpose flour (our little thickening fairy dust).
- 1 teaspoon ground cinnamon (the smell alone will make you feel like a domestic goddess/god).
- 1/4 teaspoon ground nutmeg (cinnamon’s spicy sidekick).
- Pinch of salt (don’t skip it! It brings all the flavors to the party).
- 1 tablespoon lemon juice (keeps the apples from browning and adds a little zing).
- 2 tablespoons unsalted butter, cut into small cubes (because everything’s better with butter, **FYI**).
- For Serving:
- Vanilla ice cream (non-negotiable. Unless you prefer another flavor, then, you do you, boo).
Step-by-Step Instructions
- First things first: Preheat that oven to 425°F (220°C). Don’t you dare skip this. Seriously.
- Grab your apples. Peel, core, and slice ’em up. Aim for slices about 1/4 inch thick. Don’t be shy; load ’em up in a big bowl.
- In a separate, smaller bowl, whisk together the sugar, flour, cinnamon, nutmeg, and salt. This is your “flavor magic” mix.
- Pour the dry mix over the apples. Add the lemon juice. **Gently toss** everything until the apples are coated. No need to go all Hulk smash on them.
- Unroll one pie crust and carefully fit it into a 9-inch pie plate. Trim the edges if needed, but leave a little overhang for crimping later.
- Spoon the glorious apple filling into the crust. Pile it high, because apples shrink a bit when they bake. Dot the top with those small butter cubes.
- Place the second pie crust over the filling. You can do a full top crust or get fancy with a lattice (if you’re feeling ambitious, **IMO**). Trim the edges, then crimp them together with the bottom crust using your fingers or a fork for that classic pie look.
- Cut a few slits in the top crust (if you didn’t do a lattice) to let steam escape. Otherwise, your pie might get a bit puffy—just kidding, but it does help prevent a soggy top!
- Bake for 15 minutes at 425°F (220°C). Then, reduce the temperature to 375°F (190°C) and bake for another 35-45 minutes, or until the crust is golden brown and the filling is bubbly. **If the crust browns too fast, loosely cover the edges with foil.**
- Now for the hardest part: Let it cool for at least an hour before slicing. I know, I know, the wait is excruciating. But trust me, it needs to set. Serve warm with a generous scoop (or three) of vanilla ice cream right on the plate.
Common Mistakes to Avoid
We all make ’em, so let’s laugh about them now and avoid them later:
- Not preheating the oven: Rookie mistake! It messes with baking times and crust texture, and nobody wants a sad, pale crust.
- Overworking the pie crust (if making from scratch): Leads to a tough, dense crust. If using store-bought, just handle with care to avoid tears.
- Slicing the pie too soon: Patience, grasshopper! The filling needs time to set, or you’ll have an apple avalanche instead of neat slices. Resist the urge, even if the smell is intoxicating.
- Under-baking: Mushy crust, hard apples. Nobody wants that. Bake until golden and bubbly, and the apples are tender when you test them.
Alternatives & Substitutions
Feeling a little rebellious? Here are some ways to shake things up:
- Apples: Can’t find Granny Smiths? Try Honeycrisp, Braeburn, Gala, or a mix! A combo gives a nice flavor depth. Avoid super soft apples like Red Delicious; they’ll turn to mush.
- Butter: Margarine *can* work in a pinch, but for that rich, buttery flavor, butter is king. **Just sayin’.**
- Spices: Feeling adventurous? Add a dash of ground ginger, allspice, or cardamom for a little extra oomph.
- Crust: If you’re feeling *really* ambitious, make your own pie crust. But for pure ease, stick to the store-bought wonders.
- Ice Cream: Vanilla is classic, but salted caramel, cinnamon, or even pecan ice cream would be *chef’s kiss*.
FAQ (Frequently Asked Questions)
Got questions? I’ve got answers (mostly humorous, of course):
- Can I use frozen pie crusts? Absolutely! That’s what we’re recommending here for ease. Just thaw them according to package directions before you start.
- How do I know if the apples are cooked through? Gently insert a thin knife through a slit in the top crust. If it goes in easily with little resistance, you’re golden. The filling should also be bubbling visibly.
- My crust is browning too fast! Help! Don’t panic! **Loosely tent the edges with aluminum foil.** This is a common bakery trick to protect the edges while the middle cooks.
- Can I make this ahead of time? You betcha! Bake it, let it cool completely, then cover loosely and store at room temp for up to 2 days. Reheat gently in the oven before serving.
- What kind of apples are best? A mix of tart (like Granny Smith) and sweet (like Honeycrisp or Fuji) creates the most balanced flavor. It’s like a flavor party in your mouth!
Final Thoughts
See? You just whipped up an apple pie! And it smells absolutely amazing, doesn’t it? Go ahead, slice yourself a generous piece (or two, I won’t tell), add that glorious scoop of ice cream, and bask in the glory of your culinary triumph. You’ve totally earned it. Now go impress someone—or yourself—with your new culinary skills. Happy baking (and eating)!


