So, you’re craving something warm, gooey, and absolutely legendary, but the thought of wrestling with a traditional pie crust makes you want to crawl back into bed? Been there, done that, bought the T-shirt. Honey, I got your back!
Why This Recipe is Awesome
Let’s be real, pie crusts are the nemesis of many a home baker. They’re finicky, they crack, they shrink, they judge you. But guess what? Not today, Satan! We’re ditching that drama and embracing the glorious, crumbly, buttery magic of a cookie crust. This isn’t just a recipe; it’s a revolutionary act of delicious laziness!
Seriously, this Apple Pie with Cookie Crust is:
- **Stupidly simple:** No rolling pin required. Your hands are all you need.
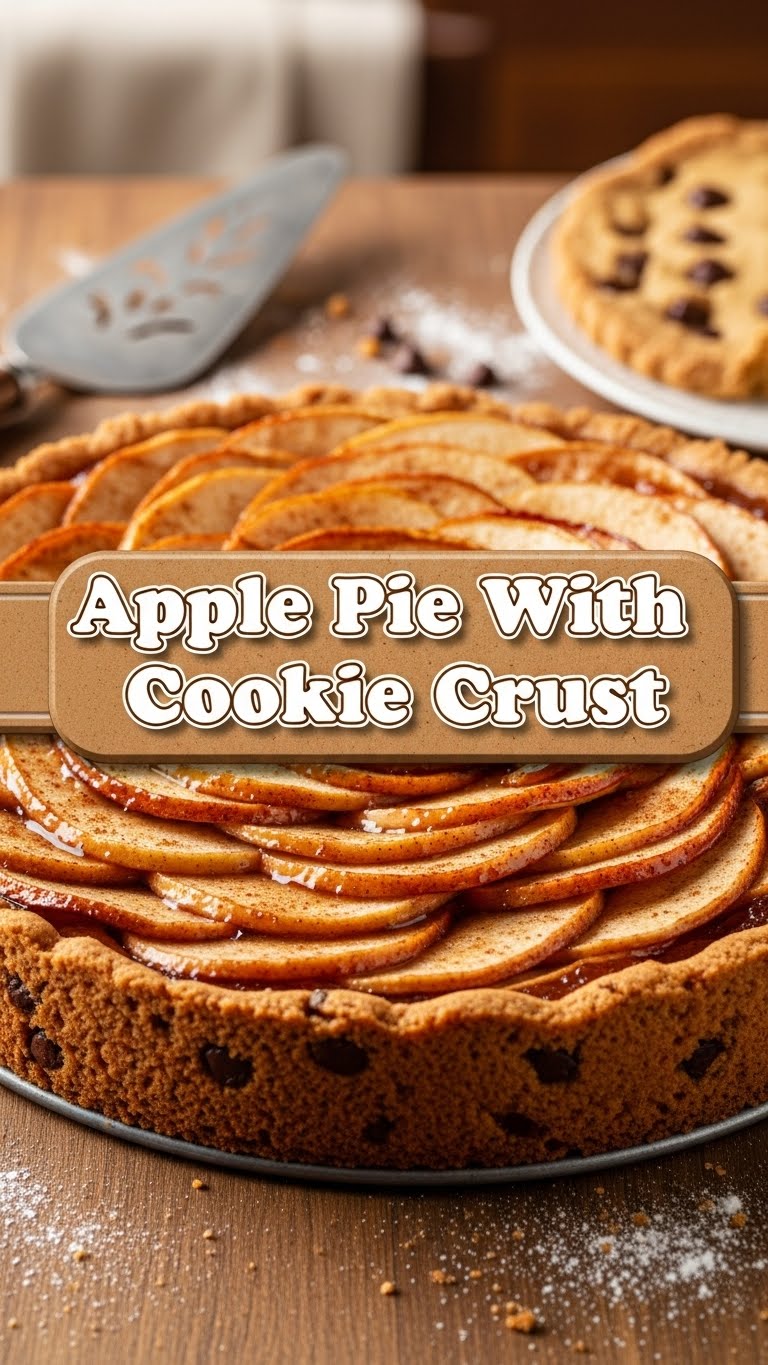
- **Ridiculously tasty:** Apples + warm spices + buttery cookie? It’s a flavor party, and everyone’s invited.
- **”OMG, you made this?!” worthy:** Impress your friends, family, or just your cat with minimal effort. They don’t need to know how easy it was. 😉
- **Pretty much idiot-proof:** Even if you usually burn toast, you’ve got this.
Ingredients You’ll Need
Gather your squad, because we’re about to make some magic!
- **For the Cookie Crust:**
- **1 ½ lbs (about 2 standard rolls) Store-Bought Sugar Cookie Dough:** Or snickerdoodle, oatmeal cookie dough… live a little!
- **1 Tablespoon Unsalted Butter, softened:** For greasing the pan, because nobody likes sticky situations.
- **For the Apple Filling:**
- **6-7 Medium Apples:** A mix is best! Think Granny Smith for tartness, Fuji or Honeycrisp for sweetness and texture. Peeled, cored, and sliced about ¼ inch thick.
- **½ cup Granulated Sugar:** Just enough sweetness.
- **¼ cup Brown Sugar (packed):** Adds that lovely caramel note.
- **2 Tablespoons All-Purpose Flour (or cornstarch):** Our thickening agent, no runny pie allowed!
- **1 Tablespoon Lemon Juice:** Brightens everything up and keeps apples from browning.
- **1 ½ Teaspoons Ground Cinnamon:** Because what’s apple pie without it?
- **½ Teaspoon Ground Nutmeg:** Adds a little extra oomph.
- **Pinch of Salt:** Don’t skip it; it brings out all the other flavors!
- **Optional, but highly recommended:**
- **1 Egg, beaten:** For an egg wash if you’re feeling fancy with a top crust.
- **1 Tablespoon Turbinado Sugar:** For a sparkly, crunchy topping.
- **Vanilla Bean Ice Cream:** For serving, obviously. It’s non-negotiable.
Step-by-Step Instructions
- **Get Prepped:** Preheat your oven to **375°F (190°C)**. Grab a 9-inch pie dish and give it a good grease with that softened butter. Don’t be shy!
- **Crust it Up!** Take one roll of your cookie dough. Press it evenly into the bottom and up the sides of your greased pie dish. Use your fingers or the back of a spoon. Aim for about ¼ inch thick. If you’re using individual cookies, just layer them, pressing to form a solid base. **Chill this crust in the fridge for 15-20 minutes** while you do the next step. This helps it keep its shape!
- **Apple Party Time:** In a large bowl, combine your sliced apples, both sugars, flour (or cornstarch), lemon juice, cinnamon, nutmeg, and salt. Toss it all gently until the apples are evenly coated. They should look happy and fragrant.
- **Fill ‘Er Up:** Pour your apple mixture into the chilled cookie crust. Pile it high, because those apples will cook down. Don’t be scared to really mound them up!
- **Top it Off (Your Way):**
- **Option A (Crumble Love):** Take the second roll of cookie dough and crumble it over the top of the apples. Easy peasy!
- **Option B (Lazy Lattice):** Roll out the second dough between two sheets of parchment paper, cut into strips, and arrange in a rustic lattice pattern over the apples. (Still easier than traditional pie dough, trust me.)
- **Option C (Full Cover):** Roll out the second dough and place it as a full top crust, cutting a few slits for steam.
If you opted for a full top or lattice, brush with the beaten egg and sprinkle with turbinado sugar for that gorgeous golden sparkle.
- **Bake Away!** Pop your pie into the preheated oven. Bake for **50-60 minutes**, or until the crust is golden brown and the apple filling is bubbly and tender when poked with a knife. If your crust starts to brown too quickly, loosely tent it with foil.
- **Patience, Grasshopper:** This is the hardest part. Let the pie cool on a wire rack for **at least 2-3 hours** before slicing. Seriously, I know it’s tempting, but this lets the filling set properly. Otherwise, you’ll have a delicious, but messy, puddle.
- **Serve and Devour:** Cut yourself a generous slice (or three) and serve warm with a scoop of that vanilla ice cream. You’ve earned this, superstar!
Common Mistakes to Avoid
We all make ’em, so let’s laugh about them now and avoid them later!
- **Not preheating the oven:** Rookie mistake! Your pie needs a hot welcome to bake properly.
- **Skipping the chill:** That quick fridge nap for your crust isn’t for show; it helps prevent shrinking and keeps it firm.
- **Overfilling the pie:** We love apples, but an overflowing pie means a burnt mess in your oven. Nobody wants that chore.
- **Not letting it cool:** I get it, the smell is intoxicating. But diving in too soon means a soupy mess instead of a beautifully sliced pie. **Patience is key here.**
- **Using just one type of apple:** Some apples turn to mush, some stay too firm. A mix gives you the best texture and flavor. Don’t be a one-apple wonder!
Alternatives & Substitutions
Get creative, you culinary rebel!
- **Cookie Dough Swap:** Not feeling sugar cookies? Try **snickerdoodle dough** for an extra cinnamon kick, or even **oatmeal cookie dough** for a chewier, more rustic crust. Chocolate chip cookie dough? Go for it! Live your best pie life.
- **Spice It Up:** Add a pinch of **allspice, ginger, or cardamom** to your apple filling for a more complex flavor profile. A splash of **bourbon or rum** with the apples? Oh la la!
- **Fruit Fusion:** Mix in some **pears, cranberries, or even a handful of berries** with your apples for a different twist.
- **Caramel Drizzle:** A generous drizzle of **caramel sauce** over the apples before baking? Yes, please! Or a swirl of dulce de leche.
- **Nutty Topping:** If you’re doing a crumble top, add some **chopped pecans or walnuts** to the crumbled cookie dough for extra crunch.
FAQ (Frequently Asked Questions)
- **”Can I use chocolate chip cookie dough for the crust?”**
Uh, yes! While it might be a bit sweeter and gooier, it’s your pie, your rules! Just be prepared for a rich, delicious, slightly unconventional crust. Embrace the chaos!
- **”Do I *have* to chill the crust before filling?”**
Technically, no, but then you risk the dough slumping down the sides of the dish during baking. A quick chill helps it hold its shape and gives you a sturdier pie. Don’t be lazy on this one, it’s worth the 15 minutes!
- **”My pie is browning too fast! What do I do?”**
Don’t panic! Just loosely tent a piece of aluminum foil over the pie. This will protect the crust from burning while the apples finish cooking. You’re a problem-solver!
- **”Can I use frozen apples?”**
You can, but they tend to release a lot more liquid and can make your pie watery. If you go this route, thaw them completely, drain *really* well, and maybe add an extra tablespoon of flour or cornstarch to the filling to absorb the excess moisture.
- **”How do I know when the pie is done?”**
The crust should be a beautiful golden brown, the filling should be bubbling enticingly, and if you gently insert a small knife through one of the vents (if you have them), the apples should feel tender, not firm. Also, it should smell amazing, which is usually a good sign!
- **”What’s the best way to store leftovers?”**
Assuming you have any leftovers (highly unlikely!), cover the pie loosely with foil or plastic wrap and store it at room temperature for up to 2 days, or in the fridge for up to 4-5 days. It’s awesome warmed up slightly too!
Final Thoughts
See? You just made a show-stopping apple pie, and you didn’t even break a sweat (well, maybe a little from the delicious anticipation). This recipe is proof that you don’t need to be a pastry chef to create something utterly incredible. Now go impress someone—or yourself—with your new culinary skills. You’ve earned it!
Happy baking, my friend!


