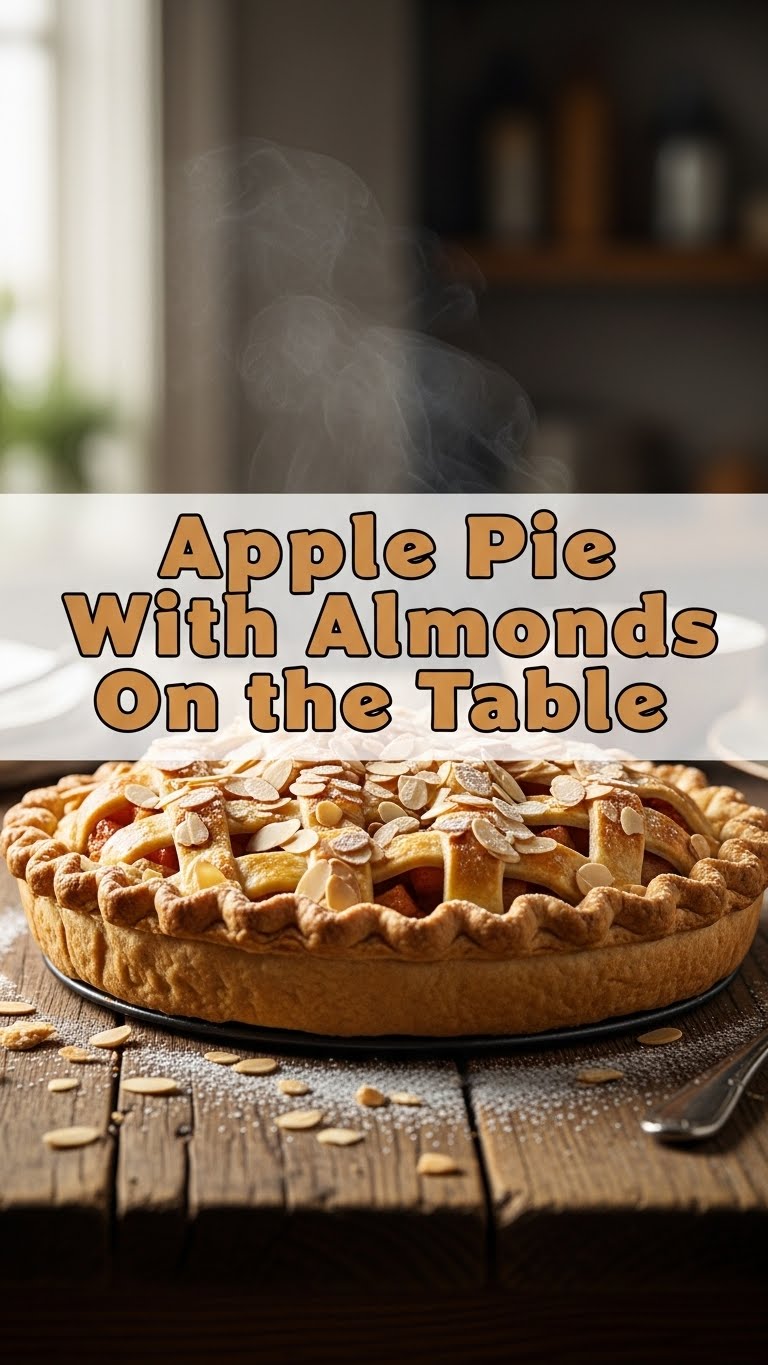
So you’re craving something warm, sweet, and comforting, but also want to feel like a domestic goddess/god without, you know, *actually* spending a whole day in the kitchen? My friend, you’ve come to the right place. We’re about to whip up an Apple Pie with Almonds that’s so good, you’ll wonder if you secretly went to pastry school while binge-watching your favorite shows. Spoiler alert: you didn’t. This recipe is just that easy!
Why This Recipe is Awesome
Let’s be real, life’s too short for complicated recipes unless you’re aiming for a Michelin star (and even then, probably not). This apple pie? It’s basically a culinary hug in a dish, but with an unexpected, sophisticated crunch from the almonds that makes everyone think you’re some kind of genius. Plus, it’s pretty much **idiot-proof**. If I can do it without setting off the smoke alarm, you totally can too. The smell alone will make your entire house feel like a cozy autumn dream, and your neighbors? Oh, they’ll be *so* jealous. You’re welcome.
Ingredients You’ll Need
No need for fancy stuff here! We’re keeping it simple and delicious. Think of these as your edible building blocks to deliciousness.
- For the Crust (the cheating but smart way):
- 2 pre-made pie crusts, refrigerated: Yeah, I said it. Save yourself the headache. Unless you *love* flour exploding everywhere, this is your BFF.
- 1 large egg: For that golden, glossy finish. A little razzle-dazzle.
- 1 tbsp milk or water: To whisk with the egg.
- 1 tbsp coarse sugar (optional): For an extra sparkly crunch on top.
- For the Filling (where the magic happens):
- 6-7 medium apples: A mix is best! Think 3 Granny Smith (for tartness) and 3-4 Fuji or Honeycrisp (for sweetness). Peeled, cored, and sliced about ¼ inch thick. Yes, peeling is annoying, but trust me.
- ½ cup granulated sugar: Sweetness, duh. Adjust to your apple preference.
- ¼ cup packed light brown sugar: Adds a lovely caramel note.
- 2 tbsp all-purpose flour or cornstarch: Our secret weapon for a perfectly thick (not runny!) filling.
- 1 tsp ground cinnamon: Because, apple pie.
- ¼ tsp ground nutmeg: Cinnamon’s best friend.
- Pinch of salt: Don’t skip this! It enhances all the flavors like whoa.
- 1 tbsp lemon juice: Stops the apples from browning and adds a little zing.
- ½ cup sliced almonds: Our star player! Adds texture and a nutty depth.
- 2 tbsp unsalted butter: Cut into small pieces. Scatter these over the filling for extra richness.
Step-by-Step Instructions
Alright, let’s get this pie in the oven so you can get back to doing… whatever it is you do when you’re not baking masterpieces.
- Get Your Oven Ready: First things first, preheat your oven to **425°F (220°C)**. This is crucial for a nice, crispy crust. Unroll one of your pie crusts and gently fit it into a 9-inch pie plate. Don’t press too hard, just make it comfy.
- Prep Those Apples: In a large bowl, combine your sliced apples, both sugars, flour (or cornstarch), cinnamon, nutmeg, salt, and lemon juice. Toss it all together gently until the apples are nicely coated. Now, fold in those beautiful **sliced almonds**.
- Fill ‘Er Up: Pour the apple mixture into your pie crust-lined plate. Try to mound it slightly in the center, as apples tend to cook down. Dot the top with those small pieces of butter you prepped. This step adds so much flavor!
- Top It Off: Unroll your second pie crust. You can either place it directly over the filling (and cut a few slits in the top for steam to escape – super important!) or get fancy with a lattice top if you’re feeling ambitious. Seal the edges by crimping them together with your fingers or a fork.
- Egg Wash Magic: In a small bowl, whisk that egg with the milk or water. Brush this mixture generously over the top crust. If you’re using coarse sugar, sprinkle it on now for extra sparkle and crunch. You can also sprinkle a few more almonds if you’re feeling extra.
- Bake It Good: Place the pie on a baking sheet (to catch any potential drips – better safe than sorry!). Bake for **15 minutes** at 425°F. Then, reduce the oven temperature to **375°F (190°C)** and continue baking for another **35-45 minutes**, or until the crust is golden brown and the filling is bubbly. If the crust edges are browning too quickly, loosely cover them with aluminum foil.
- The Hardest Part: Cool Down: This is where you test your patience, my friend. Let the pie cool on a wire rack for at least **2-3 hours** before slicing. This allows the filling to set properly, giving you nice, clean slices. I know, I know. It’s torture. But totally worth it!
Common Mistakes to Avoid
Don’t be that person! Learn from my past (many) baking blunders.
- Not Preheating the Oven: Rookie move! A hot oven gives your crust that initial crispness. **Always preheat!**
- Overfilling the Pie: Excitement is great, but don’t pack those apples in so much that they burst out the sides. Leave a little room for expansion.
- Cutting Into It Too Soon: I get it, the smell is intoxicating. But slicing a hot pie results in a runny, messy puddle. Seriously, **let it cool completely**. I’m not kidding.
- Skipping the Lemon Juice: It’s not just for preventing browning; it actually brightens the apple flavor. Don’t sideline it!
- Forgetting the Almonds: While not a *mistake* per se, you’d be missing out on the whole point of *this specific awesome recipe*. Don’t do it!
Alternatives & Substitutions
Feeling adventurous or missing an ingredient? No stress, we can totally improvise!
- Nuts for Almonds: Not an almond fan? Or ran out? **Pecans or walnuts** would be absolutely delicious here. Toast them lightly before adding for extra flavor.
- Apples, Apples Everywhere: While I recommend a mix, if you only have one type of apple, go for it! Just be aware of the sweetness level and adjust sugar if needed. Pears also work wonderfully if you’re feeling fruity and bold.
- Spice It Up: Don’t have nutmeg? A tiny pinch of ground ginger or cardamom can add a lovely warmth. Just use sparingly!
- Crust Connoisseur: If you’re a purist and want to make your own pie crust, go for it! More power to you. Just make sure it’s properly chilled.
FAQ (Frequently Asked Questions)
- Can I use only one type of apple? Technically yes, but why limit yourself? A mix gives you the best of both worlds: tartness and sweetness. Go for variety, my friend!
- Do I *really* have to peel the apples? Well, you don’t *have* to do anything, but for the best texture in your pie, yes, peeling is recommended. Nobody wants chewy apple skins in their otherwise perfect bite.
- What if I don’t have sliced almonds, can I use chopped? Sure, you can! The texture will be a bit different, but the flavor will still be there. Don’t let a lack of “sliced” stop you from almondy goodness.
- How do I know when the pie is done? Look for a gloriously golden-brown crust and a filling that’s visibly bubbling through the slits or around the edges. If you’re really hardcore, an instant-read thermometer should read around 200°F (93°C) in the center.
- Can I make this pie ahead of time? Absolutely! It’s fantastic made a day in advance. Store it loosely covered at room temperature. A quick warm-up in the oven (300°F/150°C for 15-20 minutes) will bring back that fresh-baked magic.
- My crust edges are burning, help! Don’t panic! Grab some aluminum foil and gently tent it over the edges of the pie to shield them from direct heat. Crisis averted.
- Why the lemon juice? Isn’t it just for browning? Beyond preventing those apples from turning brown (which is a plus!), it actually brightens and balances the sweetness of the apples, adding a zesty little something-something. Trust the process!
Final Thoughts
See? That wasn’t so scary, was it? You just created a masterpiece – an Apple Pie with Almonds that will make heads turn and stomachs rumble. Now go impress someone—or yourself—with your new culinary skills. You’ve earned it! Grab a slice (or two, no judgment here), maybe a scoop of vanilla ice cream, and bask in your baking glory. You’re basically a professional now, FYI. Enjoy every single bite!


