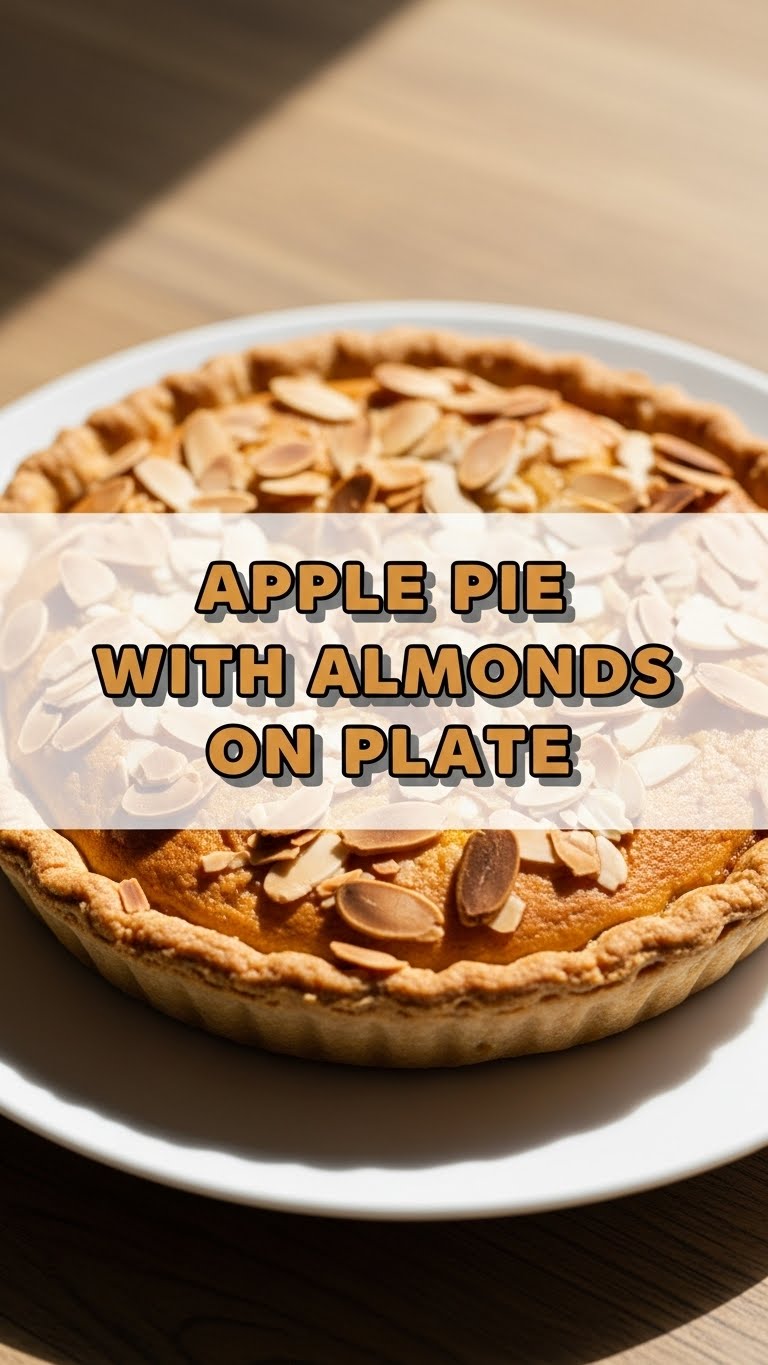
So, you’ve scrolled past enough perfectly plated gourmet dishes on your feed and thought, “Ugh, I need something comforting, delicious, and ideally, something that doesn’t require a culinary degree to make.” Right? My friend, you’ve come to the right place. We’re diving headfirst into an Apple Pie with Almonds that’s so good, you’ll wonder if you secretly became a pastry chef overnight. Spoiler: you didn’t, it’s just *that* easy.
Why This Recipe is Awesome
Okay, let’s be real. Apple pie is a classic for a reason – it’s basically a warm hug in dessert form. But we’re not just making *any* apple pie. We’re adding **almonds**, because why be basic when you can be brilliantly nutty? This recipe is awesome because it:
- **Is surprisingly unfussy:** Seriously, if I can make it without setting off the smoke alarm, you’re golden.
- **Upgrades the classic:** Those toasted almonds add a crunch and a subtle, buttery flavor that just *sings* with the apples. It’s like apple pie went to finishing school.
- **Makes your house smell like a dream:** Forget those expensive room diffusers. Just bake this pie. Your neighbors will be knocking.
- **Is a major crowd-pleaser:** Perfect for showing off, or just for devouring solo in your pajamas. No judgment here, folks.
Ingredients You’ll Need
Gather your weapons, I mean, ingredients! Most of these are probably chilling in your pantry already. (See what I did there?)
- For the Crust (aka your pie’s cozy blanket):
- 2 refrigerated pie crusts: (One for the bottom, one for the top. Don’t be a hero and make your own unless you *really* want to. We’re keeping it chill.)
- For the Apple-Almond Magic (the good stuff):
- 6-7 medium baking apples: Think Granny Smith, Honeycrisp, or Braeburn. We want firm, tart-ish apples that won’t turn to mush. Approximately 6 cups sliced.
- ½ cup granulated sugar: Sweetness, baby!
- ¼ cup packed light brown sugar: Adds a lovely caramel note.
- ¼ cup all-purpose flour: Our secret thickener. No one likes a runny pie.
- 1 teaspoon ground cinnamon: The undisputed king of pie spices.
- ¼ teaspoon ground nutmeg: Cinnamon’s best buddy.
- ⅛ teaspoon salt: Just a pinch to make everything else pop.
- 1 tablespoon lemon juice: Keeps those apples from getting sad and brown, and adds a little zing.
- 2 tablespoons unsalted butter: Cut into small pieces. For richness, duh.
- ½ cup sliced or flaked almonds: The star of our show, giving that delightful crunch.
- For that Gorgeous Golden Top:
- 1 large egg: Lightly beaten (for an egg wash that makes your pie look like it just got back from a spa day).
Step-by-Step Instructions
Alright, apron on, game face ready! Let’s bake some magic.
- Prep Your Apples: Peel, core, and slice your apples into about ¼-inch thick pieces. Resist the urge to snack on them all immediately. Toss them into a large bowl.
- Mix the Filling: In a separate smaller bowl, whisk together the granulated sugar, brown sugar, flour, cinnamon, nutmeg, and salt. Sprinkle this glorious sugar-spice mix over your apples. Add the lemon juice and toss gently until the apples are evenly coated.
- Crust Time, Part 1: Unroll one pie crust and carefully fit it into a 9-inch pie plate. Don’t stretch it too much, or it’ll shrink. Trim the edges so there’s about a ½-inch overhang.
- Load ‘Er Up: Spoon the apple mixture into the crust. Dot the top with those little pieces of butter. Now, sprinkle **half of your sliced almonds** over the apples.
- Crust Time, Part 2: Unroll the second pie crust. You can either place it whole over the filling (cut a few slits for steam to escape – crucial!) or get fancy and do a lattice top (props to you if you do!).
- Seal the Deal: Trim the top crust to match the bottom overhang. Crimp the edges together using your fingers or a fork to seal the pie. Make it pretty!
- Egg Wash & Almond Garnish: In a small bowl, whisk the egg with a splash of water (about 1 tsp) to make an egg wash. Brush this over the top crust. Now, sprinkle the **remaining ½ cup of sliced almonds** over the top. This is where the magic happens, people.
- Bake It Off: Pop your pie onto a baking sheet (to catch any drips – better safe than sorry!) and place it in a preheated oven at **425°F (220°C)** for 15 minutes. Then, reduce the temperature to **375°F (190°C)** and continue baking for another 35-45 minutes, or until the crust is golden brown and the filling is bubbly. If the crust starts browning too quickly, loosely cover the edges with foil.
- The Hardest Part (Waiting!): Once baked, let your magnificent pie cool on a wire rack for at least 2-3 hours before slicing. This allows the filling to set properly. I know, I know, it’s torture. But trust me, it’s worth it.
Common Mistakes to Avoid
Even the best of us stumble. Here’s how to sidestep some common pie pitfalls:
- Not preheating your oven: Rookie mistake! A cold oven means a soggy bottom crust. **Always preheat!**
- Overstuffing your pie: Less is not more here, but *too much* is definitely a problem. Stick to the suggested amount of apples.
- Skipping the vents: Those little slits aren’t just for decoration. They let steam escape, preventing a sad, exploded pie.
- Cutting into it too soon: Seriously, resist the urge! That filling needs to chill out (literally) and set, or you’ll have a delicious, but very messy, puddle.
- Forgetting the baking sheet: Your future self (and your oven floor) will thank you for this one. Drips happen.
Alternatives & Substitutions
Feeling adventurous? Or maybe you’re missing an ingredient? No stress, we can totally adapt!
- Apples: No Honeycrisp? No problem! Use any firm apple combo you like. Pears would also be delicious, FYI.
- Nuts: Not an almond fan (gasp!)? Pecans or walnuts would be fantastic, adding their own distinct flavor and crunch. Or skip ’em if you’re feeling simple.
- Spices: Add a pinch of ground ginger or cardamom for an extra layer of warmth. Mmm, cozy.
- Crust: If you’re feeling ambitious and want to make your own, go for it! But honestly, store-bought is perfectly fine and saves you precious Netflix time.
- Sweetener: You can adjust sugar levels slightly based on the sweetness of your apples and your personal preference. Taste a sliver of apple filling raw – if it makes your eyes water, add a bit more sugar.
FAQ (Frequently Asked Questions)
- What are the best apples for pie?
Oh, the great apple debate! A mix is usually best. I love a combo of tart (like Granny Smith) and sweet (like Honeycrisp or Braeburn) to get that perfect flavor balance. Nobody wants a one-note pie, right?
- Can I use margarine instead of butter?
Well, technically yes, but why hurt your soul like that? Butter just gives a superior flavor and texture. It’s pie, splurge a little, IMO!
- How do I prevent my pie crust from getting too dark?
Easy peasy! If your crust is getting a little too tanned for your liking, just loosely cover the edges (or the whole pie) with aluminum foil during the last part of baking. Think of it as sunscreen for your pie.
- Can I make this pie ahead of time?
You can definitely prep the apple filling the day before, just keep it covered in the fridge. Assembled, unbaked pie can also chill in the fridge for a few hours. But for peak freshness and crunch, bake it the day you plan to serve it!
- My pie filling is watery, what did I do wrong?
Likely not enough flour, or you cut into it too soon! The flour helps thicken things up, and cooling allows the starches to do their magic. Patience, grasshopper!
- Do I *have* to include the almonds?
Of course not, it’s your pie party! But trust me, they add such a delightful texture and a subtle, toasty flavor that really elevates the whole experience. Give them a try!
Final Thoughts
So there you have it, folks! An Apple Pie with Almonds that’s ready to steal hearts (and stomachs). You just whipped up something truly delicious and impressive without breaking a sweat. Now go impress someone—or yourself—with your new culinary skills. You’ve earned it! Grab a slice (or two), maybe a scoop of vanilla ice cream, and bask in your glorious achievement. You’re basically a kitchen wizard now. Don’t forget to send me a slice!


