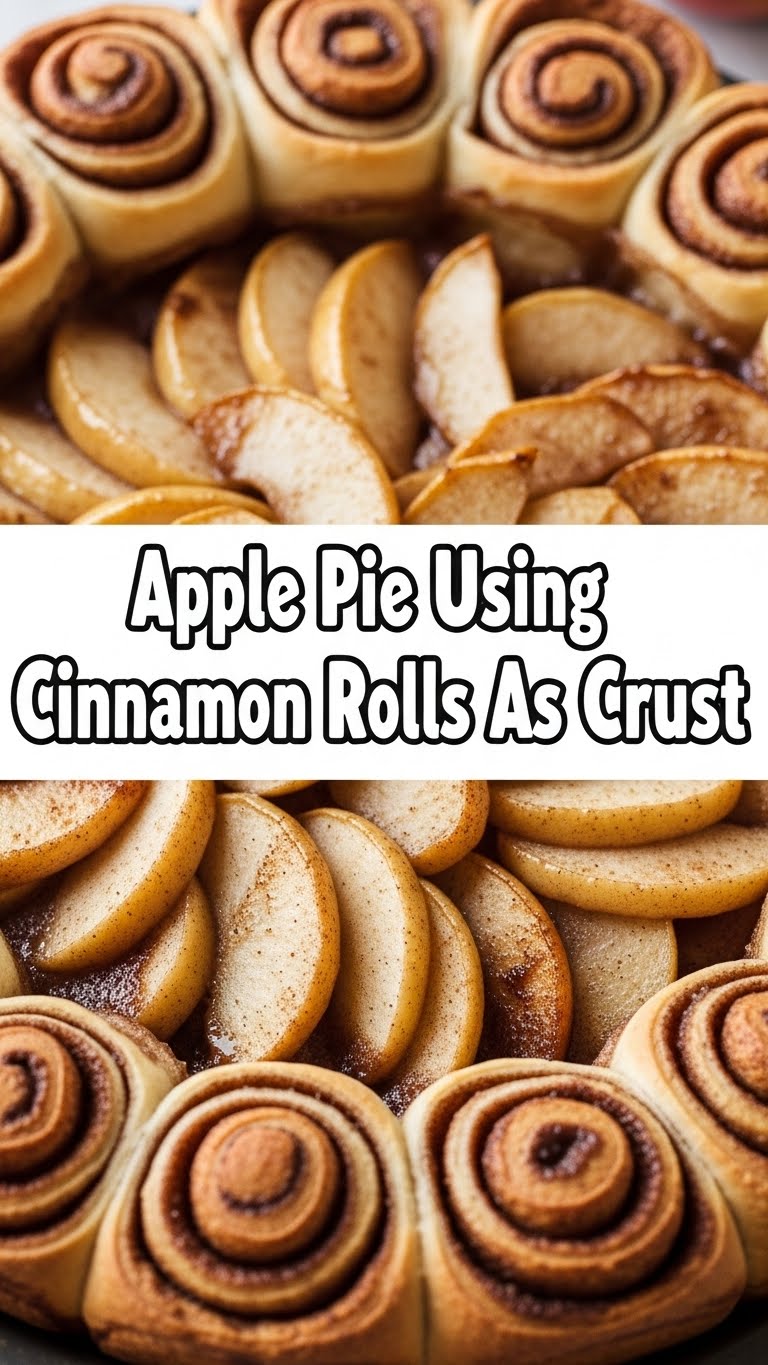
So you’re craving something tasty but too lazy to spend forever in the kitchen, huh? Same, friend, same. We’ve all been there: that deep, primal urge for a warm, gooey apple pie, but the thought of making pie crust from scratch makes you want to curl up and cry into a tub of ice cream (which, let’s be honest, is also a valid coping mechanism). But what if I told you there’s a shortcut so brilliant, so absurdly simple, that it feels like cheating? Welcome to the lazy genius’s guide to apple pie, where the crust comes pre-rolled, pre-sweetened, and pre-baked (almost!).
Why This Recipe Is Awesome
Okay, let’s be real. This isn’t just “awesome”; it’s revolutionary. Why? Because it’s **idiot-proof**. Seriously, even if your culinary skills peak at instant ramen, you can nail this. We’re talking minimal effort, maximum deliciousness. It cuts down on like, 90% of the usual pie stress. No chilling dough, no blind baking, no existential crisis about soggy bottoms. Plus, you get the double whammy of apple pie goodness *and* cinnamon roll indulgence. It’s like a warm hug from your grandma, but she used a secret weapon she found in the refrigerated aisle. Genius, IMO.
Ingredients You’ll Need
Gather ’round, my fellow kitchen rebels. Here’s your hit list of stuff, because we like to keep it simple:
- **1 (12.4 oz) can refrigerated cinnamon rolls with icing:** The MVP of this entire operation. Don’t skimp, don’t try to make your own from scratch (unless that’s your jam, in which case, why are you here looking for lazy recipes?!).
- **5-6 medium apples:** Granny Smith are the classic tart choice, but a mix with Honeycrisp or Fuji adds a nice balance. Peel ’em, core ’em, slice ’em thin. Nobody wants giant chunks of raw apple.
- **1/2 cup granulated sugar:** Or adjust to your apple’s sweetness. Taste as you go, you rebel.
- **1/4 cup packed light brown sugar:** For that extra caramel-y depth.
- **1 tablespoon all-purpose flour or cornstarch:** This is your secret weapon for a thick, luscious filling, not a watery mess.
- **1 teaspoon ground cinnamon:** Because, duh, it’s apple pie.
- **1/4 teaspoon ground nutmeg:** Cinnamon’s trusty sidekick.
- **Pinch of allspice (optional):** For a little extra “oomph!” if you’re feeling fancy.
- **1 tablespoon lemon juice:** Prevents browning and brightens up the apple flavor. Don’t skip it!
- **2 tablespoons unsalted butter, melted:** Because everything’s better with butter, duh.
Step-by-Step Instructions
- **Preheat & Prep:** First things first, get that oven nice and toasty. Preheat it to **375°F (190°C)**. Grab a 9-inch pie dish and give it a light spray with cooking oil, just to be safe.
- **Apple Party Time:** In a large bowl, combine your peeled, cored, and thinly sliced apples. Add the granulated sugar, brown sugar, flour (or cornstarch), cinnamon, nutmeg, allspice (if using), and lemon juice. Toss everything gently until the apples are nicely coated. Set aside for a few minutes; the apples will start to release some of their juices.
- **Unroll the Magic:** Open that can of cinnamon rolls! Carefully unroll each cinnamon roll into a long strip of dough. Try not to stretch them too much.
- **Crust Assembly:** Arrange the unrolled cinnamon roll strips in your pie dish. Start at the center and spiral outwards, or lay them side-by-side, overlapping slightly, until the entire bottom and sides of the dish are covered. You might need to press and pinch the seams a bit to create a solid “crust.”
- **Fill ‘Er Up:** Pour your glorious apple mixture evenly over the cinnamon roll crust in the pie dish. Drizzle the melted butter over the top of the apples.
- **Bake Away!** Pop that beauty into your preheated oven. Bake for **30-40 minutes**. Keep an eye on it – if the cinnamon roll crust starts to get too dark, you can loosely tent it with aluminum foil for the remaining baking time. The pie is done when the apples are tender when pierced with a fork, and the crust is golden brown.
- **Glaze & Serve:** Take the pie out of the oven and let it cool for about 10-15 minutes. While it’s still warm, grab that little container of icing that came with the cinnamon rolls. Drizzle it generously over the top of your pie. **Pro tip:** Microwave the icing for 5-10 seconds to make it super drippy and easy to spread. Serve warm, maybe with a scoop of vanilla ice cream or a dollop of whipped cream. You’ve earned it!
Common Mistakes to Avoid
Nobody’s perfect, but we can avoid some face-palm moments:
- **Forgetting to Preheat the Oven:** Rookie mistake! Your crust won’t cook evenly, and your apples will just sit there, judging you.
- **Not Using a Thickener:** Skipping the flour or cornstarch will result in a watery, sad pie filling. Nobody wants a soupy apple mess. **Always use a thickener!**
- **Over-Stretching the Cinnamon Rolls:** You want them to cover the dish, but don’t pull them so thin they tear. Gentleness is key here.
- **Ignoring Your Pie in the Oven:** The cinnamon roll crust can brown quickly. If you see it getting too dark, **tent it loosely with foil**. Don’t let your masterpiece burn!
- **Eating it All Before Anyone Else Gets a Piece:** Okay, maybe not a “mistake,” but definitely bad form. Unless you live alone. Then go nuts.
Alternatives & Substitutions
Feeling creative? Here are some ways to shake things up:
- **Other Fruits:** This recipe works beautifully with peaches (fresh or canned, drained), pears, or even mixed berries. Just adjust sugar levels based on the sweetness of your fruit.
- **Different Cinnamon Roll Flavors:** Some brands offer orange or sticky bun flavored rolls. Go wild! Imagine an orange-apple pie, yum.
- **Spice It Up:** Don’t have allspice or nutmeg? Just use cinnamon! Or add a pinch of ginger or cardamom for an interesting twist.
- **No Lemon Juice?** A tiny splash of apple cider vinegar (1/2 teaspoon) can do the trick for brightness, but lemon is really best.
- **Add-ins:** Throw in a handful of chopped walnuts or pecans with your apples for extra crunch. Dried cranberries or raisins also make a nice addition.
- **Extra Glaze:** If the included icing isn’t enough (it never is, right?), whip up a quick powdered sugar glaze with a little milk and vanilla extract.
FAQ (Frequently Asked Questions)
You’ve got questions, I’ve got (casual) answers!
- **Can I use margarine instead of butter?** Well, technically yes, but why hurt your soul like that? Butter just tastes better, period. It’s a treat, live a little!
- **Do I *have* to peel the apples?** You don’t *have* to do anything, really. But for a smoother, more traditional pie texture, peeling is recommended. Unpeeled apples can result in chewier bits of skin.
- **What kind of apples are best for this?** Granny Smith are my personal fave for their tartness, which balances the sweet cinnamon rolls. A mix with a sweeter apple like Honeycrisp or Fuji is also fantastic. Avoid super mealy apples.
- **My crust is getting too dark too fast! Help!** Ah, the dreaded dark crust! Grab some aluminum foil and lightly tent it over the pie for the rest of the baking time. This protects the crust while the apples finish cooking.
- **Can I make this ahead of time?** You can prep the apple filling a few hours in advance and keep it in the fridge. Assembled and baked, it’s best eaten warm the same day, but leftovers are still pretty darn good.
- **What if I don’t like the cinnamon roll icing?** No worries! You can skip it, or make your own simple glaze with powdered sugar, milk, and a tiny bit of vanilla. Or try a cream cheese frosting for extra decadence.
- **Can I freeze this pie?** You *can* freeze baked pie, wrapped well. Thaw in the fridge and reheat gently in the oven. But let’s be honest, will there even be leftovers to freeze? 😉
Final Thoughts
There you have it, folks! An apple pie that screams “I tried!” but secretly whispers “I took the easy route and it was glorious!” This recipe is proof that deliciousness doesn’t always require hours in the kitchen or a culinary degree. Sometimes, it just requires a brilliant shortcut and a can of cinnamon rolls. Now go impress someone—or yourself—with your new culinary skills. You’ve earned it!


