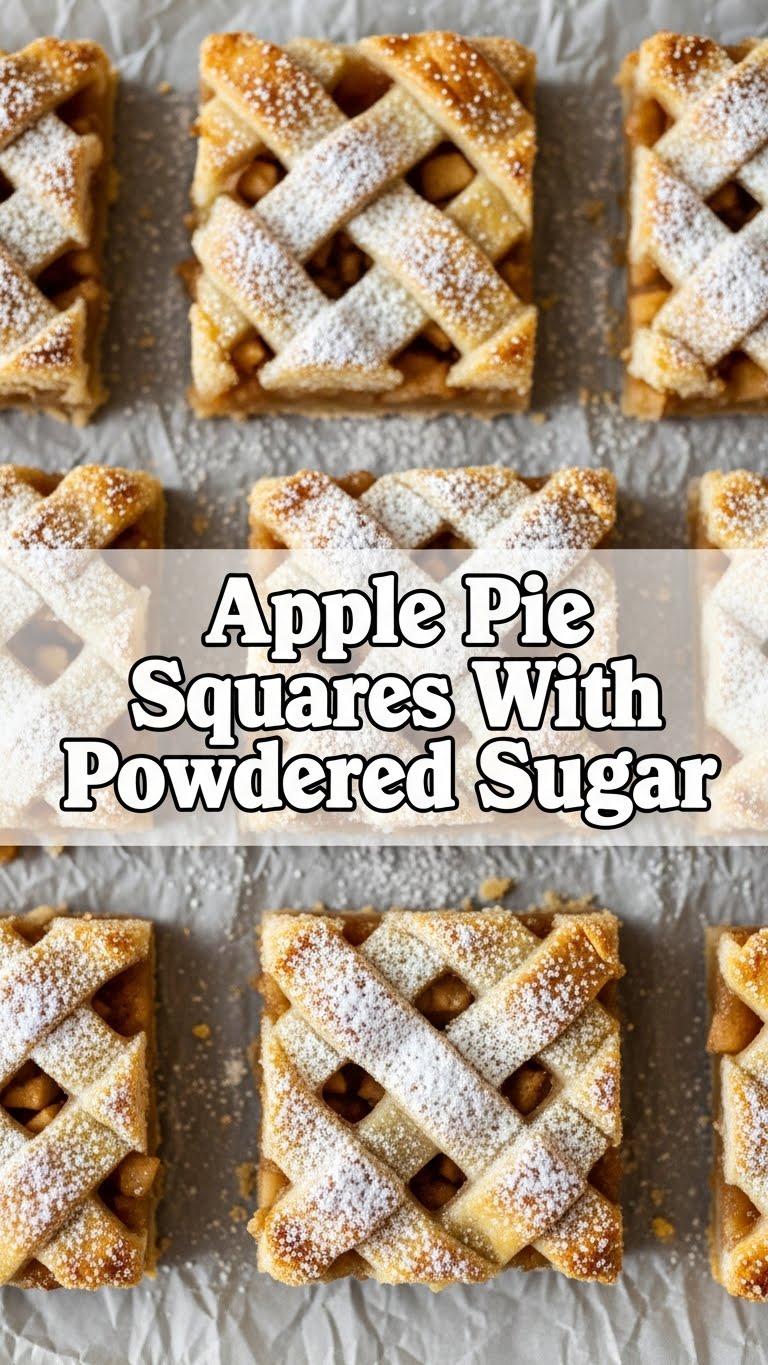
So you’re craving something warm, comforting, and seriously delicious, but the thought of spending hours wrestling with a pie crust makes you want to just order takeout? Yeah, I get it. We’ve all been there, hovering between “I want homemade goodness” and “Is the couch calling my name?” Well, my friend, have I got the perfect compromise for you: Apple Pie Squares with Powdered Sugar. It’s basically all the cozy vibes of apple pie, but in a much less fussy, much more “pop-it-in-your-mouth” square form. You’re welcome.
Why This Recipe is Awesome
Okay, let’s be real. Traditional apple pie is fantastic, but it’s also a commitment. This recipe? It’s like the cool, laid-back cousin of apple pie that still brings all the flavor to the party, but without the drama. Seriously, it’s pretty much **idiot-proof**. Even on a day when my brain was running on fumes, I managed not to mess it up. Think flaky, buttery crust hugging a sweet, spiced apple filling, all dusted with a cloud of powdered sugar. Plus, serving squares is way less awkward than trying to get a perfect slice of pie. No judgment if you eat three in a row. IMO, they’re practically bite-sized!
Ingredients You’ll Need
Get ready for some kitchen magic! Here’s your shopping list. Try not to eat all the apples before they make it into the pie.
For the Crust (aka the Golden Hug)
- 2 ½ cups all-purpose flour: The foundation of all deliciousness.
- 1 teaspoon salt: Don’t skip it; it brings out all the flavors!
- 1 cup (2 sticks) unsalted butter: **Crucially, make sure it’s COLD and cut into small cubes.** This is the secret to flaky crust, my friend.
- ½ cup ice water: Have a little extra on standby, just in case.
For the Apple Filling (aka the Star of the Show)
- 6-7 medium apples: Think a mix of Granny Smith (for tartness) and Honeycrisp or Fuji (for sweetness and texture). Peeled, cored, and sliced about ¼-inch thick.
- ½ cup granulated sugar: Sweetness level adjusted for your apples.
- ¼ cup packed light brown sugar: Adds a lovely caramel note.
- 2 tablespoons all-purpose flour or cornstarch: The trusty thickener. Don’t want a soupy mess, do we?
- 1 teaspoon ground cinnamon: The classic cozy spice.
- ¼ teaspoon ground nutmeg: Just a pinch for that extra warmth.
- 1 tablespoon lemon juice: Keeps the apples from browning and adds a little zing!
For the Topping (aka the Fancy Dust)
- ½ cup powdered sugar: For that beautiful, snowy finish.
Step-by-Step Instructions
Alright, apron on, good tunes playing, let’s do this!
- **Make the Crust:** In a large bowl, whisk together the flour and salt. Add the cold butter cubes. Using a pastry blender, your fingers, or a food processor (my lazy go-to!), cut the butter into the flour until it resembles coarse crumbs with some pea-sized pieces of butter remaining.
- **Add Water:** Gradually add the ice water, a tablespoon at a time, mixing gently until the dough just comes together. Be careful not to overmix! **Overworking the dough is a rookie mistake that leads to tough crust.**
- **Chill Out:** Divide the dough in half, flatten each into a disk, wrap in plastic, and **chill in the fridge for at least 30 minutes** (or up to 2 days). This helps the butter firm up and prevents shrinkage.
- **Prep the Apples:** While the dough is chilling, toss your sliced apples with both sugars, flour/cornstarch, cinnamon, nutmeg, and lemon juice in a big bowl. Make sure every apple slice gets some love.
- **Preheat & Roll:** Preheat your oven to 375°F (190°C). Grab one disk of dough and on a lightly floured surface, roll it out into a roughly 9×13-inch rectangle. Carefully transfer it to a 9×13-inch baking dish. Trim any excess, leaving a small overhang.
- **Fill ‘Er Up:** Pour the apple filling evenly over the bottom crust.
- **Top It Off:** Roll out the second dough disk into another 9×13-inch rectangle. You can either lay it directly over the apples (making a few slits for steam to escape) or get fancy with a lattice top (if you’re feeling ambitious and not too lazy). Crimp the edges of both crusts together to seal.
- **Bake Away:** Pop it into the preheated oven for 45-55 minutes, or until the crust is golden brown and the filling is bubbling. If the crust starts browning too quickly, you can loosely cover it with foil.
- **The Hardest Part: Wait!** Let the squares cool completely on a wire rack before cutting. **Seriously, this is important.** Cutting them hot will result in a messy, sad, structurally unsound situation.
- **Dust with Magic:** Once cooled, dust generously with powdered sugar. Now, go on, dig in!
Common Mistakes to Avoid
We’ve all been there. Here’s how not to sabotage your deliciousness:
- **Warm Butter Syndrome:** Using butter that isn’t super cold. Your crust will be greasy, not flaky. **Don’t do it.**
- **Overworking the Dough:** The more you handle the dough, the tougher your crust will be. Mix just until combined, then stop.
- **Forgetting the Thickener:** Skipping the flour or cornstarch in the apple filling means you’ll have a watery mess instead of a lovely, gooey filling. Nobody wants a soup-pie.
- **Cutting While Hot:** I know it’s tempting, but this is a one-way ticket to a crumbled, unphotogenic mess. Let it cool. Trust me on this one.
- **Thinking you don’t need to preheat the oven:** Rookie mistake. Always preheat!
Alternatives & Substitutions
Feeling rebellious? Here are some ways to shake things up:
- **Other Fruits:** Not an apple fan (gasp!) or just want variety? Try peaches, cherries, or a mix of berries! Just adjust sugar based on fruit sweetness.
- **Spice It Up:** Add a pinch of ground ginger, allspice, or cardamom to the apple filling for a different flavor profile.
- Crust Swaps: Not into making pie crust from scratch? No judgment! Grab some store-bought pie dough or puff pastry. Just follow the package instructions for baking.
- **Topping Twist:** Instead of just powdered sugar, drizzle with a simple caramel sauce or a basic vanilla glaze. Or, for a truly decadent experience, serve warm with a scoop of vanilla ice cream. FYI, this is my personal favorite.
FAQ (Frequently Asked Questions)
- **Can I use margarine instead of butter?** Well, technically yes, but why hurt your soul like that? Butter just tastes better and gives a superior texture. For truly flaky crust, **butter is your best friend.**
- **What are the best apples for this recipe?** A mix is key! Granny Smith for tartness and structure, combined with sweeter apples like Honeycrisp, Fuji, or Braeburn for balanced flavor and texture. Avoid overly soft apples, they’ll turn to mush.
- **Can I make the dough ahead of time?** Absolutely! You can keep the dough disks wrapped in the fridge for up to 2 days, or even freeze them for up to a month. Just thaw in the fridge before rolling.
- **How do I store the apple pie squares?** Keep them covered at room temperature for up to 2 days, or in the fridge for up to 4-5 days. They’re also totally freezable for longer storage!
- **Why do I need to chill the dough?** Chilling the dough solidifies the butter, which creates steam during baking, giving you that lovely, flaky crust. It also helps relax the gluten, making the dough easier to roll and preventing it from shrinking. It’s a crucial step!
- **My crust is getting too dark before the filling is bubbly. Help!** Easy fix! Just loosely tent a piece of aluminum foil over the pie to protect the crust from over-browning while the filling finishes cooking.
Final Thoughts
So there you have it! Delicious, comforting Apple Pie Squares that taste like you spent all day baking, but really, you didn’t. This recipe is your new secret weapon for impressing friends, winning over family, or simply treating yourself to something truly special (and easy). Now go impress someone—or yourself—with your new culinary skills. You’ve earned it!


