Hey there, fellow food adventurer! Had one of those days where your brain just whispers ‘pie’ but your body screams ‘effort’? Yeah, me too. But guess what? We’re about to make magic happen with minimal fuss and maximum flavor, all thanks to some incredible apples and our sweet, sweet friend: maple syrup. Get ready for an apple pie filling that’s so good, you might just skip the pie part and eat it with a spoon. No judgment here!
Why This Recipe is Awesome
Okay, so this isn’t just any apple pie filling. This is the ‘OMG, did you make this?!’ apple pie filling. It’s ridiculously easy, comes together faster than your latest streaming binge, and swaps out some of that usual sugar for glorious, golden maple syrup. Plus, it’s pretty much fail-proof – even if your cooking skills are usually limited to microwaving popcorn. Trust me, if I can do it, you can too. No culinary degree required, just a love for all things apple and maple. It’s practically idiot-proof!
Ingredients You’ll Need
Gather your troops! Here’s what we’re wrangling for this deliciousness:
- Apples (about 6-8 medium): Granny Smith are my faves for that tart zing and firm texture, but really, any firm baking apple works (Honeycrisp, Braeburn, Fuji – pick your poison!). Don’t be shy, go for a mix if you’re feeling fancy!
- Butter (4 tablespoons): Unsalted, because we’re controlling the salt here. And because butter makes everything better, duh.
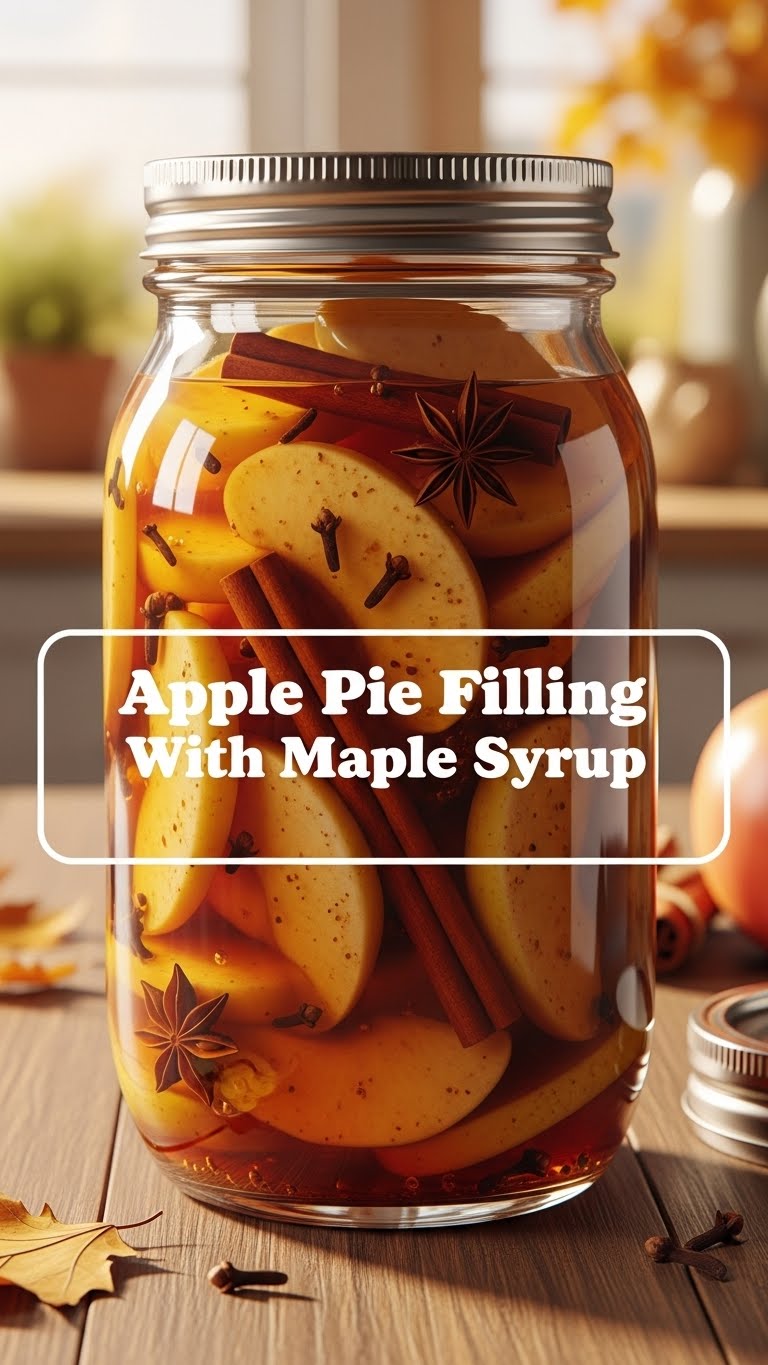
- Maple Syrup (1/2 cup, or more if you’re feeling wild): **Only the real stuff, folks!** None of that corn syrup impostor nonsense. Your taste buds deserve better. Grade A Dark, Robust Taste is usually my go-to for depth.
- Cornstarch (2 tablespoons): Our secret weapon for that perfect, gooey, not-too-runny filling. Don’t skip it unless you like soupy pie (and trust me, you don’t).
- Lemon Juice (1 tablespoon): Freshly squeezed, please! It brightens everything up and keeps the apples from browning too quickly. Think of it as a little flavor cheerleader.
- Cinnamon (1 teaspoon): Because apples and cinnamon are basically soulmates. It just works.
- Nutmeg (1/4 teaspoon): Just a pinch for that warm, cozy vibe. Freshly grated if you’re feeling extra.
- Salt (1/4 teaspoon): Yeah, salt in a sweet dish. It actually makes the sweet taste *sweeter*. Mind. Blown.
Step-by-Step Instructions
Let’s get cooking! This is where the magic happens, and it’s super simple:
- Prep those Apples: First things first, peel, core, and slice your apples. Aim for slices about 1/4 inch thick. Not too thin, or they’ll turn to mush. Not too thick, or they’ll stay crunchy. Find that sweet spot!
- Melt the Butter: Grab a large saucepan or skillet (one with high sides is best for less splutter). Melt your butter over medium heat. Let it get all bubbly and inviting.
- Sauté the Apples: Toss those sliced apples into the pan. Stir ’em around until they start to soften a bit, maybe 5-7 minutes. We’re looking for tender-crisp, not applesauce. They should still hold their shape.
- Maple Magic Time: Pour in that glorious maple syrup. Add the lemon juice, cinnamon, nutmeg, and salt. Give everything a good stir and let it simmer for another 5 minutes, allowing those flavors to meld. **Don’t let it boil too vigorously!** A gentle simmer is perfect.
- Thicken it Up: In a small bowl, whisk the cornstarch with 2 tablespoons of cold water until smooth (this is called a slurry, fancy, right?). Pour this slurry into your simmering apple mixture, stirring constantly. Watch the magic happen as it thickens right before your eyes!
- Cool Down: Remove from heat. Let the filling cool down completely before you even *think* about putting it into a pie crust. Warm filling makes for soggy bottoms, and nobody wants that. **Seriously, patience is key here.** Go do something else for an hour or two.
Common Mistakes to Avoid
Because nobody’s perfect, but we can avoid the obvious pitfalls, right?
- Using “pancake syrup”: No, just no. That’s a different beast entirely, full of high-fructose corn syrup and artificial flavors. **Real maple syrup or bust, people.** Your taste buds will thank you.
- Overcooking the apples: You want tender, not mush. Keep an eye on them; nobody wants apple sauce pie. You’re aiming for that delightful bite.
- Skipping the lemon juice: It’s not just for preventing browning; it actually brightens the flavor and balances the sweetness. It’s a small step, but it makes a big difference.
- Not letting it cool: As mentioned, warm filling + cold pie crust = a sad, soggy mess. Resist the urge to rush it! A completely cooled filling is your friend.
- Eyeballing the cornstarch: This isn’t a “guesstimate” situation. Too little, and it’s watery; too much, and it’s gummy. Measure it out!
Alternatives & Substitutions
Feeling adventurous? Or just missing an ingredient? Here are some simple tweaks:
- Apples: Can’t find Granny Smiths? No stress! Honeycrisp, Gala, Fuji, or even a mix of apples work wonderfully. Just make sure they’re firm baking apples. Avoid Red Delicious; they just don’t hold up.
- Spices: Feel free to get wild! A pinch of allspice or ground ginger can add an extra layer of warmth. Or if you’re feeling lazy, a “pumpkin pie spice” blend is usually a good substitute for cinnamon/nutmeg.
- Thickener: If cornstarch isn’t your jam, you can use all-purpose flour instead (you might need a bit more, like 3-4 tbsp, and whisk it into the butter before adding apples for a roux). Or, if you’re gluten-free, arrowroot powder works too!
- Butter: Vegan? Use a good quality plant-based butter alternative. It’ll still taste amazing, promise!
- Maple Syrup: While it’s the star here, if you’re in a pinch, you can use brown sugar, but it won’t have that signature maple flavor. FYI, the maple is what makes it truly special!
FAQ (Frequently Asked Questions)
Got questions? I’ve got (casual) answers!
- Q: Can I make this ahead of time? Absolutely! This filling is a rockstar make-ahead ingredient. Store it in an airtight container in the fridge for up to 3-4 days. It actually tastes even better the next day, IMO.
- Q: What if my filling is too thin? Did you eyeball the cornstarch, huh? No worries! You can gently reheat it and add a tiny bit more cornstarch slurry (1 tsp cornstarch mixed with 1 tsp cold water) until it thickens up.
- Q: My apples are too mushy! What did I do wrong? Probably overcooked them or used a softer apple variety. Next time, aim for a firm apple and keep an eye on the cooking time – **tender-crisp is the goal!**
- Q: Can I freeze this filling? You betcha! Once completely cooled, spoon it into freezer-safe bags or containers. It’ll last for a couple of months. Thaw in the fridge overnight before using.
- Q: Is this only for pie? Gosh no! This filling is amazing on ice cream, stirred into oatmeal, piled on pancakes, or even just eaten with a spoon straight from the bowl. Don’t judge, we’ve all been there.
- Q: Real maple syrup is pricey, is it worth it? **1000% YES.** It’s the whole point of this recipe, friend! The depth of flavor is unmatched, and it’s worth every penny. Treat yo’ self!
Final Thoughts
And there you have it, folks! Your new go-to apple pie filling, ready to make any day a little bit sweeter and a whole lot cozier. Seriously, you just made something delicious from scratch. Give yourself a pat on the back, maybe a little chef’s kiss. Now go forth and conquer those pie cravings, or just enjoy this amazingness however you please. You’ve earned it!


