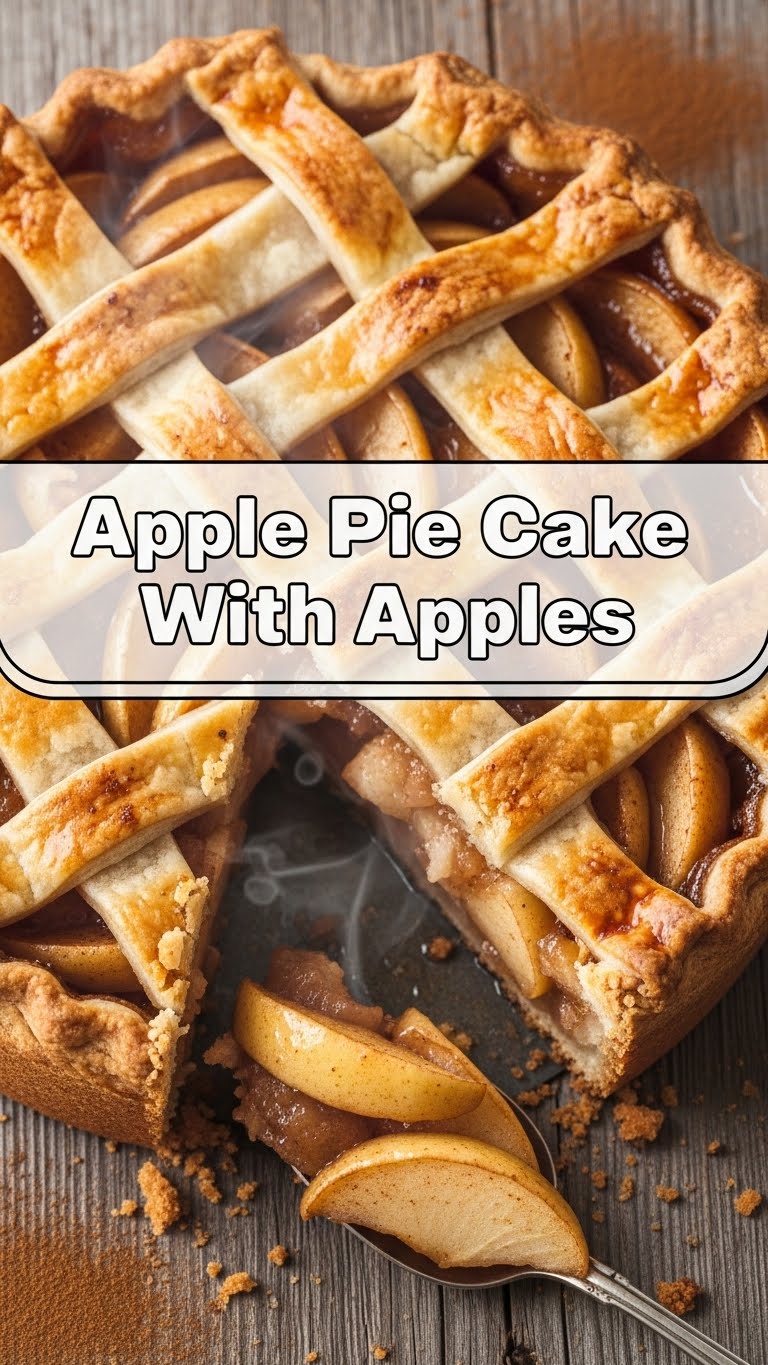
So, you’re craving that warm, cozy hug of an apple pie, but the thought of wrestling with pie crust from scratch makes you want to just order takeout, huh? Yeah, me too. Enter the hero of our story: the Apple Pie Cake! It’s basically a cake that had a torrid, beautiful affair with an apple pie, and this glorious edible baby is the result. All the apple-cinnamon-y goodness, none of the pie-crandrum. Let’s get baking!
Why This Recipe is Awesome
Because it’s the culinary equivalent of wearing sweatpants to a fancy dinner party – comfortable, no fuss, but still totally acceptable and surprisingly chic. This isn’t just a cake; it’s a statement. A statement that says, “I wanted pie, but I also wanted cake, and I refuse to choose!” It’s incredibly forgiving, meaning even if your baking skills are usually reserved for burning toast, you’ll probably nail this. Plus, it fills your kitchen with the most ridiculously amazing aroma, making everyone think you’re some kind of domestic goddess/god. You’re welcome.
Ingredients You’ll Need
- All-Purpose Flour: 1 ½ cups. The backbone of our cakey dreams.
- Granulated Sugar: 1 cup for the batter, plus 2 tablespoons for sprinkling. Because sugar makes everything better, obviously.
- Light Brown Sugar: ½ cup, packed. For that caramelly, deep flavor. Don’t skip it!
- Baking Powder: 1 ½ teaspoons. Our cake’s personal gym trainer, making it rise.
- Salt: ½ teaspoon. Just a pinch to make all those sweet flavors sing.
- Ground Cinnamon: 1 teaspoon for the batter, plus ½ teaspoon for the topping. It’s not apple pie without cinnamon, people!
- Unsalted Butter: ½ cup (1 stick), melted and cooled slightly. The magical fat that makes everything tender and delicious.
- Large Eggs: 2, room temperature. They bind our little cake family together.
- Vanilla Extract: 1 teaspoon. Because vanilla makes literally everything taste more like… vanilla. And goodness.
- Milk: ½ cup (any kind, but whole milk makes it extra luscious). For moisture and tenderness.
- Apples: 3 medium-sized (like Granny Smith, Honeycrisp, or Fuji), peeled, cored, and sliced about ¼ inch thick. The stars of the show!
Step-by-Step Instructions
- Preheat & Prep: First things first, turn your oven to 350°F (175°C). Then, grab an 8×8 inch baking pan (or a 9-inch round one works too!) and give it a good spray with non-stick spray or grease it with butter. Don’t forget, we want this cake to come out clean!
- Dry Mix Fun: In a large bowl, whisk together your flour, granulated sugar, brown sugar, baking powder, salt, and 1 teaspoon of cinnamon. Make sure there are no lumpy bits!
- Wet Mix Magic: In a separate, medium bowl, whisk together your melted butter, eggs, and vanilla extract until they’re nice and combined.
- Combine ‘Em: Pour the wet ingredients into the dry ingredients. Add the milk and mix with a spatula until *just* combined. Do not overmix! A few lumps are totally fine. Overmixing leads to tough cake, and nobody wants that.
- Apple Time: Gently fold in about two-thirds of your sliced apples into the batter. Save the rest for topping!
- Pan It Up: Pour your beautiful batter into the prepared baking pan. Arrange the remaining apple slices artfully over the top. Try to make it look pretty, you culinary artist, you!
- Sprinkle Sprinkle: In a small bowl, mix the remaining 2 tablespoons of granulated sugar with the remaining ½ teaspoon of cinnamon. Sprinkle this delicious combo evenly over the apples in the pan. This creates a lovely, crunchy, spiced topping.
- Bake Away: Pop that pan into your preheated oven and bake for about 45-55 minutes. You’ll know it’s done when a toothpick inserted into the center comes out clean. If the top starts browning too fast, you can loosely tent it with foil.
- Cool Down: Let your masterpiece cool in the pan for at least 15 minutes before attempting to slice it. Then, transfer it to a wire rack to cool completely. Or, if you’re like me, eat it warm with a scoop of vanilla ice cream. YOLO.
Common Mistakes to Avoid
- Forgetting to Preheat the Oven: Rookie mistake! Your cake needs a hot oven to rise properly. Don’t be that person.
- Overmixing the Batter: I said it once, I’ll say it again: overmixing develops gluten, making your cake tough. Mix until just combined, no more. Embrace the lumps!
- Not Peeling Your Apples: While some recipes allow for it, for a cake this tender, peel those apples. Nobody wants chewy apple skins in their soft cake.
- Cutting Apples Too Thick/Thin: Too thick, and they won’t soften enough. Too thin, and they’ll disintegrate. Aim for that ¼ inch sweet spot.
- Opening the Oven Door Too Early: Patience, grasshopper! Opening the door before the cake is mostly set can cause it to sink. Resist the urge to peek for at least 30-35 minutes.
Alternatives & Substitutions
Feeling a little rebellious? I like your style! This recipe is super flexible:
- Other Fruits: Not an apple fan (gasp!) or just out of them? Pears, peaches (fresh or canned, drained well), or even berries (reduce liquid if they’re super juicy) could work.
- Spices: Add a pinch of nutmeg, allspice, or cardamom to the cinnamon mix for an extra layer of warmth. Fancy!
- Dairy-Free: Swap regular milk for almond, soy, or oat milk. Use a plant-based butter alternative. Easy peasy.
- Gluten-Free: Use a 1:1 gluten-free baking flour blend. Just make sure it contains xanthan gum.
- Nuts: Want some crunch? Fold in ½ cup of chopped walnuts or pecans with the apples. Divine!
FAQ (Frequently Asked Questions)
Can I use frozen apples?
Technically, yes, but fresh is always best! If you use frozen, make sure to thaw them completely and blot them super dry with paper towels. Otherwise, you’ll end up with a watery cake. And no one wants a soggy bottom, right?
What’s the best type of apple for this cake?
I love a mix! Granny Smiths give you a nice tartness, while Honeycrisp or Fuji add sweetness and a good texture. A combination keeps things interesting. Don’t use super soft apples like Red Delicious; they just turn to mush.
My cake top is browning too fast, help!
Don’t panic! Loosely tent a piece of aluminum foil over the top of the cake. This will protect it from getting too dark while the inside finishes baking. Problem solved!
How should I store this amazing creation?
Keep it covered at room temperature for up to 2-3 days. If it lasts that long, that is. After that, pop it in the fridge for another day or two. It’s usually devoured long before it even thinks about going bad, IMO.
Can I make this ahead of time?
Absolutely! This cake actually tastes even better the next day once all those flavors have had a chance to mingle and deepen. Perfect for a make-ahead dessert!
Can I use margarine instead of butter?
Well, technically yes, but why hurt your soul like that? Butter just tastes better, plain and simple. It adds flavor and richness that margarine just can’t quite replicate. Treat yo’ self!
Final Thoughts
So there you have it, folks! Your new go-to recipe for when you want to feel fancy without actually doing much work. This Apple Pie Cake is a crowd-pleaser, a comfort-giver, and a total game-changer. It’s proof that sometimes, the best things in life are a glorious mashup of two other glorious things. Now go impress someone—or yourself—with your new culinary skills. You’ve earned it!


