So you’re staring into the abyss of your fridge, contemplating ordering takeout AGAIN, but a tiny voice (probably your inner child, or maybe just a growling stomach) is whispering ‘pie’? You’ve come to the right place, friend. We’re making apple pie, the easy-peasy, impressive-looking, ‘I-swear-I-didn’t-slave-all-day’ kind. Grab a cuppa (or something stronger, no judgment here) and let’s get baking!
Why This Recipe is Awesome
Because life’s too short for complicated recipes that require a culinary degree and a personal sous chef. This one? It’s basically a hug in a dish, requires minimal fuss, and tastes like you actually know what you’re doing. **Seriously, even I, the queen of ‘oops, burnt it,’ managed this one without setting off the smoke detector.** It’s perfect for when you want to impress without the stress, or just want to devour something warm and comforting while binging your favorite show. Plus, the smell alone will make your house smell like a cozy autumn dream, even if it’s 90 degrees outside.
Ingredients You’ll Need
Gather your troops! Here’s what you’ll need to assemble your pie masterpiece:
- **Apples (6-8 medium, firm, slightly tart)**: Think Granny Smith, Honeycrisp, or a mix! They’re the real MVPs here, and a mix of sweet and tart gives the best flavor.
- **Pre-made Pie Crusts (2 sheets)**: Yep, the store-bought kind. We’re here for good times, not a flour explosion in the kitchen. No judgment, only deliciousness.
- **Granulated Sugar (1/2 cup)**: Sweetness without being cloying.
- **Brown Sugar (1/4 cup, packed)**: Adds that lovely caramelly depth.
- **All-Purpose Flour (2 tbsp)**: Our secret weapon to thicken that juicy filling. No one likes a watery pie, right?
- **Cinnamon (1 tsp)**: Because is it even apple pie without it? Essential for that warm, cozy vibe.
- **Nutmeg (1/4 tsp)**: Just a whisper, for extra warmth and spice complexity.
- **Lemon Juice (1 tbsp)**: Don’t skip this! It brightens everything up and keeps apples from browning too fast.
- **Unsalted Butter (2 tbsp, cut into small pieces)**: Flavor bombs! Dots of butter melt into the filling, creating pockets of richness.
- **Egg (1, beaten)**: For that gorgeous, golden crust wash. It’s like a little tanning session for your pie.
- **Sugar (1 tbsp, for sprinkling)**: Because sparkle makes everything better, and adds a nice little crunch to the crust.
Step-by-Step Instructions
Alright, apron on (optional, but highly encouraged for dramatic effect), let’s do this!
- **Preheat & Prep:** First things first, get that oven to 425°F (220°C). Grab your trusty 9-inch pie dish and set it aside.
- **Apple Party:** Peel, core, and slice your apples into roughly 1/4-inch thick pieces. Toss them into a large bowl.
- **Mix Master:** Add the granulated sugar, brown sugar, flour, cinnamon, nutmeg, and lemon juice to the apples. Give it a good stir until every apple slice is coated in that sweet, spicy goodness.
- **Crust Time!** Carefully unroll one pie crust and gently fit it into your pie dish. Don’t worry if it’s not perfect; rustic is in!
- **Fill ‘er Up:** Pour your apple mixture into the crust-lined dish, mounding it slightly in the center. Dot the top of the apples with those small pieces of butter.
- **Top It Off:** Unroll the second pie crust and place it over the filling. Trim the edges, leaving about a 1/2-inch overhang. Pinch the top and bottom crusts together to seal, then crimp them decoratively (or just press with a fork, we’re not judging!).
- **Ventilation is Key:** Cut a few slits in the top crust. This is super important so steam can escape. Otherwise, you might have a pie-explosion situation, and no one wants that kind of drama.
- **Golden Glow:** In a small bowl, whisk that egg. Brush the egg wash evenly over the top crust, then sprinkle with the remaining tablespoon of sugar. Hello, beautiful!
- **Bake Away:** Pop your pie into the preheated oven. Bake for 15 minutes at 425°F (220°C). Then, reduce the oven temperature to 375°F (190°C) and continue baking for another 35-45 minutes, or until the crust is golden brown and the filling is bubbling through the vents. **If the crust starts getting too dark, cover the edges loosely with foil.**
- **Cool Down:** This is the hardest part, I swear. Let the pie cool on a wire rack for at least 2-3 hours before slicing and serving. **Patience, young grasshopper!** This allows the filling to set properly.
Common Mistakes to Avoid
We’ve all been there. Learn from my (and countless others’) pie-related blunders:
- **Skipping the Preheat Party:** Your oven needs to be hot to trot! Cold oven = soggy crust. Don’t do it. Rookie mistake.
- **Overstuffing the Pie:** We love apples, but pies need space to breathe (and bubble). Too much filling equals spillover volcano situation. Not pretty, and a pain to clean.
- **Forgetting to Vent:** Steam needs an escape route! Cut some slits in that top crust, or risk an exploded pie. Drama, but not the delicious kind.
- **Cutting into it too soon:** I know, the smell is intoxicating, and the temptation is real. But that filling needs to set, otherwise, you’ll have a lovely, soupy mess that just slides right off the plate. **Resist the urge for at least 2-3 hours!** You’ll thank yourself later.
Alternatives & Substitutions
Feeling a little rebellious, or just missing an ingredient? No worries, we’ve got options!
- **Apple Varieties:** Got different apples hanging around? Go for it! A mix of different apples (like Fuji, Gala, or Golden Delicious) often gives the best flavor profile, IMO. Just make sure they’re firm baking apples.
- **Crust:** Feeling ambitious? Make your own homemade pie crust. But seriously, store-bought is a lifesaver, and there’s no shame in taking a shortcut to deliciousness.
- **Spices:** Not a nutmeg fan? Skip it! Want to spice things up? Add a pinch of ginger, cardamom, or even a tiny bit of allspice if you’re feeling wild.
- **Sweetener Swap:** You could use maple syrup or honey instead of some of the sugar for a different flavor, but be mindful of the liquid content. You might need to add a tiny bit more flour if things look too wet.
FAQ (Frequently Asked Questions)
Got questions? I’ve got (casual) answers!
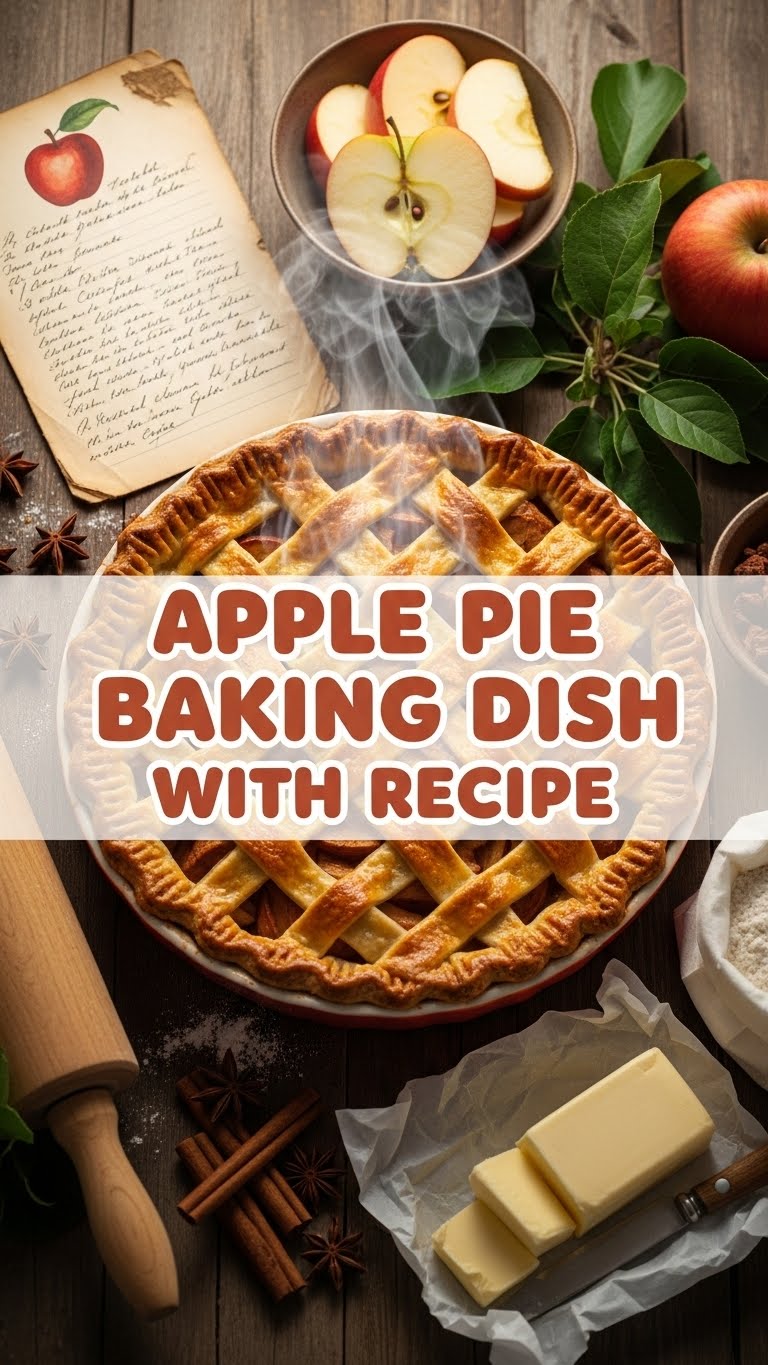
**Can I use any baking dish?** Yep, a standard 9-inch pie dish is perfect. Or, honestly, any oven-safe dish that fits your crusts! A square dish works for a rustic slab pie look. Just adjust baking time if it’s a very shallow or deep dish.
**Why lemon juice? Does it really matter?** Oh, it matters! It keeps your apples from turning brown (nobody wants grey apples!) and adds a little bright zing that cuts through the sweetness, balancing the flavors beautifully. Trust me on this one.
**How do I know when it’s done?** Look for a beautiful golden-brown crust and bubbling filling peeking through the vents. If you’re fancy, a thin knife inserted into a vent should meet little resistance from the apples. **When in doubt, err on the side of slightly more baked than less!**
**Can I make this ahead of time?** You can prep the apple filling the night before and store it in an airtight container in the fridge. Assemble and bake the next day for maximum freshness. Or, bake it fully and reheat gently later, though it’s best fresh.
**What about storing leftovers?** Covered loosely with plastic wrap or foil, at room temp for a day, or in the fridge for up to 3-4 days. It probably won’t last that long though, FYI, because it’s too delicious!
**I don’t have fresh apples, can I use canned?** Hmm, I’d say fresh is best for this one, as canned apples tend to be much softer and often pre-sweetened. If you’re in a pinch, make sure to drain them *really* well and adjust the sugar down significantly. The texture might be a bit mushier, though!
**What if my crust is burning too fast?** Easy fix! Just grab some aluminum foil and gently tent it over the edges of the pie (or the whole pie if needed) for the last part of the baking time. It’ll protect your crust from getting too dark.
Final Thoughts
And just like that, you’re an apple pie guru! See? Told ya it wasn’t rocket science. This delicious, warm hug of a dessert is waiting to be devoured. Now go impress someone—or yourself—with your new culinary skills. You’ve earned it! Maybe with a scoop of vanilla ice cream? Or a dollop of whipped cream? Just sayin’. Happy baking, my friend!


