So, you’ve got that dessert craving hitting hard, but the thought of spending all day in the kitchen makes you want to just order takeout? Been there, my friend, been there. Good news! We’re about to make something so ridiculously easy and delicious, your future self will thank your past self (that’s you, right now!).
Why This Recipe is Awesome
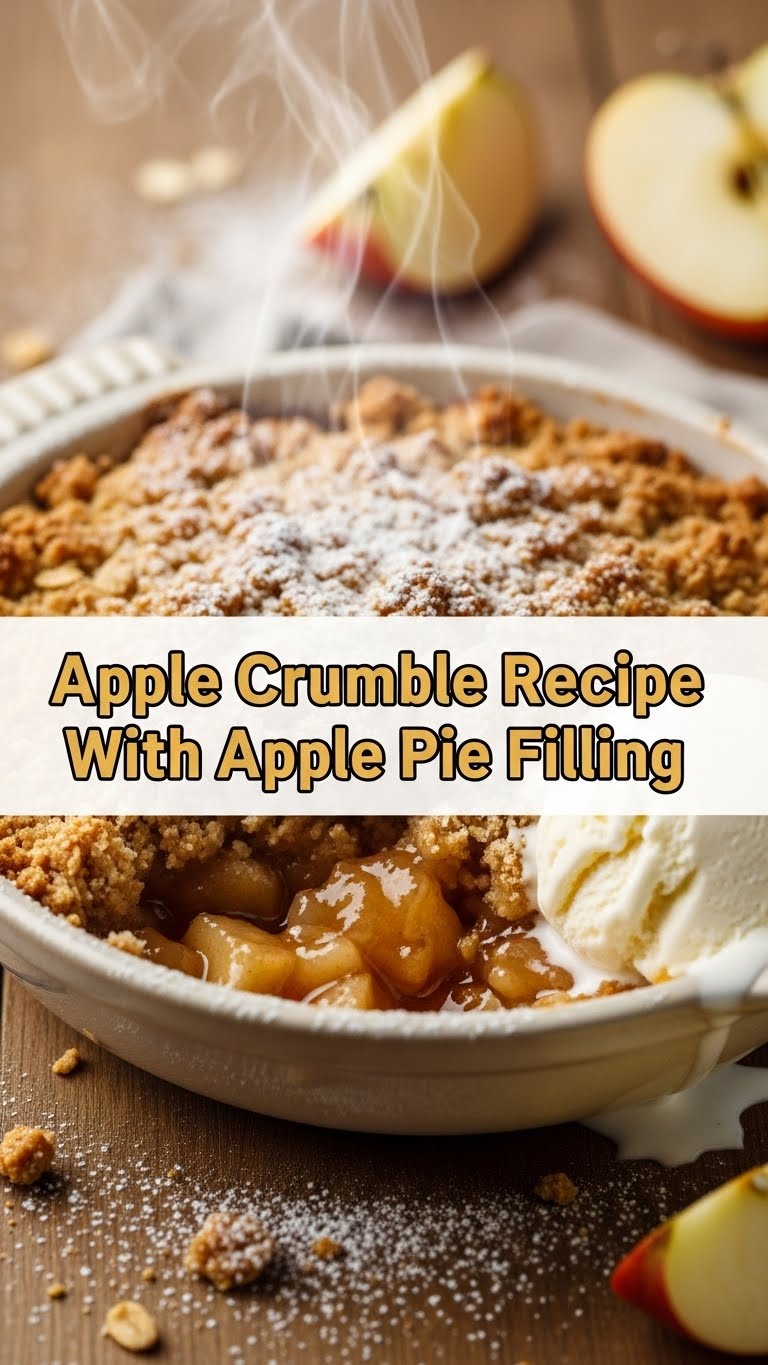
Alright, listen up. This isn’t just any apple crumble. This is ‘I want pie, but I also want crumble, and I’m too lazy to make a pie crust from scratch’ apple crumble. It’s the ultimate cheat code for dessert victory. Seriously, if you can open a can and stir a few things, you can nail this. It’s so idiot-proof, even I’ve never messed it up (and that’s saying something, trust me). Plus, the apple pie filling does half the work for you. Genius, right?
Ingredients You’ll Need
- For the Magical Apple Goo (aka the filling):
- 1 large can (about 20-21 oz) apple pie filling: Yep, the pre-made stuff! Don’t judge, it’s our secret weapon. Unless you *really* want to peel a mountain of apples, then go for it, Martha Stewart.
- 1/2 teaspoon ground cinnamon: Because apples and cinnamon are soulmates.
- Pinch of nutmeg (optional): Just a tiny whisper, don’t go overboard unless you want to taste Christmas in July.
- 1 tablespoon lemon juice: Brightens everything up! Also stops your apples from looking sad and brown.
- For the Crunchy, Buttery Crumble Topping:
- 1 cup all-purpose flour: The foundation of all things crumbly and delicious.
- 1/2 cup rolled oats (quick or old-fashioned, your call): Adds that lovely chewiness and makes it *feel* healthy. It’s not, but shhh.
- 1/2 cup packed light brown sugar: Gives it that caramel-y sweetness. Mmm.
- 1/4 teaspoon salt: Crucial! Balances the sweet and makes everything pop.
- 1/2 cup (1 stick) unsalted butter, COLD and cubed: This is non-negotiable, folks! Cold butter = flaky, perfect crumble. Warm butter = sad, greasy mess. You’ve been warned.
Step-by-Step Instructions
- Get Preheating: First things first, fire up that oven to 375°F (190°C). Don’t skip this, your crumble deserves a warm welcome.
- Prep Your Pan: Grab an 8×8 inch baking dish or something similar. Lightly grease it if you’re feeling fancy, or just trust in the crumble gods not to stick.
- Mix the Apple Magic: In a medium bowl, gently stir together your canned apple pie filling, cinnamon, nutmeg (if using), and lemon juice. Don’t go crazy, you want those apple chunks intact. Pour this glorious mixture into your prepared baking dish.
- Whip Up the Crumble: In another, larger bowl, combine the flour, oats, brown sugar, and salt. Give it a good whisk to mix everything evenly.
- Bring in the Butter: Now, add your COLD, cubed butter to the dry ingredients. Get in there with your fingertips, a pastry blender, or even two knives (if you’re feeling old-school). You want to rub the butter into the dry mix until it looks like coarse crumbs, with some pea-sized pieces remaining. Don’t overmix!
- Top It Off: Sprinkle that delicious crumble topping evenly over your apple mixture in the baking dish. Cover every inch!
- Bake Away: Pop that dish into your preheated oven. Bake for 30-40 minutes, or until the topping is golden brown and the apple filling is bubbly and happy around the edges. You might even see a little bit of delicious goo peeking through the crumble. Yum!
- Cool Down (If You Can Wait): Carefully remove the crumble from the oven. Let it cool for at least 10-15 minutes before serving. This helps it set a bit and prevents you from burning your mouth off (trust me on this one). Serve warm with a scoop of vanilla ice cream, whipped cream, or just a spoon and no witnesses.
Common Mistakes to Avoid
- Warm Butter Woes: Remember our little chat? Using soft or melted butter in your crumble topping is a recipe for a flat, greasy disaster. Cold butter is your BFF here.
- Overmixing the Crumble: Once it looks like coarse crumbs with some pea-sized pieces, step away from the bowl! Overmixing develops the gluten in the flour, leading to a tough, less crumbly topping.
- Skipping the Preheat: Patience, grasshopper! Putting your crumble into a cold oven means it won’t cook evenly or get that beautiful golden crust you’re dreaming of.
- Underbaking: If your crumble isn’t golden and bubbly, it’s not done! Give it a few more minutes. A pale crumble is a sad crumble.
Alternatives & Substitutions
- Fruit Fiesta: Not feeling apples? You can totally swap the apple pie filling for cherry, peach, or mixed berry pie filling! Or, if you’re feeling ambitious, use fresh fruit like berries, sliced peaches, or rhubarb (you’ll just need to add a bit more sugar and maybe some cornstarch to thicken).
- Gluten-Free Crumble: Easy peasy! Swap out the all-purpose flour for a 1:1 gluten-free baking blend (look for one with xanthan gum). Your gluten-sensitive friends will thank you.
- Nutty Crunch: Want extra texture? Add a handful of chopped pecans, walnuts, or almonds to your crumble topping. Toasted, they’re even better!
- Spice It Up: Feeling adventurous? Add a pinch of ground ginger or cardamom to your apple filling for a different twist. Just a whisper, though – don’t go full spice rack.
FAQ (Frequently Asked Questions)
- “Can I use margarine instead of butter?” Well, technically yes, but why hurt your soul like that? Butter just tastes better and gives a superior texture. For a treat like this, splurge on the real deal, IMO.
- “My crumble topping didn’t get crispy. What happened?” Likely suspects: your butter wasn’t cold enough, you overmixed, or your oven wasn’t hot enough. Also, sometimes a denser crumble needs a few extra minutes to brown up.
- “How long does this last?” If you can keep people from devouring it immediately, it’s good for 2-3 days covered in the fridge. Reheat gently in the oven or microwave.
- “Can I make this ahead of time?” You bet! You can assemble the whole thing, cover it, and refrigerate it for up to a day before baking. Just add about 10-15 minutes to the baking time since it’s going in cold.
- “What’s the best way to serve it?” Warm, with a scoop of good quality vanilla bean ice cream or a dollop of fresh whipped cream. Or, if you’re truly living your best life, both. FYI, a drizzle of caramel sauce isn’t a bad idea either.
Final Thoughts
See? Told you it was ridiculously easy. You just whipped up a dessert that tastes like you slaved over it all day, but really, you barely broke a sweat. Now go impress someone—or yourself—with your new culinary skills. You’ve earned it! Enjoy every glorious, crumbly, apple-y bite. And hey, if you ‘accidentally’ eat the whole thing yourself, I won’t tell. Pinky promise.


