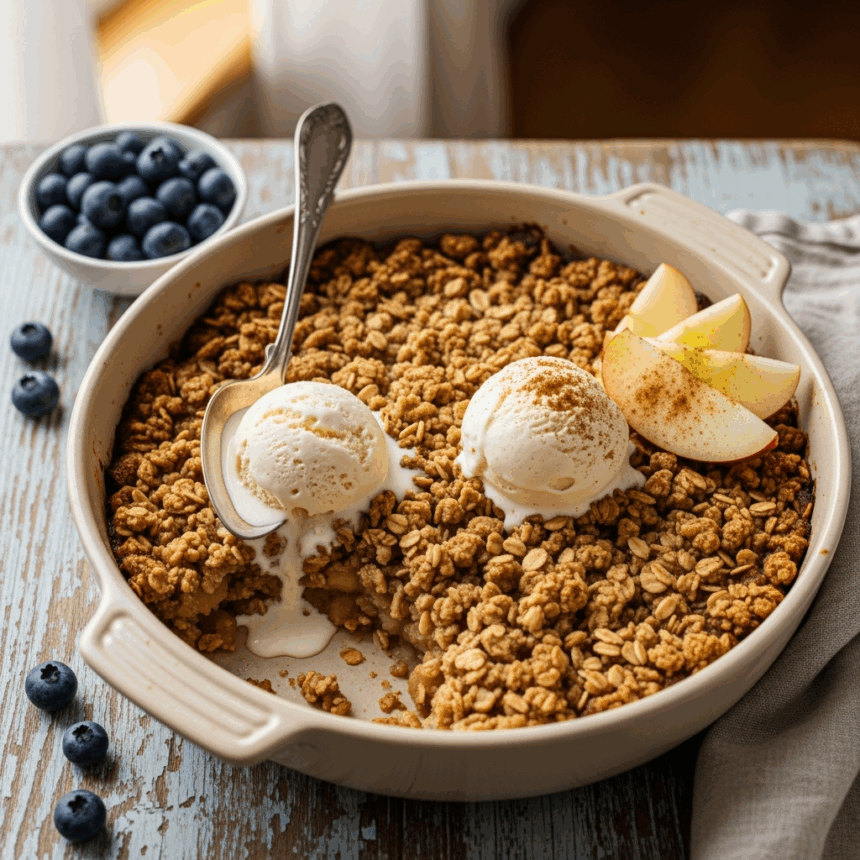
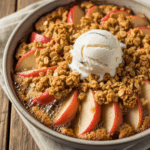
Alright folks, let’s talk about the dessert that’s basically fall wrapped in a warm hug – gluten-free apple crisp with oat crumble! If you’re anything like me, you’ve probably stared longingly at those gorgeous apple desserts while mumbling “stupid gluten” under your breath. Well, throw those sad feelings out the window because this recipe is about to change your life (or at least your dessert game).
Why This Recipe is Awesome
First off, this apple crisp is the unicorn of desserts – it’s gluten-free BUT actually tastes amazing. I know, shocking! No cardboard texture or “healthy alternative” vibes here. Plus, it’s basically impossible to mess up. Seriously, I once made this while on a conference call AND helping my kid with homework, and it still turned out Instagram-worthy.
The oat crumble topping gets all golden and crunchy while the apples below transform into this caramelized, bubbling paradise of cinnamon-spiced goodness. And the best part? Your gluten-eating friends will have no idea they’re eating a gluten-free dessert. Sneaky, sneaky!
Ingredients You’ll Need
For the apple filling:
- 6 medium apples (Honeycrisp, Granny Smith, or a mix of both – because why commit to just one type?)
- 2 tablespoons fresh lemon juice (bottled works too, I won’t judge)
- 1/3 cup coconut sugar or brown sugar (dealer’s choice)
- 2 tablespoons certified gluten-free cornstarch (the magical thickener)
- 1 1/2 teaspoons cinnamon (more if you’re a cinnamon fiend like me)
- 1/4 teaspoon nutmeg (freshly grated if you’re fancy, pre-ground if you’re normal)
- Pinch of salt (just a little commitment issue with measuring)
For the oat crumble topping:
- 1 1/2 cups certified gluten-free rolled oats (not quick oats – they’re too needy)
- 1/2 cup gluten-free flour blend (store-bought or homemade, whatever floats your boat)
- 1/2 cup coconut sugar or brown sugar (for that caramel-y goodness)
- 1/2 teaspoon cinnamon (because there’s no such thing as too much cinnamon)
- 1/4 teaspoon salt
- 1/2 cup cold butter or coconut oil, cubed (butter makes everything better, but coconut oil works for dairy-free folks)
- 1/3 cup chopped pecans or walnuts (optional, for those who like a little extra crunch in their life)
Step-by-Step Instructions
- Preheat your oven to 350°F (175°C). Yes, you actually need to preheat. Patience, grasshopper.
- Prep your apples. Peel, core, and slice them about 1/4 inch thick. If you have one of those apple peeler-corer-slicer contraptions, now’s your moment to shine!
- Make the apple filling. Toss those apple slices with lemon juice in a large bowl. Mix the sugar, cornstarch, cinnamon, nutmeg, and salt in a small bowl, then sprinkle over the apples and toss until every slice is coated in that spiced goodness.
- Transfer to a baking dish. Pour the apple mixture into a 9×9 inch baking dish or a 10-inch pie plate. Spread them out evenly – no apple left behind!
- Create your crumble topping. In a medium bowl, mix the oats, gluten-free flour, sugar, cinnamon, and salt. Add the cold butter cubes and use your fingers to work it in until you have a crumbly mixture. Think wet sand castle consistency. Add nuts if you’re using them.
- Top those apples! Sprinkle the crumble mixture evenly over the apples, covering them completely like a cozy blanket.
- Bake that beauty. Pop it in the oven for 40-45 minutes until the topping is golden brown and the filling is bubbling around the edges. If the top starts browning too quickly, just cover it loosely with foil – we’re going for “golden brown,” not “charcoal.”
- Cool slightly before serving. Let it rest for at least 15 minutes before diving in. I know it’s hard, but your taste buds (and the roof of your mouth) will thank you.
- Serve with a scoop of vanilla ice cream for extra credit. Or coconut whipped cream. Or both. This is a judgment-free zone.
Common Mistakes to Avoid
Let’s avoid some rookie moves, shall we?
- Skipping the cornstarch. Unless you enjoy apple soup, don’t do this. The cornstarch thickens all that delicious apple juice into a caramel-like sauce.
- Using quick oats. They’ll turn to mush faster than my motivation on a Monday morning. Stick with old-fashioned rolled oats.
- Using warm or melted butter. Cold butter = crumbly topping. Melted butter = sad, flat topping. Don’t make your topping sad.
- Not checking your oats are gluten-free. Not all oats are created equal! Make sure yours are certified gluten-free if you’re cooking for someone with celiac or gluten sensitivity. Cross-contamination is a real party-pooper.
- Slicing apples too thin. They’ll dissolve into apple sauce. Too thick and they’ll be crunchy. Aim for that Goldilocks zone of about 1/4 inch.
Alternatives & Substitutions
Because we all know you’re going to ask “But can I use…?” anyway:
For the apples: Pears work beautifully here if you’re feeling rebellious. You can also throw in some berries with the apples – blackberries or raspberries add a nice tartness.
For the sugar: Maple syrup can replace about half the sugar in the filling if you prefer (reduce other liquids slightly). For the topping, stick with granulated sweeteners or it gets messy.
For the gluten-free flour: Almond flour works great for a grain-free option. Or try a mix of 1/4 cup coconut flour and 1/4 cup tapioca starch for a different twist.
For the butter: Coconut oil makes this dairy-free and adds a subtle coconut flavor that’s actually pretty awesome with the apples. Vegan butter sticks work too.
IMO, this recipe is pretty forgiving, so don’t stress too much about exact measurements. Cooking should be fun, not a chemistry exam!
FAQ (Frequently Asked Questions)
Can I make this ahead of time?
Absolutely! Assemble everything but don’t bake it. Cover it tightly and refrigerate for up to 24 hours. When you’re ready to be a dessert hero, just pop it in the oven and add about 5-10 minutes to the baking time.
How do I store leftovers? (As if there will be any…)
Cover and refrigerate for up to 4 days. Reheat in the microwave for that fresh-baked vibe, or eat it cold straight from the fridge at midnight while standing in the dark kitchen. We’ve all been there.
Which apples are best for this recipe?
A mix of tart and sweet gives the best flavor. Granny Smith provides structure and tartness, while Honeycrisp, Braeburn, or Pink Lady add sweetness. Avoid Red Delicious unless you enjoy mealy, flavorless disappointment.
Is this recipe actually healthy?
It has fruit and oats, so… yes? Look, it’s healthier than a double-fudge brownie sundae, but let’s not kid ourselves – it’s still dessert. Embrace it!
My topping isn’t getting crispy. What gives?
Your oven might be lying about its temperature (ovens are notorious liars). Try increasing the temperature by 25 degrees or pop it under the broiler for a minute or two at the end – just watch it like a hawk!
Can I freeze this?
You betcha! Bake it, cool it completely, then wrap tightly and freeze for up to 3 months. Thaw overnight in the fridge and reheat in a 350°F oven until warmed through.
Final Thoughts
There you have it – a gluten-free apple crisp that doesn’t taste like the sad, forgotten stepchild of regular desserts. It’s warm, it’s comforting, and it might just make you forget that regular flour exists.
The beauty of this recipe is its simplicity. You don’t need fancy equipment or a culinary degree – just some apples, oats, and a sweet tooth. So go ahead, make this on a random Tuesday night just because you deserve something delicious. Or whip it out at your next dinner party and casually mention “Oh this? It’s gluten-free” as everyone fights for seconds.
Now stop reading and start peeling those apples! Your house is about to smell amazing, and your taste buds are about to throw a party. You’re welcome!

