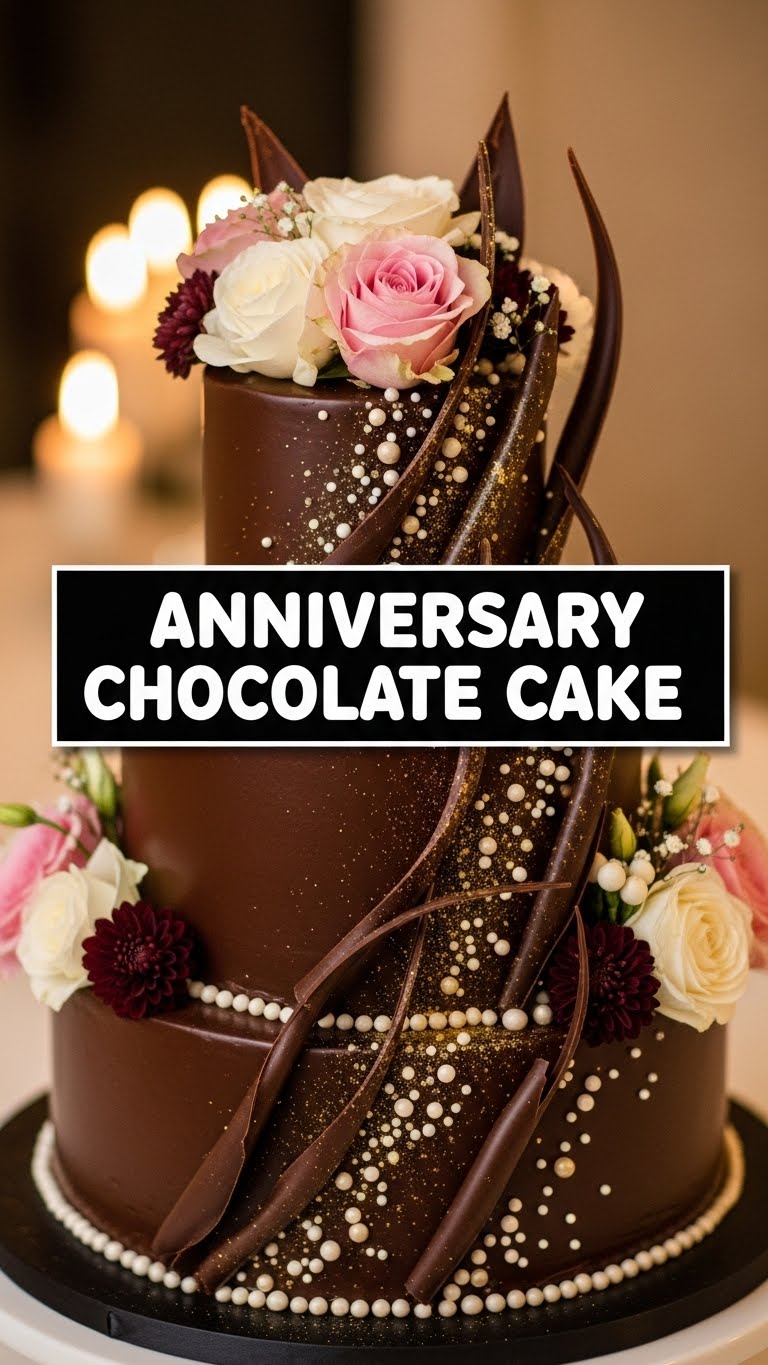
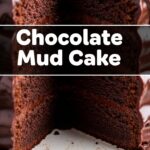
So, it’s that time of year again, huh? When you’re supposed to celebrate everlasting love with something… well, *everlasting*? Or at least, lasting long enough to get through dessert. And what screams “I love you more than all the chocolate in the world” better than a ridiculously good, homemade chocolate cake that doesn’t require a culinary degree to pull off? Exactly! We’re talking about that dreamy, moist, chocolatey goodness that will make your anniversary (or Tuesday, let’s be real) extra special. Forget the fancy restaurant desserts; this is where the real magic happens.
Why This Recipe is Awesome
Look, I get it. Anniversaries come with enough pressure already without adding “bake a perfect cake” to the list. But fear not, my friend! This isn’t just *any* chocolate cake recipe; it’s practically idiot-proof. Seriously, even I, on a particularly clumsy day, managed not to mess this one up. It’s ridiculously moist, intensely chocolatey, and has that rich flavor that makes everyone go, “Wait, *you* made this?!” Plus, it comes together faster than you can say “Happy Anniversary, darling, I made a cake because I love you and totally didn’t forget until yesterday.” It’s your secret weapon for looking like a kitchen goddess/god without actually breaking a sweat. It also scales perfectly for a romantic dinner for two, or a small gathering.
Ingredients You’ll Need
Gather your troops, folks! Most of these are probably already lurking in your pantry, patiently waiting for their moment to shine. Don’t stress too much about exact brands; just grab what you usually use.
- All-Purpose Flour: 1 ½ cups. The universal binder of deliciousness.
- Granulated Sugar: 1 ½ cups. For that sweet, sweet love.
- Unsweetened Cocoa Powder: ¾ cup. The darker, the sexier, IMO. Dutch-processed gives a richer color and smoother taste, but regular works just fine.
- Baking Soda: 1 ½ teaspoons. For lift, because nobody likes a flat anniversary.
- Baking Powder: 1 teaspoon. Teamwork makes the dream work (and the cake rise!).
- Salt: 1 teaspoon. Just a pinch, to make everything else pop! Don’t skip it.
- Large Eggs: 2, at room temperature. Happy little protein bombs.
- Milk: 1 cup (any kind, whole milk gives a richer texture though!).
- Vegetable Oil: ½ cup. Keeps it super moist, like a good secret.
- Vanilla Extract: 2 teaspoons. Adds that “je ne sais quoi” that makes everyone ask for the recipe.
- Hot Water or Hot Coffee: 1 cup. This is the secret sauce for intense chocolate flavor. Coffee really amps it up without making it taste like coffee, FYI!
For the Easy Chocolate Buttercream Frosting:
- Unsalted Butter: 1 cup (2 sticks), softened. Because butter makes everything better.
- Powdered Sugar: 3-4 cups, sifted. Start with 3, add more if needed for consistency.
- Unsweetened Cocoa Powder: ½ cup, sifted.
- Milk or Cream: 4-6 tablespoons. For smoothness!
- Vanilla Extract: 1 teaspoon.
- Pinch of Salt: To cut the sweetness.
Step-by-Step Instructions
- Preheat & Prep: First things first, get that oven going to 350°F (175°C). Then, grease and flour two 8 or 9-inch round cake pans. Or, if you’re fancy (or just smart), line the bottoms with parchment paper. No stick, no fuss!
- Dry Mix Magic: In a large bowl, whisk together the flour, sugar, cocoa powder, baking soda, baking powder, and salt. Make sure there are no lumpy bits. We’re going for smooth sailing here!
- Wet Mix Whisk: In another medium bowl, whisk together the eggs, milk, oil, and vanilla extract. Give it a good ol’ mix until it’s all combined.
- Combine Forces: Pour the wet ingredients into the dry ingredients. Mix on low speed with an electric mixer (or by hand with a whisk) until just combined. Do not overmix! A few lumps are okay; a tough cake is not.
- The Hot Stuff: Carefully pour the hot water (or coffee) into the batter. It’ll look really thin, but trust the process! Whisk until completely combined. This step is key for that ultra-moist crumb.
- Into the Pans: Divide the batter evenly between your two prepared cake pans. Give ’em a little tap on the counter to release any air bubbles.
- Bake It Off: Bake for 30-35 minutes, or until a wooden skewer or toothpick inserted into the center comes out clean. Ovens vary, so keep an eye on it!
- Cool Down: Let the cakes cool in the pans for about 10-15 minutes. Then, gently invert them onto a wire rack to cool completely. This is crucial! Frosting a warm cake is a recipe for disaster.
- Frosting Time! While the cakes cool, let’s make that buttercream. In a large bowl, beat the softened butter until creamy. Gradually add the sifted powdered sugar and cocoa powder, alternating with splashes of milk/cream, until you reach your desired consistency. Add vanilla and salt, then beat until light and fluffy. If it’s too thick, add more milk; too thin, add more powdered sugar.
- Assemble & Serve: Once the cakes are completely cool (I mean *completely*), level them if needed with a serrated knife. Place one layer on your serving plate, spread a generous amount of frosting, then top with the second layer. Frost the top and sides of the cake. Now, step back and admire your masterpiece!
Common Mistakes to Avoid
We’ve all been there, staring at a cake wondering where it all went wrong. Here are a few common pitfalls to sidestep like a pro:
- Overmixing the Batter: This is the cardinal sin of cake baking. Mixing too much develops the gluten, leading to a tough, dense cake. Mix until just combined, then stop!
- Opening the Oven Door Too Early: Patience, grasshopper! Opening the oven door lets cold air in, which can cause your cake to sink in the middle. Resist the urge until at least 25 minutes into baking.
- Not Letting Cakes Cool Completely: This is probably the most common mistake. Frosting a warm cake will result in a soupy, sliding mess. Trust me, it’s not a good look for an anniversary. Chill out and let those cakes cool!
- Forgetting to Grease & Flour: Unless you love a challenge (and scraping cake bits off your pan), do not skip this step. Or use parchment paper for ultimate peace of mind.
- Using Cold Ingredients: Room temperature eggs and milk make for a smoother, more emulsified batter. Plan ahead!
Alternatives & Substitutions
Life happens, and sometimes you don’t have exactly what the recipe calls for. No worries, we can totally improvise! (Don’t tell the baking purists, though.)
- Gluten-Free Flour: Absolutely! A good 1:1 gluten-free baking flour blend works wonderfully here. Just follow the package directions for any specific ratios.
- Dairy-Free Milk: Almond, soy, oat milk – pick your poison! They all work just fine in this recipe. Just make sure it’s unsweetened if you’re trying to control the sugar.
- No Coffee? No Problem: While hot coffee really enhances the chocolate flavor, if you’re not a coffee person or just don’t have any, hot water will do the trick for that essential thin batter consistency.
- Different Frosting: Feeling adventurous? Try a cream cheese frosting for a tangy kick, or a simple ganache for an extra decadent touch. Hey, it’s your anniversary, go wild!
- Add-ins: Want some texture? Fold in ½ cup of chocolate chips or chopped nuts into the batter before baking. You do you!
FAQ (Frequently Asked Questions)
Got questions? I’ve got (casual and hopefully helpful) answers!
- Can I make this cake ahead of time? Heck yes! This cake actually tastes even better the next day, as the flavors meld. Just store it unfrosted, tightly wrapped at room temp, then frost on the day you plan to serve.
- My cake sank in the middle, what happened? Oh, the dreaded crater! Could be old baking soda/powder, oven door opened too soon, or even overmixing. Check your leavening agents’ expiry dates!
- Can I use margarine instead of butter for the frosting? Well, technically yes, but why hurt your soul (and your taste buds) like that? For the best flavor and texture, stick with real butter. It’s an anniversary, splurge a little!
- How long does this cake last? If stored properly (covered at room temperature), it’ll be good for 3-4 days. But let’s be honest, it probably won’t last that long!
- Can I make this into cupcakes? Absolutely! Divide the batter into cupcake liners, fill them about two-thirds full, and bake for approximately 18-22 minutes. Instant anniversary cupcakes!
- Do I really need to sift the cocoa powder and powdered sugar? For the best, lump-free frosting and batter, yes. It makes a noticeable difference in texture. Take the extra minute, your future self will thank you.
Final Thoughts
So there you have it, folks! Your new go-to Anniversary Chocolate Cake recipe. You’ve conquered the chocolate cake mountain, and now you have a ridiculously delicious, homemade masterpiece to show for it. Whether you’re impressing your beloved, celebrating a milestone, or just having a fantastic chocolate craving (no judgment!), this cake is a winner.
Now go forth and spread the joy (and cake crumbs). You’re basically a culinary wizard now. High fives all around! And hey, if you sneak a slice before anyone else sees it, my lips are sealed. Happy baking, my friend!

