So you’re craving something tasty but too lazy to spend forever in the kitchen, huh? Same, friend, same. Sometimes you just need that warm, gooey, chocolatey hug without the drama. And who better to deliver it than the queen of Canadian baking herself, Anna Olson?
Today, we’re diving headfirst into her legendary Chocolate Chip Cookies. Forget those dry, crumbly imposters. We’re talking pure, unadulterated cookie bliss, and you, my culinary companion, are about to become a cookie master. Let’s do this!
Why This Recipe is Awesome
Okay, so why this particular recipe when the internet is drowning in chocolate chip cookie formulas? Simple: **it just works.** It’s Anna Olson, so you know it’s gonna be good, but more importantly, it’s shockingly straightforward. Seriously, it’s practically idiot-proof. Even *I* didn’t mess it up, and that’s saying something.
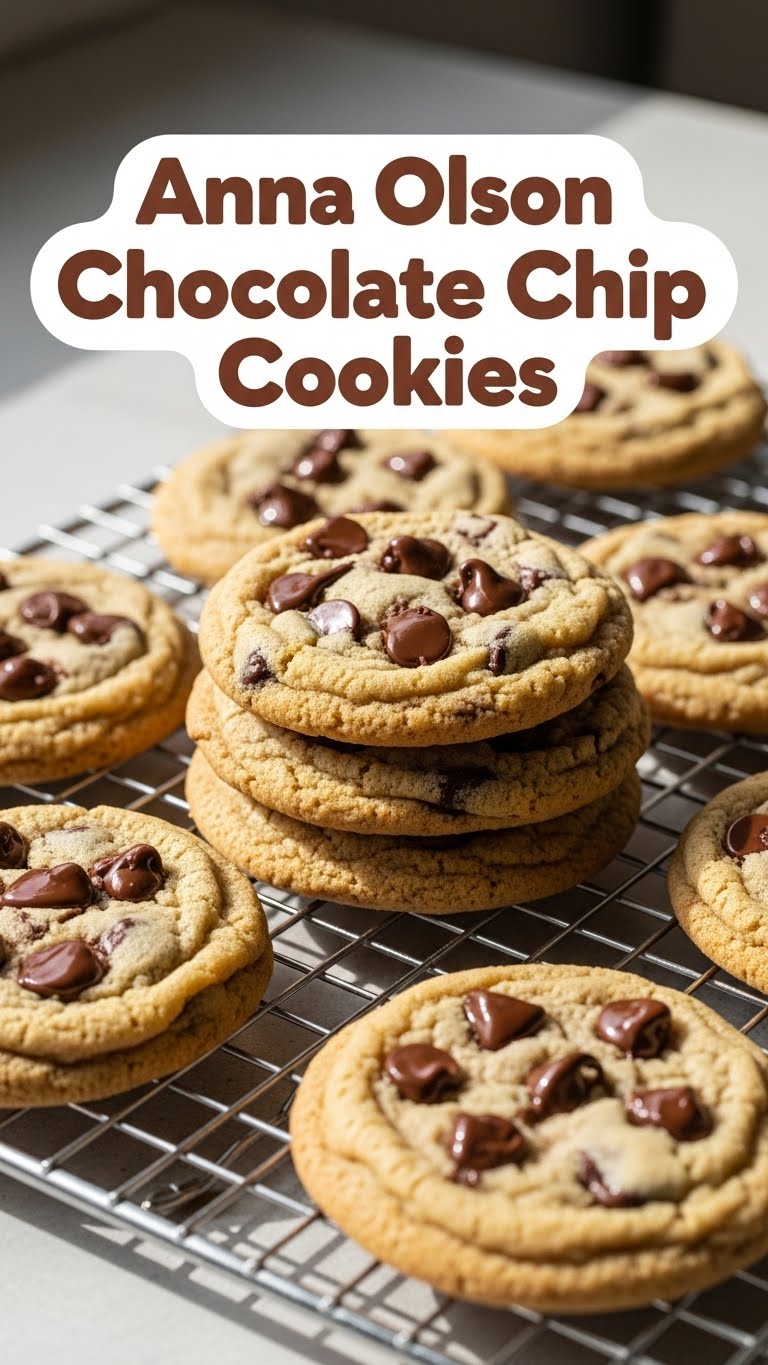
This recipe consistently delivers that perfect balance: slightly crisp edges, a gloriously chewy center, and pockets of molten chocolate that will make your eyes roll back in your head. It’s a classic for a reason, and you’ll be wondering where it’s been all your life. Prepare to amaze yourself (and anyone lucky enough to be in the vicinity).
Ingredients You’ll Need
Gather your troops! These are the heroes of our cookie adventure. Don’t worry, nothing too fancy here.
- 1 cup (226g) Unsalted Butter: Softened, please! This means leave it out on the counter for a bit. Not melted, not rock hard. The good stuff, not that sad spread your aunt uses.
- ¾ cup (150g) Granulated Sugar: For that lovely crisp edge.
- ¾ cup (160g) Packed Light Brown Sugar: This is key for chewiness and depth of flavor. Don’t even *think* about skimping.
- 2 Large Eggs: Room temperature, if you can remember. Happy eggs make happy cookies!
- 2 tsp Pure Vanilla Extract: Use the good stuff, people! This is the soul of your cookie.
- 2 ¼ cups (270g) All-Purpose Flour: The binder of dreams.
- 1 tsp Baking Soda: The magic leavener.
- ½ tsp Salt: Crucial for balancing sweetness and enhancing flavor. Don’t skip it!
- 2 cups (340g) Chocolate Chips: The main event! Semi-sweet is classic, but hey, you do you. Milk, dark, chunks – whatever makes your heart sing.
Step-by-Step Instructions
Alright, apron on (optional, but makes you feel official), let’s bake!
- Preheat Power: Get that oven going to **375°F (190°C)**. Also, line a couple of baking sheets with parchment paper. Trust me, it makes life so much easier.
- Cream Dream: In a large bowl (or stand mixer if you’re fancy), cream together the softened butter, granulated sugar, and brown sugar. Beat ’em until they’re light and fluffy, about 2-3 minutes. This adds air and makes your cookies tender.
- Egg-cellent Addition: Crack in those two eggs, one at a time, mixing well after each. Then stir in the vanilla extract. Scrape down the sides of the bowl to make sure everything is incorporated.
- Dry Spell: In a separate, medium bowl, whisk together the flour, baking soda, and salt. Give it a good whisk to evenly distribute everything.
- Combine & Conquer: Gradually add the dry ingredients to the wet ingredients, mixing on low speed until *just* combined. **Do not overmix!** Overmixing develops gluten, which leads to tough cookies, and nobody wants that.
- Chip In: Stir in your glorious chocolate chips by hand. Get ’em all distributed evenly so every bite is a chocolatey delight.
- Scoop ‘n Bake: Drop rounded tablespoons (or use an ice cream scoop for uniform cookies) of dough onto your prepared baking sheets, leaving a couple of inches between each.
- Golden Goodness: Bake for **9-11 minutes**, or until the edges are golden brown and the centers still look slightly soft. Remember, ovens vary, so keep an eye on ’em!
- Cool Down: Let the cookies cool on the baking sheet for about 5 minutes before transferring them to a wire rack to cool completely. This helps them firm up and prevents breakage.
Common Mistakes to Avoid
We’ve all been there, staring at a tray of cookie sadness. Here’s how to steer clear of common pitfalls:
- Not Preheating the Oven: Rookie mistake! An oven that hasn’t reached its target temperature will mess with baking times and texture. Always preheat.
- Using Cold, Hard Butter: This is a big one. Cold butter won’t cream properly with the sugars, leading to a denser, less fluffy cookie. **Softened butter is key!**
- Overmixing the Dough: I know, it’s tempting to keep mixing, but stop as soon as the flour streaks disappear. Overmixing equals tough, hockey-puck-like cookies.
- Baking Too Long: If you want chewy cookies, pull them out when the edges are set and golden, but the centers still look a little soft and underbaked. They’ll continue to cook on the hot baking sheet.
- Skimping on Good Quality Chocolate: Seriously, don’t do it. The chocolate is a star here. Invest in some decent chips or chopped chocolate bars. Your taste buds will thank you.
Alternatives & Substitutions
Feeling a little adventurous? Or just out of one ingredient? Here are a few tweaks you can make:
- Chocolate Varieties: Mix it up! Use milk chocolate, dark chocolate, white chocolate, chocolate chunks, or even a mix of all three. A blend can add really interesting flavor dimensions.
- Add-ins Galore: Want more pizzazz? Fold in a handful of chopped nuts (walnuts or pecans are great), shredded coconut, toffee bits, or even a sprinkle of sea salt on top before baking for a sweet and salty kick.
- Butter Swaps: While butter is king here, you *could* technically use shortening or even refined coconut oil, but be warned: the flavor and texture will be different. IMO, stick with butter for the classic experience.
- Flour Power: If you’re going gluten-free, a 1:1 gluten-free baking blend *might* work, but results can vary, so proceed with caution and maybe do a test batch first.
FAQ (Frequently Asked Questions)
Got questions? I’ve got (casual and hopefully helpful) answers!
- Can I use margarine instead of butter? Well, technically yes, but why hurt your soul like that? Butter provides superior flavor and texture that margarine just can’t replicate. If you want the *best* cookie, stick to butter.
- Do I really need to chill the dough? For this specific recipe, it’s not strictly necessary, but chilling the dough for at least 30 minutes (or up to 24 hours!) can actually enhance the flavor and create a chewier cookie that spreads less. Give it a try if you have time!
- My cookies spread too much! What happened? Usually, this means your butter was too warm/melted, your oven wasn’t hot enough, or you added too little flour. Make sure your butter is *softened*, not greasy, and double-check your oven temperature.
- How long do these cookies last? Honestly? Not long in my house! But if you manage to hide them, they’ll stay fresh in an airtight container at room temperature for up to 3-4 days.
- Can I freeze the cookie dough? Absolutely! Roll the dough into balls, place them on a parchment-lined baking sheet, and freeze until solid. Then transfer them to a freezer-safe bag. You can bake them straight from frozen, just add a minute or two to the baking time.
- Salted vs. Unsalted Butter – does it matter? Unsalted butter gives you more control over the salt content in your recipe. If you only have salted butter, you can use it, but consider reducing the added salt in the recipe by about ¼ teaspoon.
Final Thoughts
So there you have it, folks! Anna Olson’s Chocolate Chip Cookies, demystified and made fun. This isn’t just a recipe; it’s a ticket to happiness, a warm hug, and an excuse to make your kitchen smell absolutely divine. Whether you’re baking for a crowd or just for yourself (no judgment here!), these cookies are a winner.
Now go impress someone—or yourself—with your new culinary skills. You’ve earned it! And don’t forget to grab one (or three) while they’re still warm. You deserve that moment of pure bliss. Happy baking, my friend!


